2016 POTD Thread Archive

Gentlemen, the biggest reason I like to post stuff like this isn't "look what I made". I like to post this type of stuff to get fresh ideas from another perspective. I am not above stealing ideas from you guys......that's meant as a complement.
 
Axial spray-minimum of 80% Argon. Had to look that one up.
I'm in the process of the same thing. I was thinking even smaller 24"x 48". I saw a pretty neat design of a metal table at work made with Uni-strut and what looked like 1/8" flat bar holding the structure together. Nice 3/8" top. Lots of really neat designs for tables out there.

Yep, Spray rocks if your machine can get above the transition current. Fast, deep and clean. Thanks for the complement.....3/8" would be the minimum thickness for a top for my personal taste. Sometimes I need to tack to the table for the fixturing I may need. The unistrut sounds like a cool idea as far as storage goes but, maybe a little light for rigidity. But, I tend to overbuild.....alot!
 
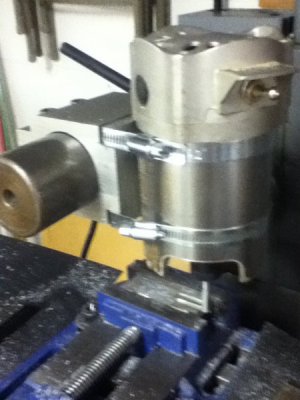
Since my Horizontal Mill did not come with a vertical attachment I made me something to get by until I find/make one.
I mostly cut aluminum because I do a lot of lost foam casting. Before I got a mill I either used a router in my Craftsman router recreator or used a bit in my radial arm saw. It always worked but my cuts were light and there was a lot of flex. It used to take a long time and frankly was dangerous.
I often wondered how it would work on a stable mount. So I decided to make one.
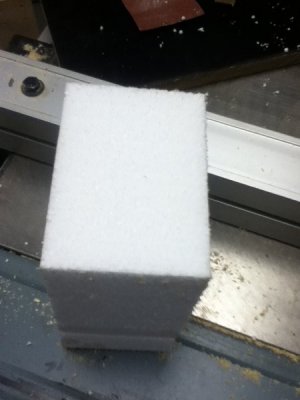
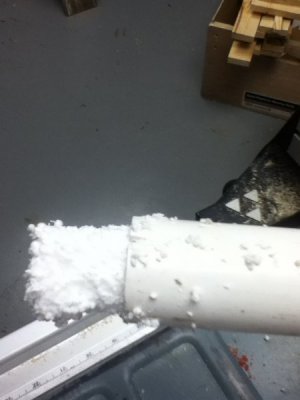
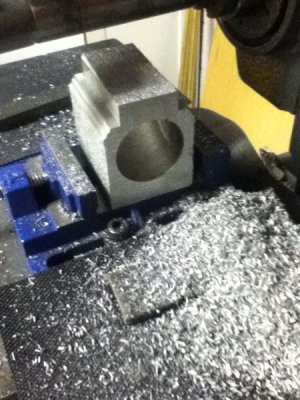
This was one of my easiest castings. I used a pvc pipe to cut a hole through a piece of foam, cut it to size and rough shape.Cast the piece. Bored the hole to size. Faced the 6 sides square. Drilled 2 holes and cut 3 slots. Then mounted the router. It was making .065 cuts with out a problem.
The foam and the removed core
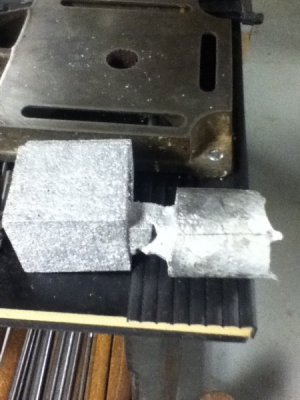
IMG_0415.JPG IMG_0416.JPG
The cast piece and the inside core after casting. I made no attempt to smooth it before casting. Notice the detail of even the small balls of foam that were there.
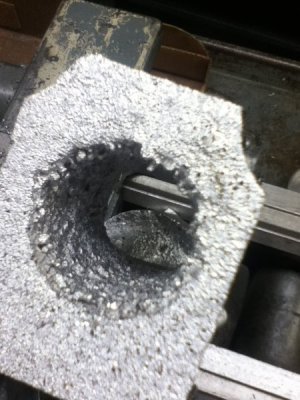
IMG_0413.JPG IMG_0414.JPG

The hole after boring and The finished project mounted on the mill
lIMG_0417.JPG IMG_0420.JPG
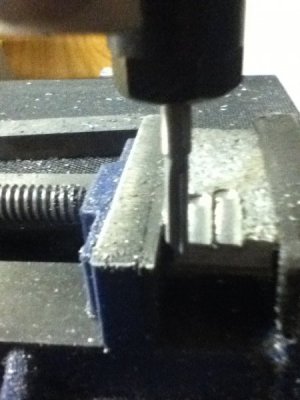
A few test cuts. Keep in mind a lot of CNC machines just use a router. This whole process took less than 4 hours. The boring is what took the longest
IMG_0419.JPG
 
A couple of weeks ago my Niece and Nephew had a trash fire get out of hand and burned down their tool shed. They don't have room for a shop, so they store all of their tools in the shed and pull them out as needed. They lost a lot of tools.

Nobody was hurt. Everything is covered by insurance.

But it gave me pause to think of how I would make a claim for everything that was in my shop. Now, I don't know anything about insurance claims; but I figure you need to tell them what you lost if you want them to reimburse you for it.

So today I took 422 pictures. Photos of every piece of equipment. Pulled open every drawer and took a picture. Uploaded the pictures to the cloud. Took me about an hour and a half and I feel much better.

I did not document every little tool, but the photos will certainly jog my memory as to what was in there and provide some documentation to support a claim.
 
Sometimes you need to provide proof of ownership date, like that day's newspaper somewhere in the photos.
 
phone your insurance agent and ask what they would want for proof as part of an insurance claim due to loss (theft or fire or tornado or whatever)
 
I really like the idea of removing the lid.

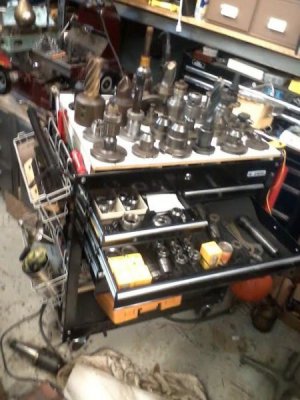
Here is a crappy cell phone pic. I still need to make a NMTB 50 tool holder for the bottom shelf. Then once I have the shop arranged the way I like it, I'll make a more permanent design.

cartt.jpg
 
Back
Top