2016 POTD Thread Archive

I love seeing this paint already doing its job first thing this rainy morning. :)

View attachment 138058

I was a little concerned when the paint was still tacky on the shady-er end of the project (nearest the garage, away from the street) as it got dark and dipped down cooler than the temperature range indicated on the can. But it hardened up nicely overnight, and other than the 400+ gnats that were trapped and killed as I painted it, and shortly thereafter, it looks great. Nothing a little paste wax and #0000 steel wool can't fix next weekend.

LOL, I found out that gnats are attracted to the color red when I painted my truck outside. Wasn't a problem as I had planned to color sand and polish.
 
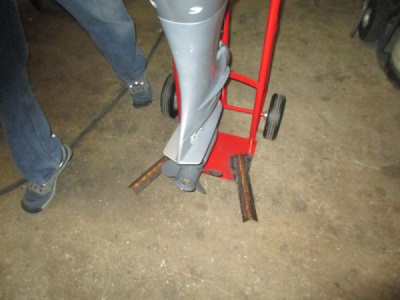
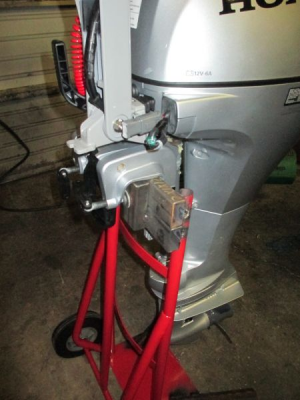
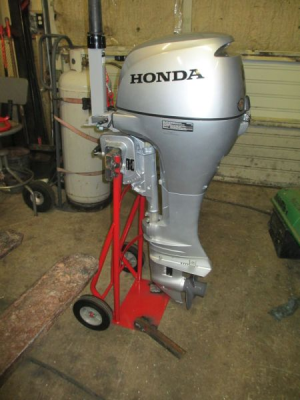
A quick little project this evening. An outboard motor stand for my son's 8 hp kicker motor. Not very pretty, but only $29 for the hand truck at HF. About an hour and boom, motor stand. :grin: Cut the handle down, welded on some 1x2 rectangle tubing and added some extended feet to keep it from falling on it's nose. Now it doesn't have to lay on it's side any more, and it wheels around the garage. :)
upload_2016-11-1_20-50-24.png

upload_2016-11-1_20-51-19.png

upload_2016-11-1_20-51-44.png
 
Mark, I Would like to see more information on the quill position sensors if you wouldn't mind. I am having trouble seeing how that part works

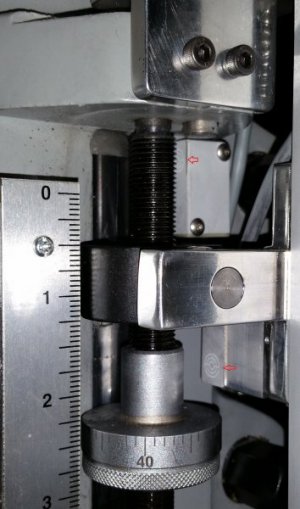
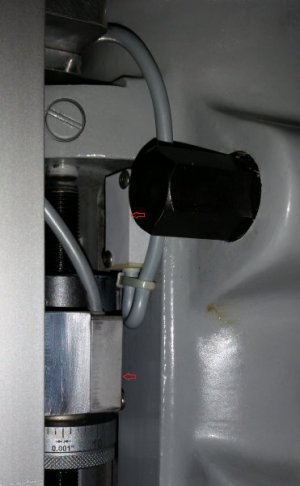
The proximity sensors are from Automation Direct DR10-AP-1A. They are small rectangular units with a little target on one of the ends. I used shielded, because they where mounted to metal which could interfere with the trigger. The start/stop P sensor is fixed, mounted to the head and senses the quill stop knob. The other P sensor rides on the T bracket used for the DRO scale head, it is attached to the quill stop knob via a locking pin and P snsor senses the micrometer nut. The P sensor trigger range is 3 mm, so they need to be fairly close to be activated. The position of the auto reverse P sensor is 3/4" from where the stop would hit the quill stop knob, thus giving enough range for the machine when threading to stop and reverse. I had this type of setup (factory installed) on my last benchtop mill and it worked well for threading. Usually for threading I run the mill at 150-250 RPM.

The control system operates one relay for the start/stop sensor, the P sensor when active holds open a relay that interrupts the For/Rev signals, the reverse relay is latching and crosses the VFD signals when triggered. The latch is broken by the start/stop relay. The control system works with the mills inetrlock system, and also triggers the motor fan relay. I can provide the control plans if anybody is interested, but it does take a bit of tinkering

https://www.automationdirect.com/ad...ular_Industrial_Automation/10X16mm/DR10-AP-1A
Spindle Senders 3.jpgSpindle Senders 4.jpg
 
Mark,
First and foremost thank you for taking the time to explain this for me. this looks like an awesome set up. My mind defaults to the barrel style of Proximity sensors and i just was not "seeing" the rectangle style sensors in your previous post.
I have been tinkering with the idea of a Tapping mode for a mill also. The machine i use the most is a Bridgeport EZ-Trak, currently it has Rev-off-forward switch and a Start push button. My idea was to change the Rev-Off-For switch to For-Rev only, add a motor stop button and add a momentary Spindle reverse button that would reverse the direction of the spindle rotation and also increases the speed of the spindle while the reversing button is depressed.

Jason
 
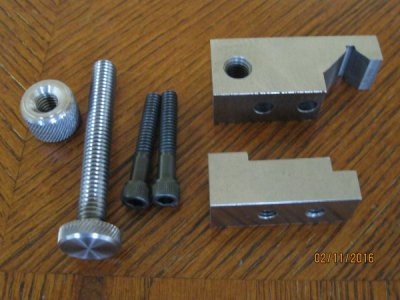
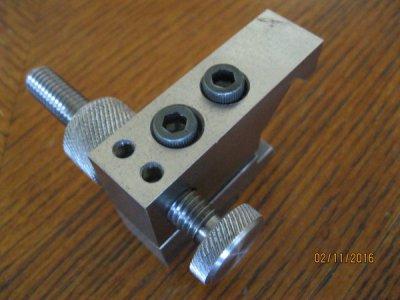
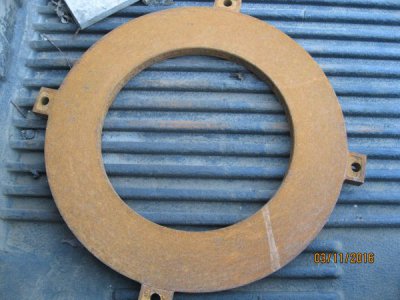
Here is a tool I just finished up (have been needing / wanting ) this for quite a while just hadn't gotten around to it. This is built to fit my 10x22 King lathe . The plans were taken from another site but are dimensionally correct. The main body is milled from a discarded pressure disk from a heavy truck clutch ( highway tractor) and an excellent source of cast iron , this one came from a damaged in shipping clutch so was in touched.. I might add that it machined beautifully. The pressure screw and jam nut are from 3/4" 1144. threaded 3/8"-16tpi.

IMG_1240.JPG

IMG_1241.JPG

IMG_1242.JPG
 
That came out really nice, and a great tip on the cast iron source. Cheers, Mike
 
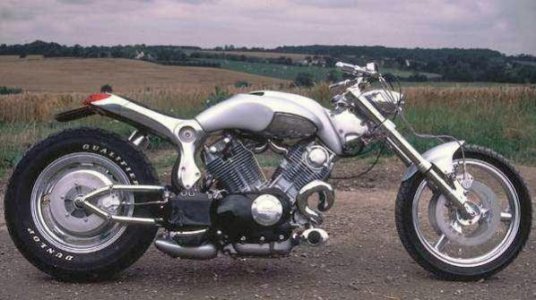
I've always thought a Virago would be a fun build:

EPFT9mWERc2OHdPeoXxw_Yamaha+Virago+EatSleepRIDE.jpg

Yamaha-XV920-Cafe-Racer-Images.jpg

1982-yamaha-virago-xv750-vintage-custom-cafe-racer-street-fighter.jpg

yamaha-virago-xv920-cafe-racer-4.jpg

37976d1359904257-info-wanted-building-virago-project-cafe.jpg

Or a traditional restore I guess:

Yamaha%20XV%20750%20virago%2084.jpg

Hi Great White, I like your post, but some of your pictures show up as a thumb nail with a red X over them I have been unable to open these. Do I need a special program.
 
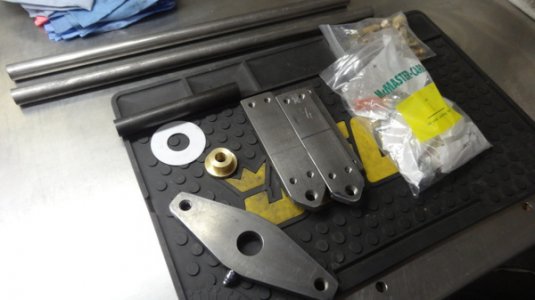
Over the last couple of nights I have been fabricating/machining the components for a Watts link for our coach.

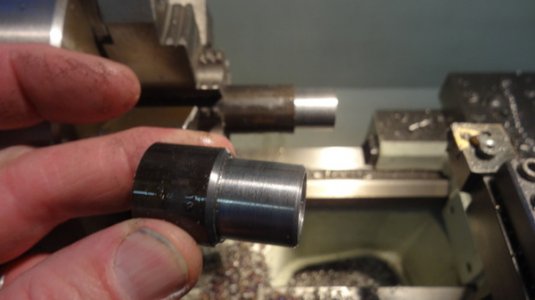
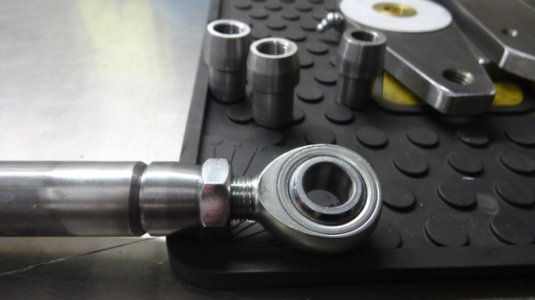
Watts link pivot plate, H-frame clamps, rod ends and some scrap 1"x.095" DOM tubing for the links and some 1" 1095 steel to machine the threaded weld-in bungs.
9kx9a0.jpg

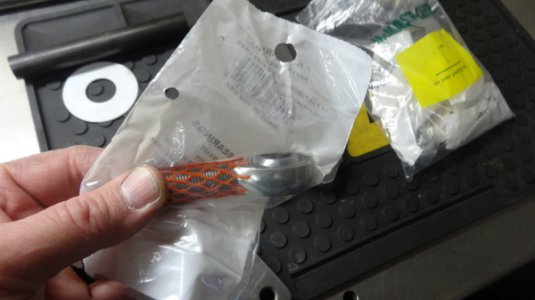
5/8"-18 rod ends that I procured from McMaster Carr.
2ivohf4.jpg

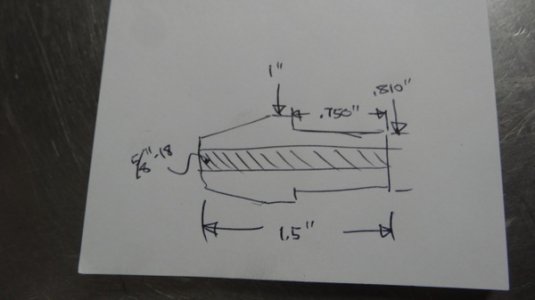
Quick drawing for weld-in threaded bungs.
2aeph5s.jpg

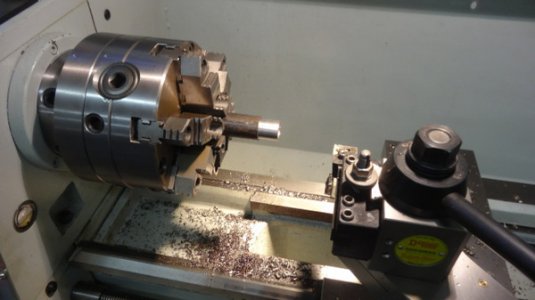
Machining the threaded bungs.
f9jnvb.jpg

Making progress.
rbilqh.jpg

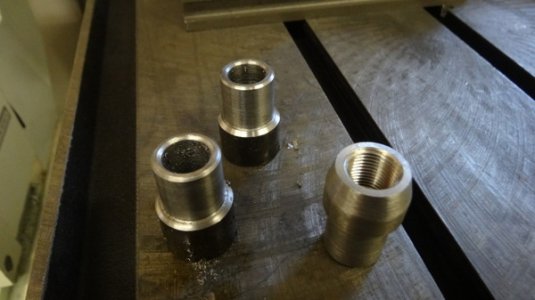
One completed the others ready for their last machining step, the taper. More for cosmetics than anything at this point. I don't know why, no one will ever see them up under the front suspension of the coach.
2pttfmr.jpg

All bungs completed and the ready for welding into the 1"x.095" DOM tubing.
2wolr9i.jpg

Mike.

Hi Mike, I'm trying to follow your post, but your photos are showing as thumbprints only with a red X on them , do I need a special program to open them.
 
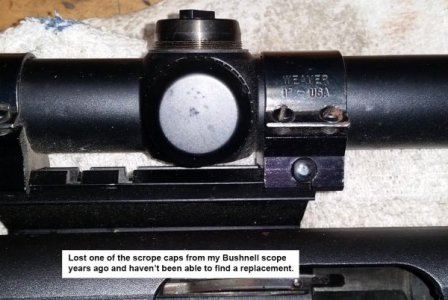
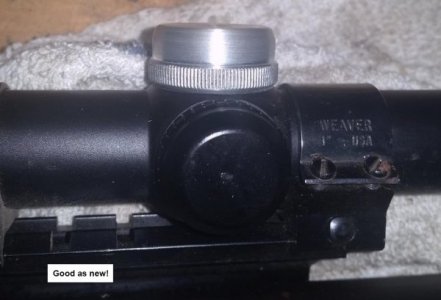
I lost a cap off my Remington 760 shotgun’s Bushnell scope a few years ago. It’s tough to find replacements! I called Bushnell directly and gave them the model#, but they said they needed my scope or the other cap. Our local Gander Mtn. was no help either. There are probably sources out there, but it became a POTD.

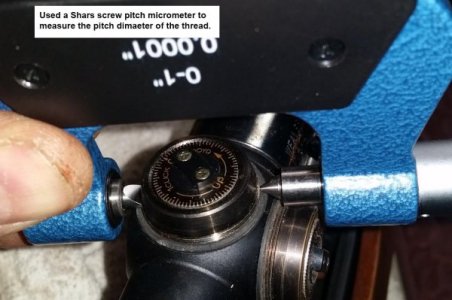
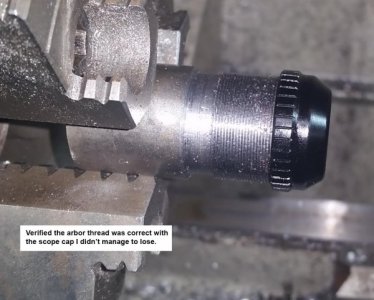
The major diameter of the thread measured 0.939”, screw pitch measured 0.922”; used a Shars thread pitch micrometer. TPI checked at 40 tpi with a screw pitch gauge and was double checked with a 5-40 screw.

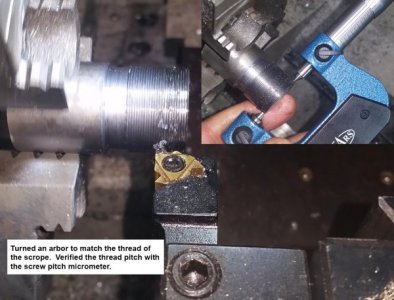
I started by turning an arbor to match the thread on the scope. Pretty simple turning job; 1” round turned to 0.939” and threaded 40 tpi advancing the compound until the thread pitch was 0.922”.

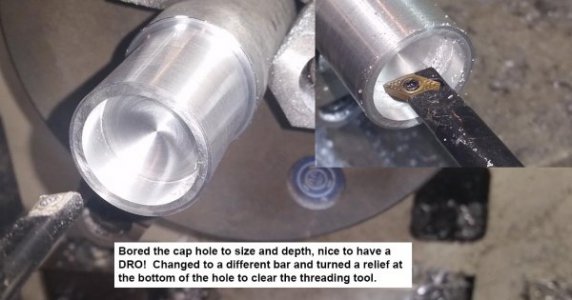
Next, on to the cap itself. The other cap has an OD of 1.100”, turned a chuck of aluminum to that size. Depth of the flat bottomed cap is 0.400”, drilled and bored out to that depth. I inside mic’d the other cap and bored to that diameter. Really nice to have a DRO on the lathe for this type of work, depth of the hole was spot on. Of course, a dial indicator or micrometer stop works just as well. Bored a relief at the bottom of the hole to clear the threading tool at the end of the thread.

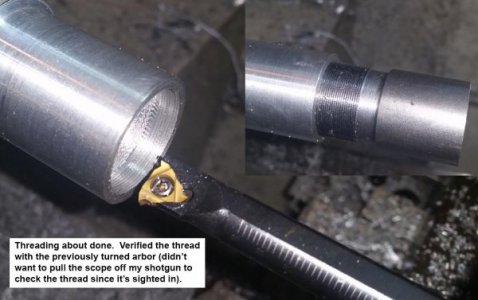
Threading was pretty straightforward. When turning the arbor the compound had been advanced a total of 0.015”, so I figured that would be very close to the depth of the internal thread. I used the previously turned arbor to check the thread.

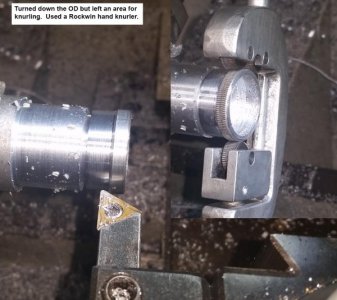
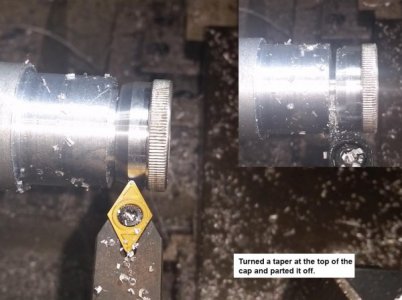
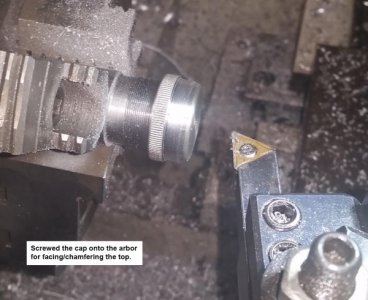
Turned the diameter down but left a “ring” about 0.200” wide for a knurl. Used a Rockwin hand knurler for that. Parted off the cap, screwed it on the arbor with a couple of washers at the bottom of the cap to keep the thread from jamming and faced/chamfered the parted end.

I don’t know if gun blue will work on aluminum or not, if not I’ll Sharpie marker it black. Fits like a glove! Now just need a nice buck to walk in front of the scope . . .

Bruce

20161105_101142.jpg 20161105_101931.jpg 20161105_104959.jpg 20161105_105426.jpg 20161105_112253.jpg 20161105_115434.jpg 20161105_120629.jpg 20161105_121146.jpg 20161105_122145.jpg 20161105_122258.jpg
 
Back
Top