POTD- PROJECT OF THE DAY: What Did You Make In Your Shop Today?

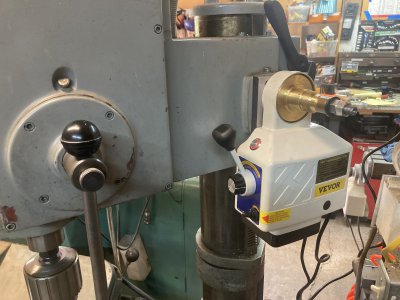
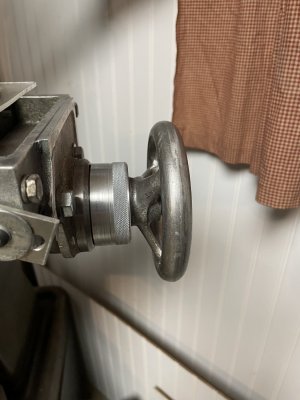
So I’ll let you guys in on a secret. This whole project is just about symmetry from across the shop. I hated looking at that threaded shaft hanging out the right side of the mill. The mill has DRO’s, which make the graduations redundant. And as you can probably tell from the picture, I can’t really stand on this side anyways. So…job done for now. Ha! Maybe eventually I’ll put a handle on the handwheel. But this is just peachy for me.IMG_1877.jpeg
 
Awhile ago I reported getting a Rockwell EFI drill press (really a beast) and adapted a Vevor X-axis lift to raise/lower the table. I was bragging to the guy I got the drill press from and he said why didn't you put it on the head instead of the table. Umm...don't know. I had another of the same power feed unit so I did the same thing to the head. This is really overkill, I suppose, but it's kind of the "too much of a good thing is still not enough". These two power feed units, coupled with the "float lock" addition to the Heinrich quick action vise really make this a very usable tool. It has a foot pedal for forward/reverse also.

These Vevor power feeds are only around $125 and seem fine. I can rotate the feed direction handle 90 degrees clockwise so it naturally matches the table direction (up to go up, etc.) but there is a bit more to it than just rotating the handle on the shaft, as there is a roll pin coming out of the case into a groove in the handle to limit total rotation. I'll have to mill a new slot for that. Someday. And, I should add the safety limit switches, soon as I figure out how.

IMG_3726.jpeg
 
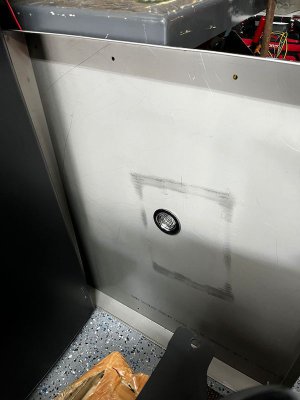
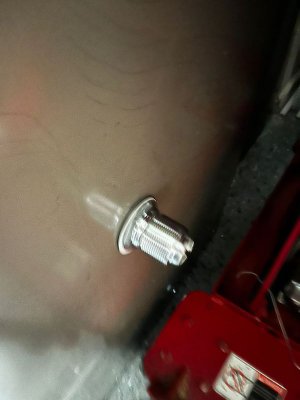
Looks like delivery of the CNC Plasma table might be delayed... In the meantime, punched the hole for a larger drain in the water tray... I still need to go back and make the dimple... but was in a hurry to get back to Orlando...

PWT-1.jpeg

PWT-2.jpeg
 
Last edited:
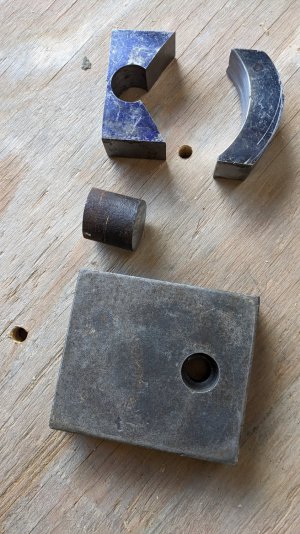
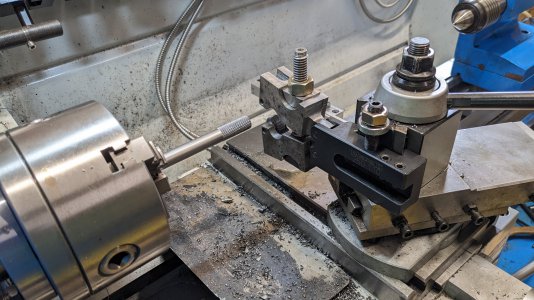
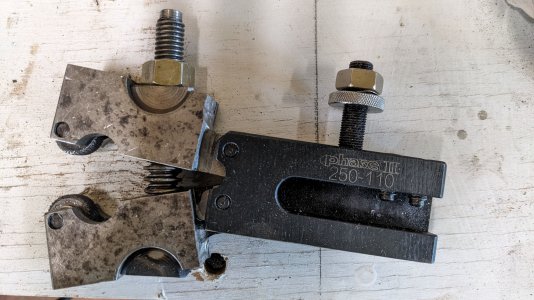
Converted my bump knurling tool to a clamp style. It's not all that fancy or refined but it seems to put a very sharp knurl on steel now!

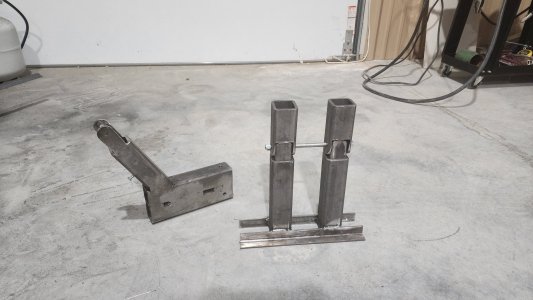
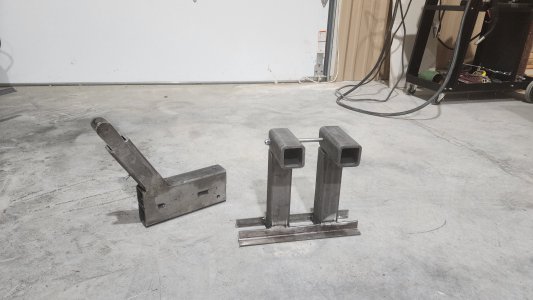
@mattthemuppet2 - this is what i used one of those blocks of steel that i got in the box from you. This is the leftover scraps, i started by making the arms curved but couldn't figure out how to hold them in the mill so i started over with square. I used the existing hold in the block as the feature for the adjusting bolt - turned down a piece of old shafting scrap to make the semi-circle bushings on the top and bottom. It will kurl up to about 1" before the bolt hits on the back side of the slot, i may enlarge that at some point. I used my ELS to thread the 1/2 - 13 and it worked perfectly, thanks again @WobblyHand :) The more i use it the more i like it and am glad i have it. Oh and i used my arbor press to put the pins in that hold the knurling wheels - worked great.

PXL_20230827_170124602.jpg


PXL_20230827_154540718.jpg

PXL_20230827_154706732.jpg
 
Last edited:
Converted my bump knurling tool to a clamp style. It's not all that fancy or refined but it seems to put a very sharp knurl on steel now!

@mattthemuppet2 - this is what i used one of those blocks of steel that i got in the box from you. This is the leftover scraps, i started by making the arms curved but couldn't figure out how to hold them in the mill so i started over with square. I used the existing hold in the block as the feature for the adjusting bolt - turned down a piece of old shafting scrap to make the semi-circle bushings on the top and bottom. It will kurl up to about 1" before the bold hits on the back side of the slot, i may enlarge that at some point. I used my ELS to thread the 1/2 - 13 and it worked perfectly, thanks again @WobblyHand :) The more i use it the more i like it and am glad i have it. Oh and i used my arbor press to put the pins in that hold the knurling wheels - worked great.

View attachment 458288


View attachment 458286

View attachment 458287
Nice idea. reuse the existing holder ....
 
IT WAS JUST IN MY HAND FIVE MINUTES AGO!! WHERE CAN THE BLASTED THING HAVE GONE?!!
Boy do I know that one!
I save time by putting everything back in it's assigned location @ the end of every session.
There is nothing worse than reorganizing to get more stuff in the existing drawers. Might find it in a week or two, or 3.
 
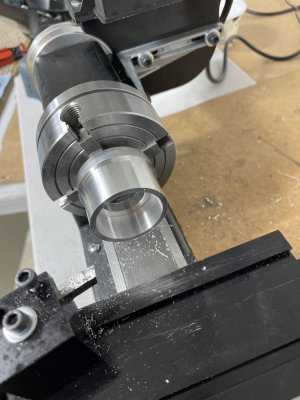
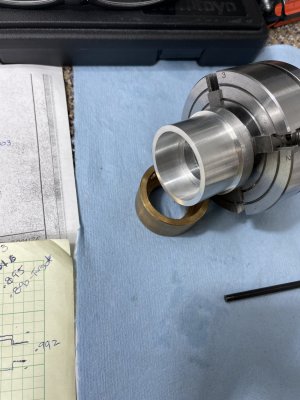
Spent some more time on the bushing mock up this afternoon.
First order of business was to find root cause for the .040 over on the ID yesterday. Pretty simple failed to account for one increment on the x feed results in x2 for doc
OD cut was better but still over shot by a .001
7BA4E725-DCF7-49FD-AD6D-81418586F63F.jpeg
Finish is looking good 1100 RPM .001 DOC with WD40 seems to work.
Next up is parting it off
54349408-886F-4E6A-AC78-CB6C53789D59.jpeg
 
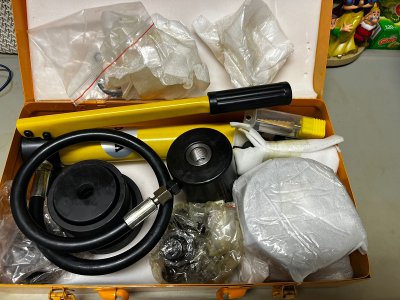
Very glad I ended up getting the Vevor 15-ton punch set...

WT1.jpeg

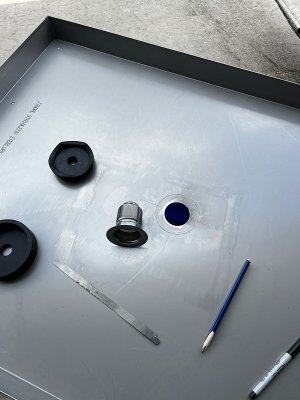
Helped me to first make the hole the correct size for a larger drain for the plasma water table

WT2.jpeg

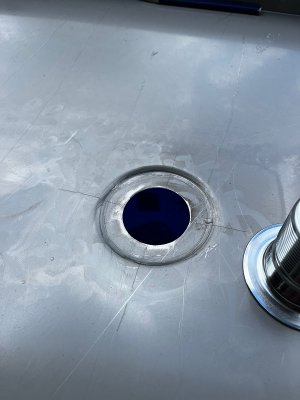
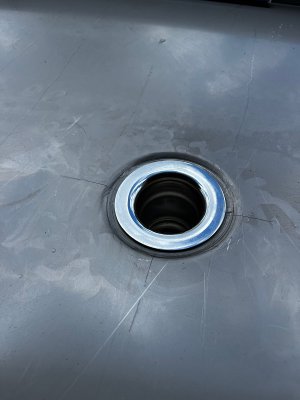
I then got a larger punch, turned the cutter around and used it to make the dimple to have the drain sit flush

WT3.jpeg
WT5.jpeg
 
Last edited:
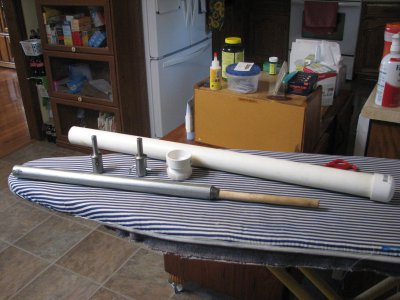
These hay sampling probes go in an electric drill and give a core sample of baled hay. The factory ones have stainless steel tubing which is apparently not for sale anywhere in the size I need, so I used steel conduit - a little bigger diameter, but I think will work. The lab says the stainless is not necessary. The adapter that goes in the drill often gets lost, bent, galled, etc. The factory ones are for a 3/8 drill and are aluminum. I made these out of steel and have a 1/2 arbor. The factory ones have a ball detent to secure the adapter in the tube (left). I am testing another adapter with a tiller pin attachment (right). I can't make the cutter end but I had a bunch of dull ones and I sharpened them with a 3 cornered file. The factory one is over $200. Not sure what i have in these if you count about 20 hours learning how to use the lathe. The cases are $40 extra so I went with 1 1/2 PVC. 1693257458593.jpeg
 
Last edited:
Back
Top