2015 POTD Thread Archive

Did you use the mitsubishi on that table john? Curious how it cuts cast iron


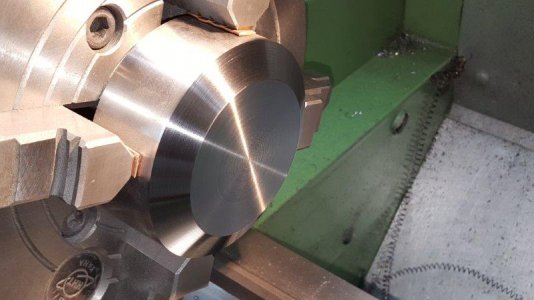
Yes and I didn't change inserts. Still the originals that came with it. I think they are the L series for light cuts. I was turning at 160 rpm at 7-1/2 ipm. Cutting only .025" deep it was like cutting free air! Comparing to original ground finish it was like 2000 grit paper versus original 60 grit! Inserts still looked/felt sharp as new! Had to make two more small jacks and clamp directly over a jack on the outside rim at 4 corners. Any other clamping method would distort the surface! Setup was a pain in the &**! I had enough saddle movement to mill the entire inside surface - 18" x 18" without moving the top slide of the mill (having a brain fart and can't remember what it's called). I then had to reposition the clamps, change to a 1/2" end mill and move the top slide twice, to mill the side edges of the table where the clamps held originally. I didn't charge enough!!!!!!!!!!!!!!!!!! Cleanup is also a *****!


hate to drop that wrench in my toe:eek 3:

I'm sure it would only happen once!
 
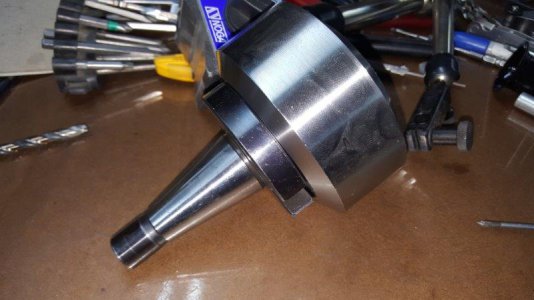
Ahem, that would be the ram there john, a dovetail ram, Bridgeport started with the round ram
 
Picked up a cheap trailer hitch ball at the local Chinese outlet (Princess Auto) and proceeded to machine the base off and remove the threaded shaft. I then machined a 1/4" x .625" x .500" deep slot in the bottom. I believe the ball was made of low quality (low lead content) leaded steel.

View attachment 108030

I then shortened a 3/4" wrench and welded the stub end into the hole and voila - speed wrench for vise. Works great. Not sure what happened with picture colour.

View attachment 108031

I then spent a few hours dialing in and machining a new King drill press table, including straightening and widening the slots so a tee nut would fit! Table was dished approximately .020" in the middle and outside border was .025" high. I HATE MACHINING CAST IRON!View attachment 108032

Nice job on the trailer ball. I'll bet that makes a thud if it were to hit the floor. I hunted high and low for a hollow sphere for mine and never even thought to use a trailer ball.

I need to machine my Jet 20" drill press table which looks similar to yours. I don't care for the rough finish on it and and I want to open up the holes at teh corners to allow for chips to fall through, they are a little small for my liking.

Great job, thanks for sharing.

Mike.
 
Not a big project by any means but a quick one. I was detailing the wife's car yesterday and noticed that her floormat was pushed up under the brake and accelerator pedal. One thing I liked about her Altima was the fact that it had a small plastic retainer that the floormat attached to in order to keep it in place and prevent it from "floormat creep". I worry about this with my wife because she moves her leg around a lot in her commute due to the lymphedema in her left leg and it is a safety concern to have that floormat pushed up under the pedals. I asked her about it and she said it had been like that for a few weeks now. I decided to address it right away and machine a new retainer.

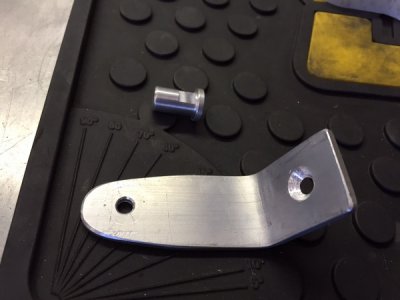
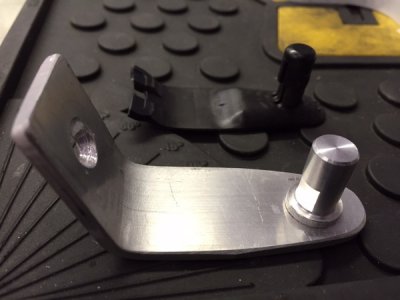
Here is what I came up with, simple 1"x.125" aluminum bent at an angle to match the floorboard. I then machined a small plug that was tapped with 10-32 threads so it could be retained onto the aluminum bracket. The plug measures .375" at the base, reduced to .260" at the main body (same as original) and then I machined a small .250" flat in the side to act as a retaining void to keep the floormat attached to the round plug.
dxef0i.jpg

Newly machined retainer in the foreground with the broken original in the background.
10xhdvo.jpg

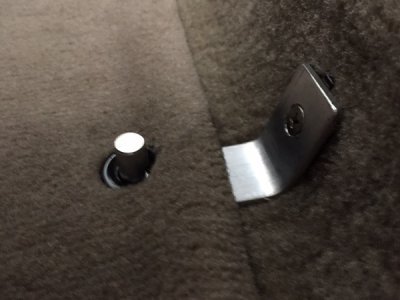
Mounted in place and completed.
5s6k1.jpg

All in all a pretty quick and easy job just thought I would post it up.

Mike.
 
Very good!

Our "home shops" allow us to do things we couldn't afford to have done. Very good job to replace a piece which should have been more robust in the beginning.
 
Made a lathe dog driver today, and for the first time used a roughing endmill, half inch, at first I did about .050 doc on the first slot.... about .75 thickness on the part. What was I thinking lol, full depth one pass, the chips pouring out and the little China made rougher plugged away, I don't know why I have been overlooking these tools that were on my shelf, I seen Tom lipton use one in a couple vids, good results, I will definitely be replacing them with higher quality units.
Pretty simple project, a set screw holds it to the center
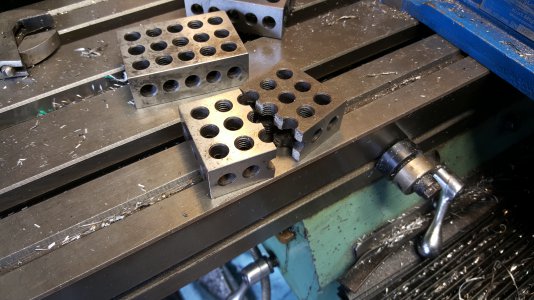
20150728_004458.jpg 20150728_000541.jpg
And here is a 123 block that was broken on a friends Denison Multipress, the shafts he received were about .003 over and egged, he quickly found out lol, his customer no longer orders the shafts from that supplier, they are 304ss, the new supplier has perfect shaft material tho, he said it was like a shotgun blast when that hardened block broke
20150727_145534.jpg
 
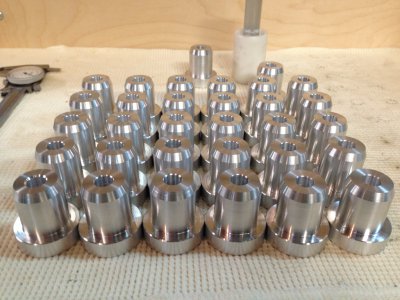
Took a job to make 30 of these aluminum pins. M12 thread on backside. Would have been nice to have a CNC lathe but did it on my lil manual Colchester. Forearms feel like Popeye this morning
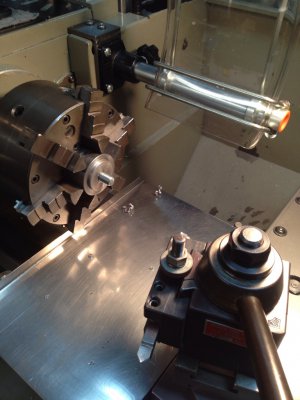
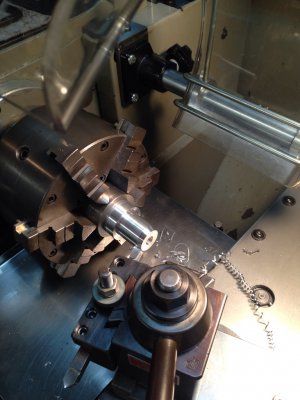
Bar was bigger than my spindle hole so I was unable to turn/part/feed etc. Made a threaded holding fixture.
ImageUploadedByTapatalk1438105255.916684.jpg
ImageUploadedByTapatalk1438105281.616423.jpg
ImageUploadedByTapatalk1438105299.716555.jpg
ImageUploadedByTapatalk1438105392.716596.jpg
 
Took a job to make 30 of these aluminum pins. M12 thread on backside. Would have been nice to have a CNC lathe but did it on my lil manual Colchester. Forearms feel like Popeye this morning
Bar was bigger than my spindle hole so I was unable to turn/part/feed etc. Made a threaded holding fixture.
View attachment 108081
View attachment 108082
View attachment 108083
View attachment 108084

Very nicely done. I love your Colchester lathe. I drool over the pics that I have seen of it. Your BP isn't bad either.:)

Mike.
 
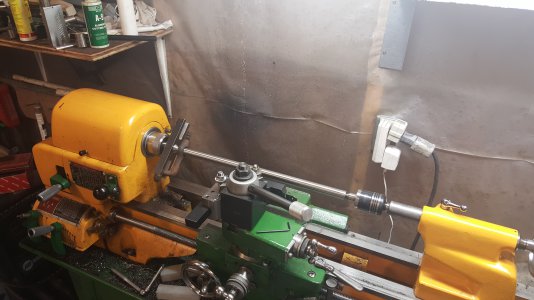
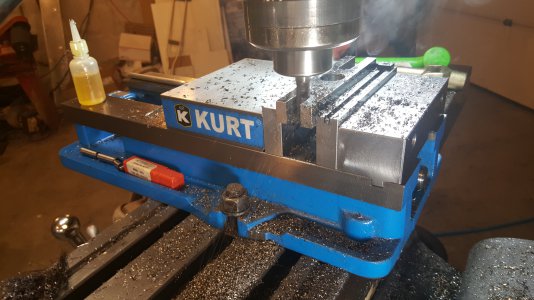
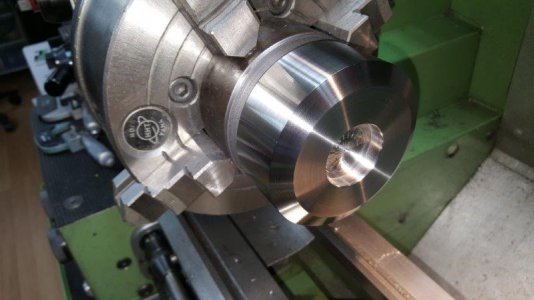
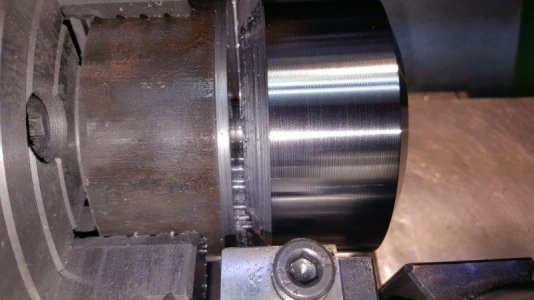
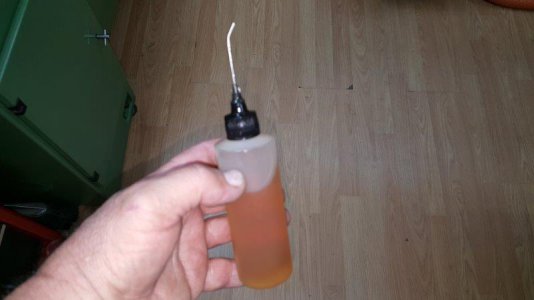
Picked up a free chunk of unknown hot roll while at a local shop today, approx. 4" long by 3-1/2" round. Perfect size for my latest project. I was going to wait till finished before posting but thought I'd post now, only to show the applicators I use for various cutting fluids. I did and still do use a small acid brush when coating the hot scale on metals before turning, only to control the dust created. However, especially when parting, I don't like using a brush because of the mess and all the wasted oil. I use small 4 oz. plastic bottles with needle applicators that can apply oil directly into the cut gap and onto the area being cut. I have about a dozen bottles with different oils for different metals and in various locations, including 2 drill presses and the milling machine. Continued tomorrow............


20150728_181943.jpg 20150728_183043.jpg 20150728_183111.jpg 20150728_185231.jpg 20150728_185614.jpg
 
Back
Top