2017 POTD Thread Archive

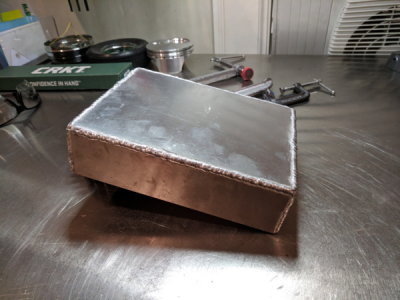
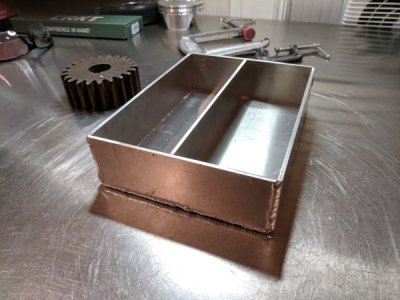
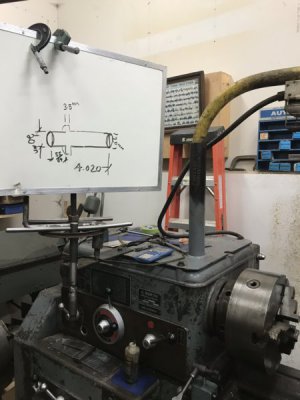
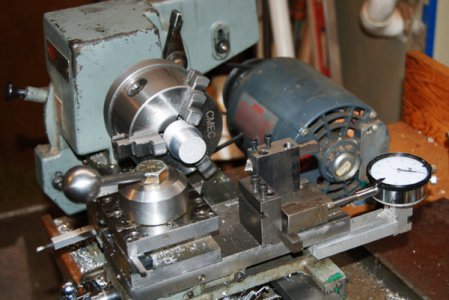
It seems like I've spent the last 3 years building a lathe out of my Clausing MK2. This week I put a digital indicator on the cross slide. I still need to fine tune the stop device. Its a pile of steel blocks.
Now I can get back to making torque meters (120 inch ounces)

Clausing indicator mount.jpg

When not in use, it tips back and a cover is held on by a rubber band.

Edit, fix typo.
 
Last edited:
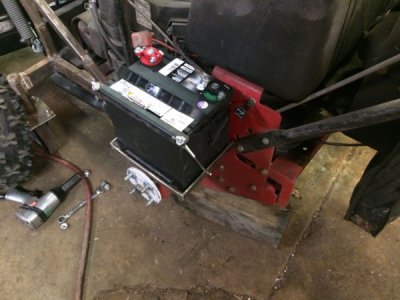
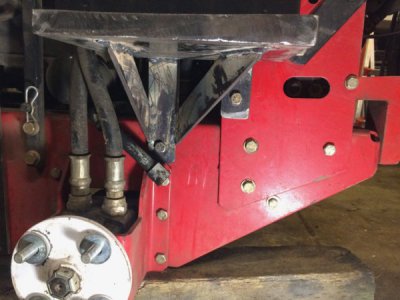
The walk-behind mower that I made a plow attachment for was having trouble starting when it was a little cold out (below 0C), and while taking apart the carb to make sure it was working ok, I saw in the service manual for the engine a table for what size battery should be used (well, what CCA is needed) to start the engine for a variety of temps. I looked at the battery it had, it just has 12V, 20 Ah, no CCA, but other batteries of similar size and Ah, were between 150 and 200 CCA, and the manual says that to start the engine below -10, it needs about 400CCAs. After googling for quite some time, a battery with similar posts (with small screws) of about the right CCAs (400) would be about the same size as a small car battery (so I would need to make a new battery support either way), but cost 50-100% more than the car battery, while the car battery would have a higher CCA. So, today I bought the small car battery, a couple of battery terminal connectors, and some hold-down straps, and then fabricated a battery support.

Pics of the existing battery & support are here (you can seem them in a couple of the pictures):
http://www.hobby-machinist.com/thre...in-your-shop-today.14637/page-351#post-529625

Here's the one I made:
IMG_1033.jpg
IMG_1034.jpg
As usual, it is slightly overbuilt, in the battery is about 40 lbs or so, and the battery support had no problem supporting my full weight (270lbs).

While it's not particularly cold now (+5, and warmer in the garage), this battery definitely spins the engine better than the other battery would in the middle of summer.
 
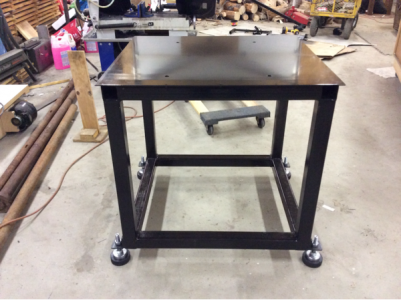
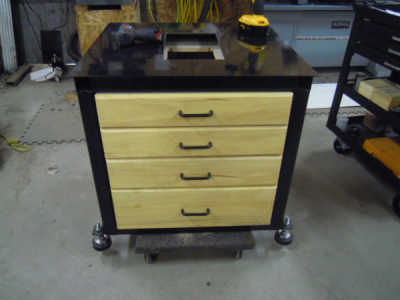
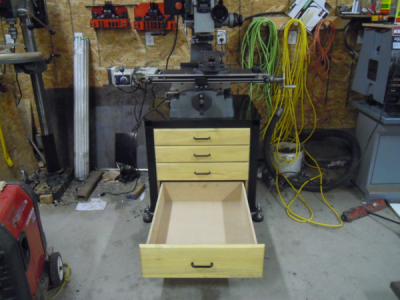
Finished my mill stand and now I have storage under the mill instead of wasted space.

The steel frame all welded and painted, with the hockey puck feet installed. I welded nuts to the underside of the table so I didn't have to fiddle with trying to reach under the table to hold the nuts while tightening the bolts from the top side.
1513391995637.png
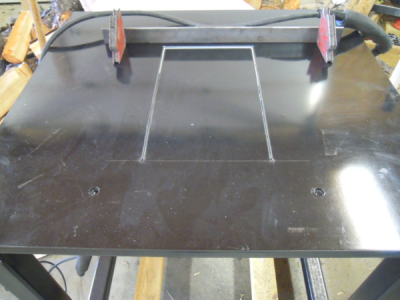
I realized after painting it, that I need to be able to access the underside of the mill to adjust the Y backlash so I had to cut a hole in the top. Great I'm going to mess up the paint and it's going to stink up the shop. I used the plasma cutter and was amazed at how well it cut, without burning the paint.
1513392283093.png
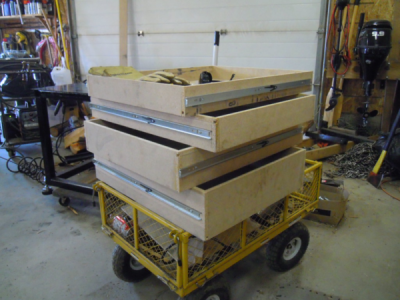
Got the drawer boxes done.
1513392376495.png
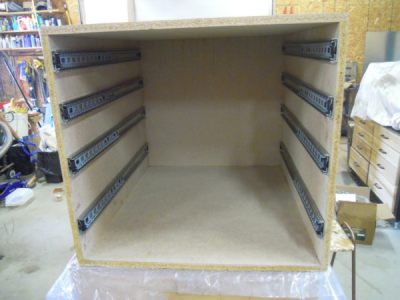
Then the drawer cabinet with the slides mounted.
1513392451660.png
Drawers installed, drawer faces installed and ready to move into its final home. The drawer faces were made with some cottonwood I milled years ago and had sitting in the shop for some future projects. I guess this was one of them.
1513392615768.png
I used the tractor to pick up the mill and set it on the stand, then picked up both together and moved them into place. All levelled and ready to use. No more milling tools spread all over the shop. Yoooohhhhhoooo.
1513392803683.png
I was worried that my measurements for the bolt hole spacing might be off and I wouldn't be able to bolt the mill to the nuts I welded to the underside of the cross members, but all went well. Now to fill the drawers.
 
HBilly
Awesome stand. Those drawer faces are sharp. Great job
 
I spent most of the day tweaking on the shaper. Over the last while it had developed quit a pronounced "thunk" at the turnaround of each stroke. It's really hard to see inside while the machine is running, but the best I could determine was that there was too much play in the sliding block and it was knocking the sides of the arm on each change of direction.

The original block is bronze with a Torrington needle bearing, but I decided to try a new one out of UHMW instead. Here's the shaper itself trimming the ends of what will become its own new part. The material cuts nice with sharp tools, but there is a tendency for the "chip" to stay adhered at the end of the cut leading to a cluster of little sheep-like spirals on the end of your part. I discovered that a slight chamfer on the edge from a deburring tool reduces this tendency and you get a cleaner cut.
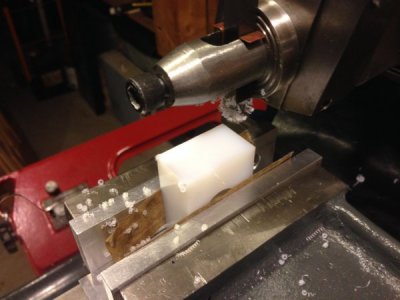
image.jpeg

To cut the oil passages I used one of my wood carving chisels, in this case a ninety-degree parting tool. It worked very well, and was almost effortless.
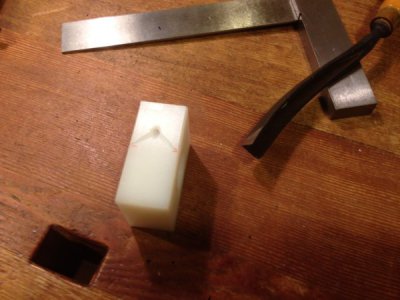
image.jpeg

The two pieces side by side. I'm actually quite surprised that the first bronze block has lasted this long, but the little "3" stamped on the face identifies it as original.
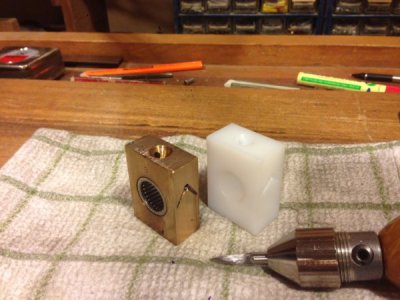
image.jpeg

My new block was a nice fit, barely clearance but smooth running on both the sides of the arm as well as the shaft.
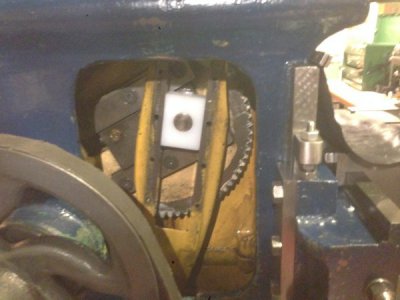
image.jpeg

And to hold everything in place, the cover plate gets screwed on with four round-head screws. No uncertainty on where to squirt the oil, eh? I love that old label, hand painted before the use of stickers.
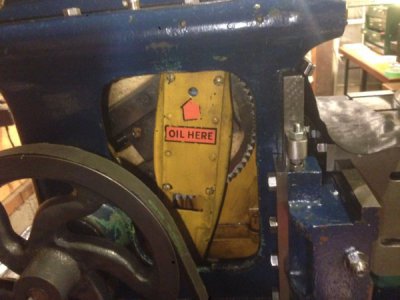
image.jpeg

Anyhow, it's all back together and runs smoothly. Still a bit of a thunk that I may have to chase, but not nearly as bad. Thanks for looking!

-frank
 
Please let us know how it wears Frank. Mine is developing an intermittent thunk. Like you say hard to determine where its coming from. I was thinking it was bushings on the ends of the connecting rod, but maybe not.

Greg
 
Please let us know how it wears Frank. Mine is developing an intermittent thunk. Like you say hard to determine where its coming from. I was thinking it was bushings on the ends of the connecting rod, but maybe not.

Greg

Yeah I remember you saying that about yours, and I immediately made the connection to mine as well. You may be on a better track than I, as my efforts did not completely remedy the noise. So, I may have have got part of it, but not all of it. I will keep an eye on it though and let you know. Mine is pretty loosey-goosey by now in some respects, but I don't really run it hard.

-frank
 
Back
Top