- Joined
- Feb 17, 2013
- Messages
- 336
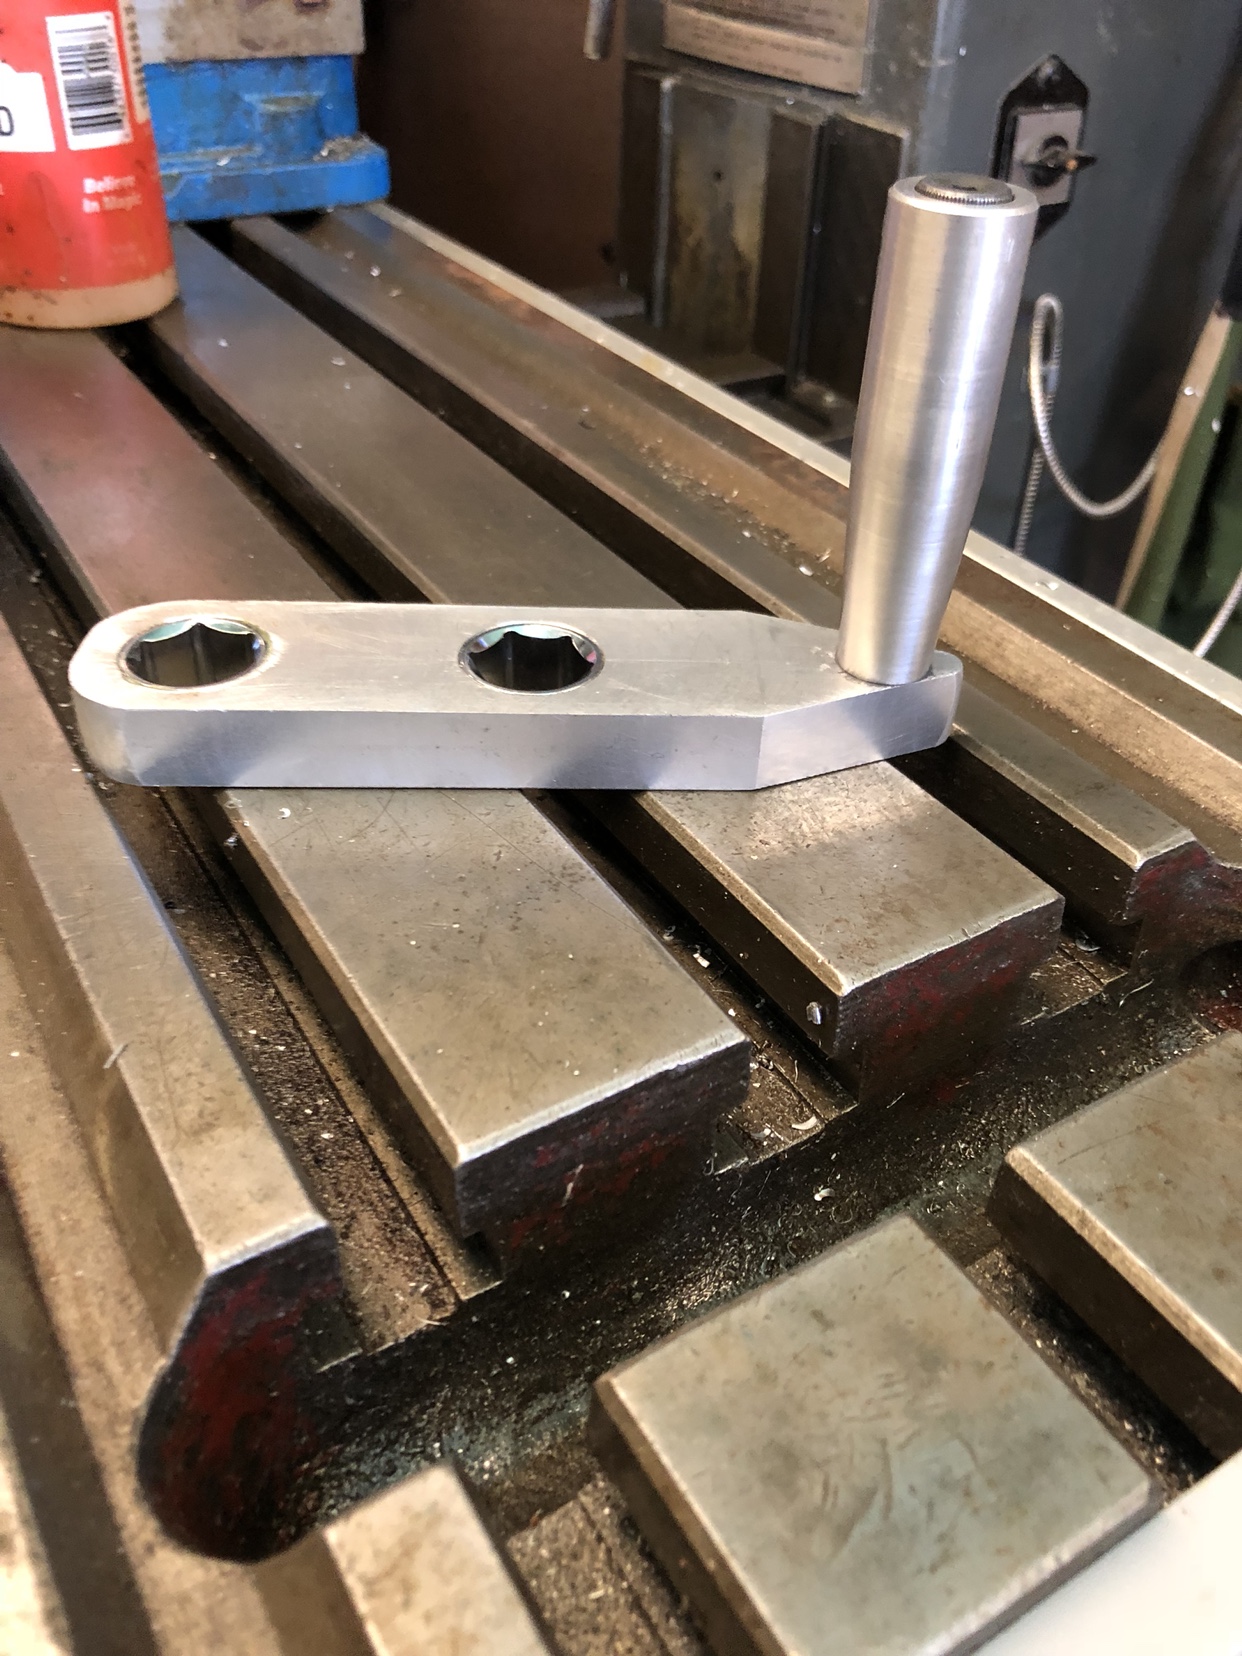
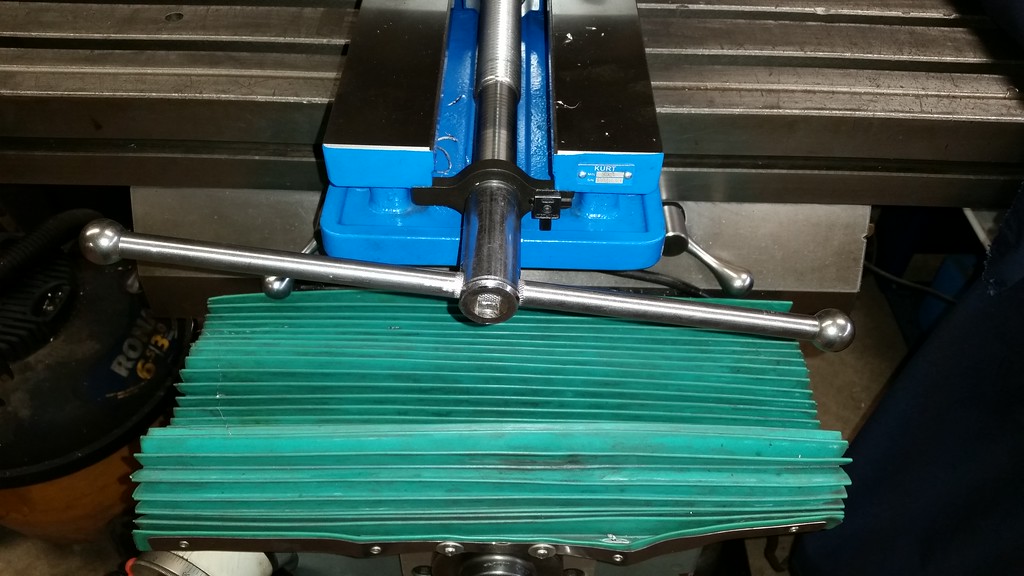
I used a cheap Mastercraft 3/4" socket, some 7/16" CRS and two 3/4" steel balls to make this speed handle for my Kurt vise. I drilled and tapped 3/8" holes in the balls and threaded both ends of the rod. I prefer just 2 arms on the handle instead of three like you see on most of them. It was nice to get out into the shop for a couple of hours for this.
Cheers
I didn't anneal the socket. I wanted to maintain the hardness so the handle won't come loose over time.I drilled through it with a 3/16" then a 7/16" carbide end mill instead of drill bits and it was pretty easy. The knurl increased the OD of the handle enough that it is a very snug press fit into the socket. I used the hydraulic press at work to install it. I used this particular socket because the 3/4" hex on the inside runs the entire length of the socket so it slides all the way onto the vise screw and it's very secure and wont fall off.
Got the balls from this eBay vendor.
http://stores.ebay.ca/Gosenindustry?_trksid=p2047675.l2563
I got these stainless ones.
https://www.ebay.ca/itm/3-4-Inch-19...aring-Balls-/322272643622?hash=item4b08f24a26