2018 POTD Thread Archive

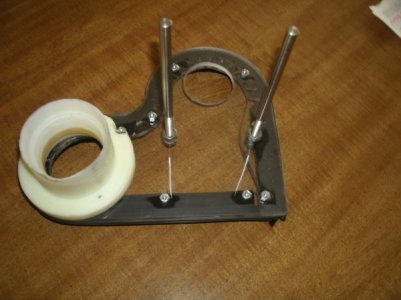
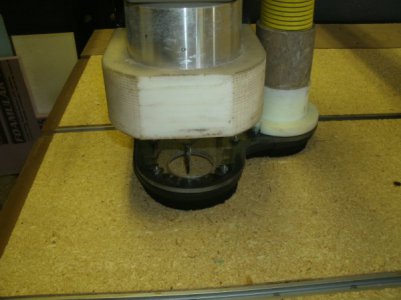
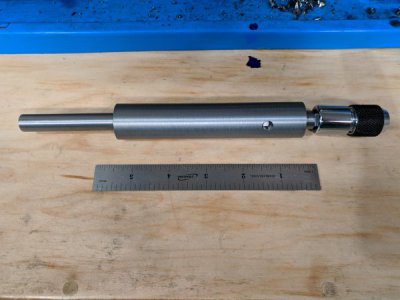
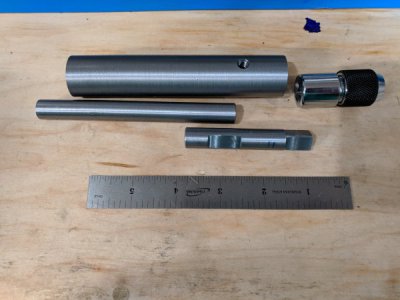
A simple tap, and later die, holder to keep things centered up. Still needs a cross bar, I might make that threaded for easy removal when it's not needed. And maybe knurling later, but I lack a decent knurling tool.

Kind of simple, but I had to learn some new techniques. The tolerance ended up being enough to feel vacuum pulling the guide rod and chuck adapter out.

The inspiration is mostly from this unit. https://www.neilsniche.com/lathe-tailstock-tap-die-holder.html
IMG_20180828_235318.jpgIMG_20180828_235429.jpg
 
A simple tap, and later die, holder to keep things centered up. Still needs a cross bar, I might make that threaded for easy removal when it's not needed. And maybe knurling later, but I lack a decent knurling tool.

Kind of simple, but I had to learn some new techniques. The tolerance ended up being enough to feel vacuum pulling the guide rod and chuck adapter out.

The inspiration is mostly from this unit. https://www.neilsniche.com/lathe-tailstock-tap-die-holder.html


View attachment 274636View attachment 274637

Nice job! Simple yet functional. What are you using to drive the tap? Looks like some sort of chuck with a square drive. Did you make it or purchase it?
 
Nice job! Simple yet functional. What are you using to drive the tap? Looks like some sort of chuck with a square drive. Did you make it or purchase it?


Thanks! The chuck is made by Irwin for 3/8" square drive. They are designed for socket wrenches, but obviously that's harder to keep straight. They come in a 2 pack, <1/4" and 1/4-1/2.

I'm considering making the guide rod spring loaded as well, so it will follow along without my help.
 
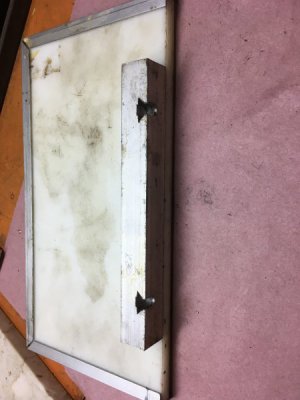
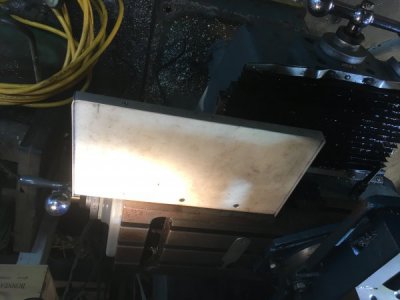
Not today, but awhile ago I noted that I was constantly moving a project back and forth from the lathe to the mill, and especially all the tools that went with it. So I built a small tray that I could hook to the mill table, collect the particular tools needed, and when it was time for a lathe operation, pick up the whole tray and move over to the lathe.

There must be a zillion ways to do this. Here's one more:

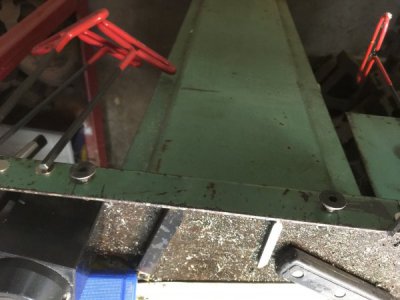
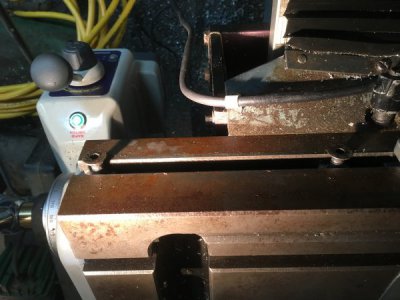
I used a piece of Delrin for the tray, and surrounded it with some aluminum trim to keep parts from rolling off. I used flathead cap screws with homemade T-nuts to fit the slot on the front vertical edge of the mill table, and did approximately the same to the bench the lathe is on. Then cut some matching dovetails in an aluminum bar and attached that underneath the tray. The idea is I can just lower the tray with the dovetails onto the cap screws, which are adjusted just right in depth to allow the tray to fit snugly without wobble, yet it's easy to lift off. Repeat at the lathe.

This worked out great and I use it for every project.

Pictures are terrible, sorry, but you get the idea. And, they are right side up on my computer. $&%^#*(Table dovetails.jpgMill Table.jpgLathe attachment.jpgMill attachment.jpg
 
I applaud your tray, easy to move everything from point to point.

In my "business" I accumulate large quantities of small pieces (1/2" by 3" by 6" for example) of Balsa. I've taken to sticking all the drill bits and taps I use on one job into a piece of balsa, then keeping that piece with the tooling in a small box with other parts/details/fixtures of/for that job. I buy small bits and taps in small quantities so I have multiples of them.
 
Yep, good idea. I suppose Styrofoam would work for those of us without much balsa around.
 
Finally made a tap follower-stainless:

44367466591_412b103666_h.jpg

43650931704_25ece2b0e9_h.jpg

Robert
 
Last edited:
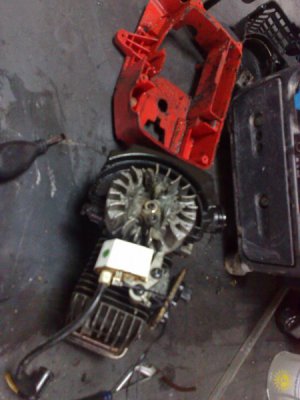
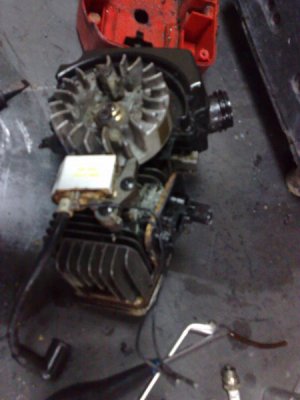
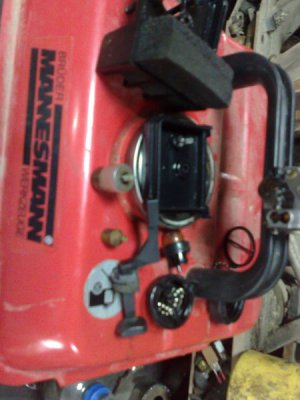
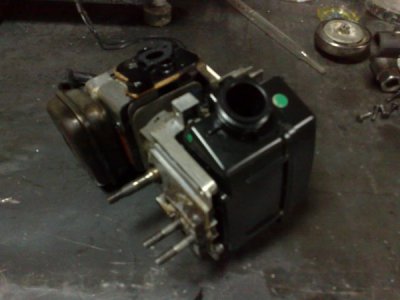
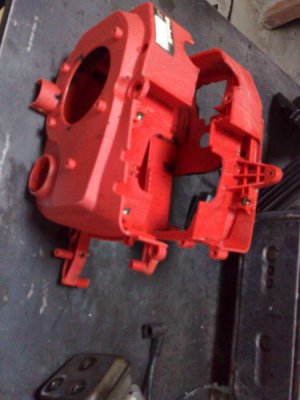
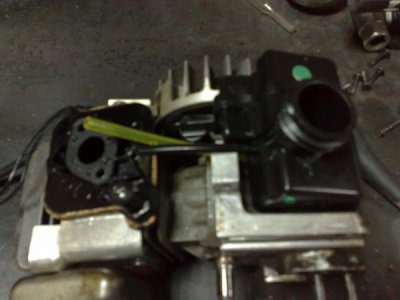
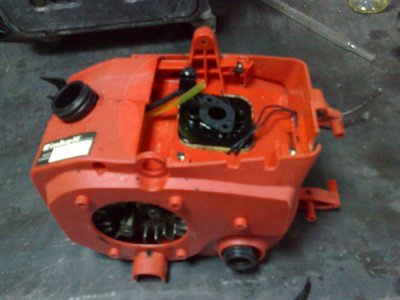
Couple of days back i bought an used chainsaw that needs some work, i'm busy at work plas i still have back pains, so i took it at few small engine repair shops, and was staged at the prices to replace the fuel lines and service it several of them exceeded the price of a new chainsaw it was so bad i had to tell one guy "Are you for real". So the chainsaw massacre began, i had to take the entire chainsaw apart and just as i thought some put gasoline in the oil tank wich melted the oil line and the oil filter was just rattling around. And probably why the entire saw is covered in oil, the fuel tank had some thick oil in. The carb still has its protective locks on the adjustment screws, i'll leave them on till i get it running, next i'll have lots of parts to clean and assemble but is not worth how much the small engine shops are asking and i doubt they will take this much time to disassemble and clean everything.
28082018011.jpg
28082018012.jpg
28082018013.jpg
 
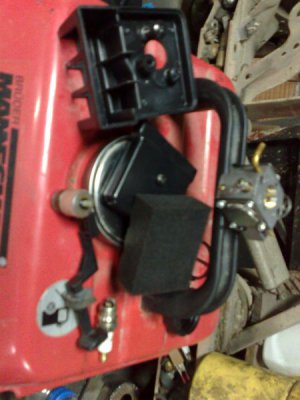
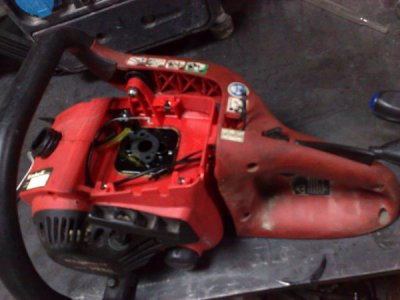
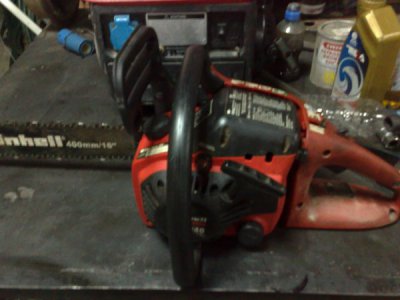
The chainsaw massacre continues, i used gasoline in a pan and a paintbrush to clean the engine and some of the more delicate parts, for the rest of the engine plastics i wash them with my pressure washer the handle is not oily so i let it alone, i did wash the air filter with engine degreaser. It was a hot day so after an hour in the sun all the parts were dry, the first thing i install all new fuel and oil lines then i assembled the plastic housings, after that the handle, clutch, carb then i fill it up with fuel, oil and it fired right up but the oil pump did not supply oil to the bar, so i used a syringe to draw vacuum to prime the oil pump, that did the trick after that i install the bar and chain and assemble the whole thing ready for use.
30082018018.jpg30082018019.jpg
30082018020.jpg
30082018022.jpg30082018024.jpg30082018027.jpg30082018031.jpg
 
Back
Top