2019 POTD Thread Archive

I assume you're talking about the line engraving tool. If so here is a video made by the inventor, Harold Hall.

If you Google "Harold Hall" you can visit his website. There is a huge amount of information there and a bunch of videos. I've spent a lot of time there.
Actually, I was talking about the advanced grinding rest. But I found it by visiting Harold Hall's website. Whoa! That guy's got a lot of useful stuff! I bookmarked it for future reference. Thanks.

Regards,
Terry
 
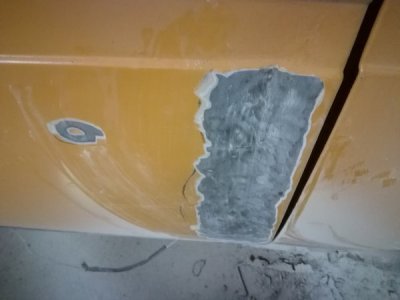
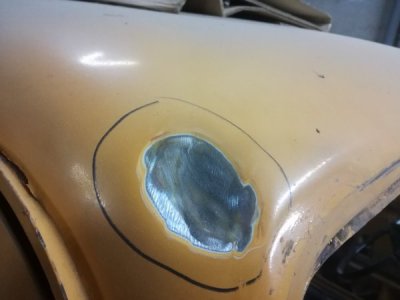
Today i spent most of my day at work, but i still wanted to keep working on the Little Niva, the passenger door has been bent backwards couple of times, and some one has fill the big dent with 2 types of body filler and then got bent again. Cracking the fillers and making evan bigger dent also bent the hinges, so i'll need to take off the door but wanted to remove most of the dent with it still attached, the plan is to build a slide hammer with a clamp and weld tabs on the indented places, there is 2 more layers of steel on the inside so hummering from the inside is impossible. I started by removing all the paint from the door and the dent on the corner of the roof, just as was going to start to work on the slide hammer i had to drop everything and do something else.
289280289281
 
Continued my broom project (from here https://www.hobby-machinist.com/thr...you-make-in-your-shop-today.67833/post-646924).

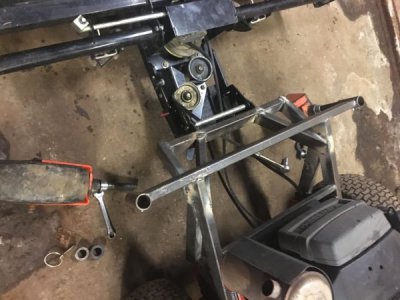
Made the main attachment point for the broom attachment. Still have to mount some extra weight up front (as the Husqvarna drive module has it's center of gravity behind the drive wheels, and there's not a lot of weight right now on the front of it [the brush doesn't put any weight on the front end]), and add a lever or electric actuator to raise/lower the broom.

289332

I cut out the bar that was going to hold the jackshaft used to drive the brush, as it was just too close to the pulley on the broom to support the twist in the belt needed to drive the broom in the correct direction. Tomorrow I'll work on making a bracket to mount the jackshaft on, that bolts to the drive unit behind the engine. Mounted there, it will need a longer belt, so it should have no problem with the twist over that distance.
 
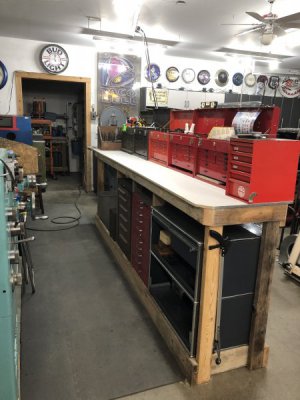
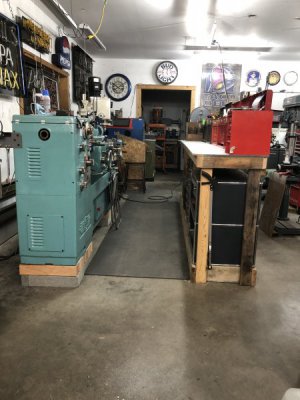
That's great, all your tooling-tools are handy. Having that horizontal work space right behind you provides many options.
I plan on incorporating tool boxes in my custom made shelves to hold tooling-tools. I don't have sheet metal equipment.
My large lower tool box will be right below the work bench top.
Nice job.
 
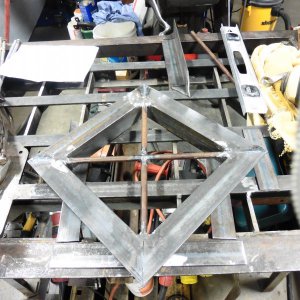
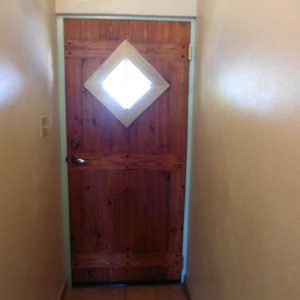
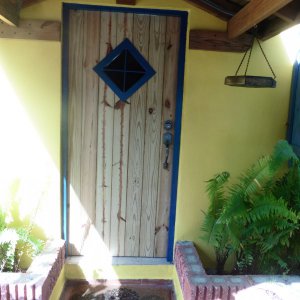
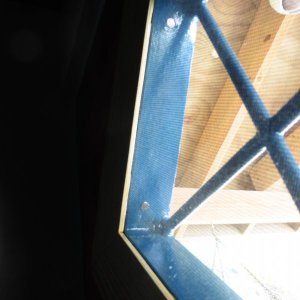
Been working on this for a while. Welded up the window assembly from 2" angle end of Nov., just before we left for PR. Not shown in the pics is the backside of the window frame retainer. Made from the pieces of flat stock on the welding table. Welded three pieces together in a U shape and welded 7/16" pins flat to the center section of the U and drilled the section of the window frame that protrudes through the door to receive the pins. same deal with the fourth piece of flat stock that closes the U on the other side. The inside of the door is routed out to accept the retainer, and then covered
with the wood trim piece which holds the screen in place. Inside of the door is stained, with 3 coats of satin poly. The out side I will let weather and darken until we get back next year and then use a penetrating sealer. No metal fasteners of any kind in the door construction. The 3 cross pieces are a firm push fit 45 deg V way on both edges much like a mill table, with a little glue added, an then drilled and pegged with pieces of 7/8" broom handle. The whole thing is amazingly solid. The wife is thrilled being able to see out the door and watch the Banana Quits on the feeder. Cheers, Mike289337289338289339289340289341289342
 
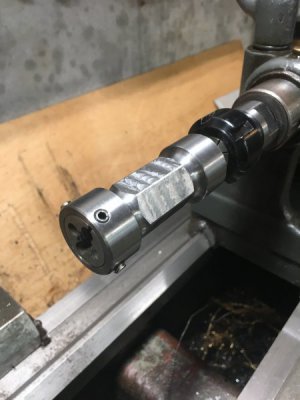
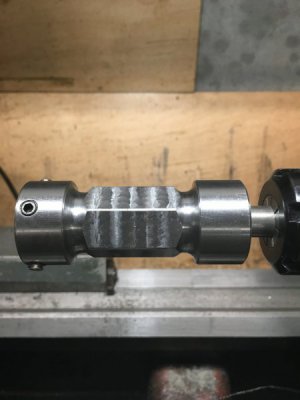
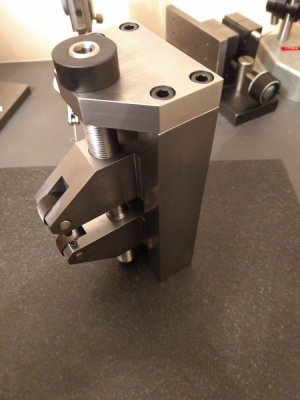
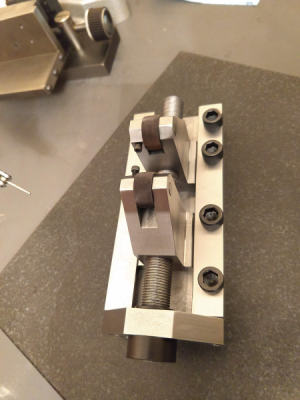
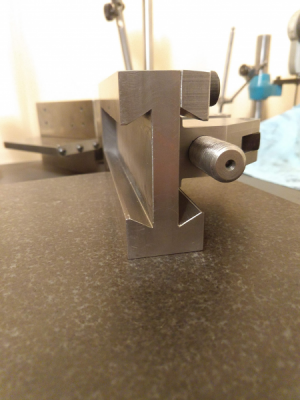
I made another knurler over the last few days. Got the plans from Doug Ross. had some hickups hence the larger cap screws that aren't countersunk but all in all things went well. The 4-40 screws are temporary as I didn't have any grub screws that size. I made a Delrin collar to keep the feed screw in place and broached the Hex on the end. The only thing I haven't done is the screw that keeps the knurler on center.
289408
289410
289411
 
Continued on with my project from https://www.hobby-machinist.com/thr...you-make-in-your-shop-today.67833/post-647558

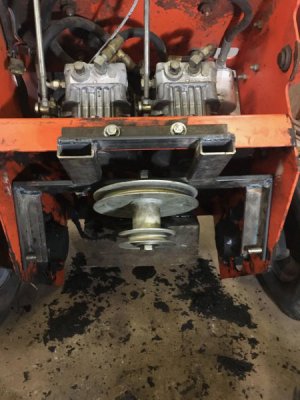
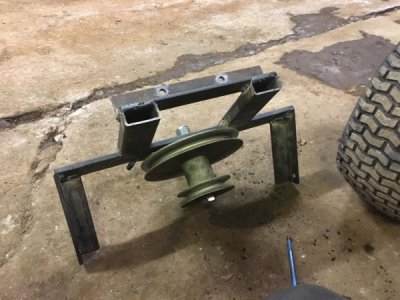
Made the mount for the jackshaft that reduces the speed of the engine to drive the broom attachment so it mounts behind the engine, so the belt to the broom is long enough to have the twist in it needed to run the brush in the correct direction.
289443289444

Hopefully this is rigid enough for the pulleys, as both belts will be pulling it forward, and the bottom one has a very strong idler spring on it, but it should be ok. The bar the pulley is mounted to is 2x3/8", and the primary pieces preventing that from twisting are the 2 2x1x1/8" rectangular tubes, notched and welded all around the bar.

I almost nailed the top pulleys location right off the bat using measurements, but once it was welded together and installed, the top pulley was 1/8" out of alignment with the pulley on the engine, so I made a spacer to drop it down to get it right in alignment. Once I get a belt for it, I can figure out how/where to mount the spring for the idler to keep the belt under proper tension.

And while I was under there, I noticed the belt driving the wheel hydraulic system was missing chunks, so I'll get a replacement for that as well.

So, tomorrow, some shopping for belts and nuts/bolts for this mount, then I spend some time figuring out how long the belt to the brush should be. It's a bit more difficult to figure out, as it has to support lifting the broom as well
 
Back
Top