2019 POTD Thread Archive

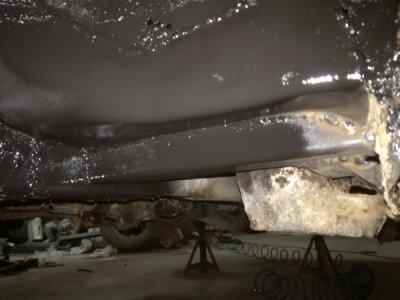
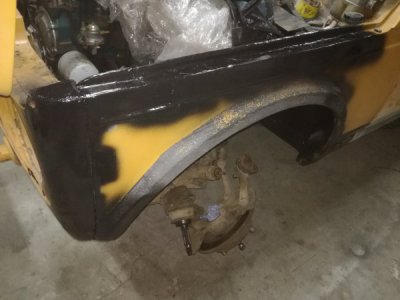
Today i've put in 14 hours at work, so i have no more energy or time to do any bit work on the little niva, but i did what i could, i clean up my mess from yesterday, put away the tools swep all the dirt, rust, grime from the floor then took a rag with some acetone wipe down the beer metal panels and gave them a thick coat of high zinc primer.
IMG_20190328_192118.jpgIMG_20190328_192124.jpgIMG_20190328_192108.jpg
 
Nice work! When I saw the first image on your video, I thought it was done on a "rose engine."
 
Maybe while you're rebuilding the Niva you could put some "training wheels" on it? :grin:

images


Great build so far, by the way.

-Ron
 
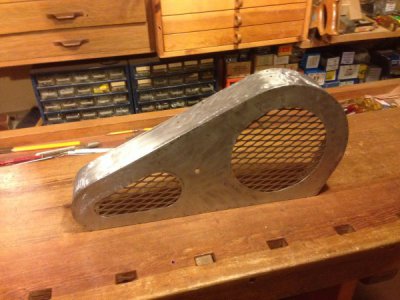
Did a little project for the nieces. Aluminum covers for magnets. You can use them in the shop to hold notes and drawings. I kept some at work before I retired


Sent from my iPhone using Tapatalk
 
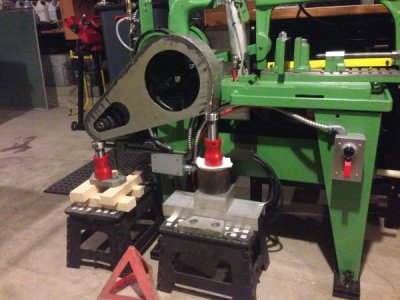
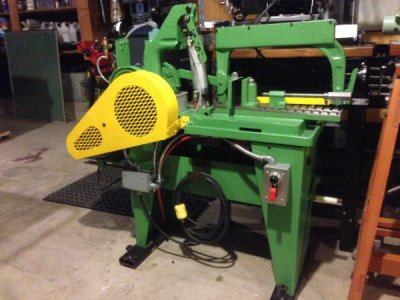
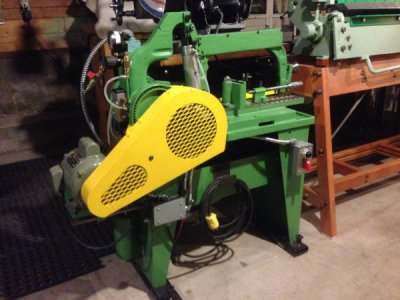
Been working at a new belt guard for the Keller. The originals were a type of plastic (polystyrene, maybe?) and really trashed so I've actually never had them on since I've had the saw running. I opted to make my new one from 20ga steel sheet that I salvaged from an old boiler shroud, and I was thrilled that I had a legitimate use for the jumbo jacks!

image.jpeg

image.jpeg

I'm not a welder by any stretch, but this worked out ok. A little paint in pseudo Keller yeller, and away we go. Thanks for looking!

image.jpeg

image.jpeg

-frank
 
I built a tool grinder a LONG time ago to grind cutters at 14 1/2 degree (acme thread) to cut teeth in a rack with the shaper, Intended to make other attachments but this is the first in about 6 years,
A lot of web surfing gave me a few ideas that I blatantly stole and combined to this.
First is a jig to align and position the drill bit in the holder. There is a finger on the far side of the angle iron, the flute it held against it and slid back and forth till the cutting edge is horizontal, then the stop is set behind the bit.
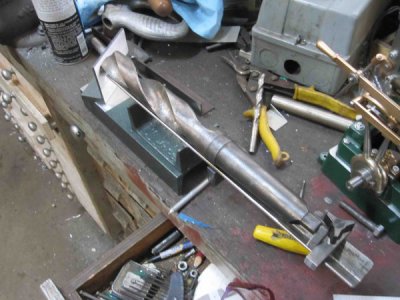
291808

The plate at the front swivels to the angle of the bit and has horizontal lines scribed to align the bit to.
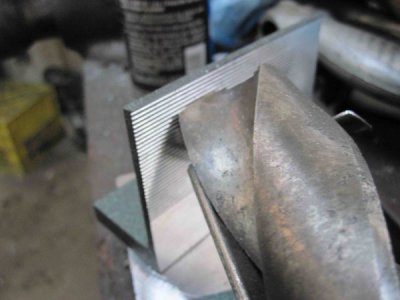
291809

The holder rests in this v-block. the cutting angle can be swung to what ever, here its set to half of 118 degrees and the clearance angle set at the bottom, here at 8 degrees.
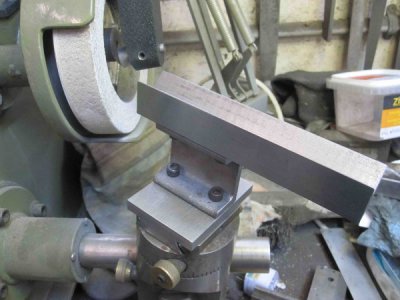
291810

There is a screw under the holder that sets the depth of cut. The whole thing swings back and forth over the face of the wheel.
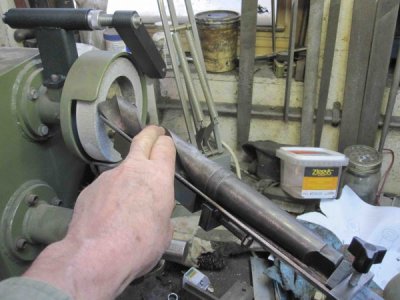
291812

Spark out on the first edge flip the bit and spark out on the other and you have two equal cutting edges.
This is a 1 3/8 bit, needed a lot of grinding to get it back to this after many free hand sharpening's.
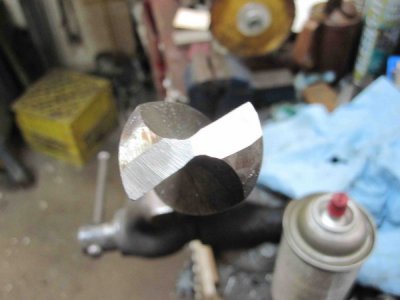
291815

The back clearance for the 4 facet grind was done by hand but could be done on this by increasing the clearance angle.

Guess made another attachment as well. The wheel needed dressed, I've been holding the diamond in the other work head but built a proper dresser for it.
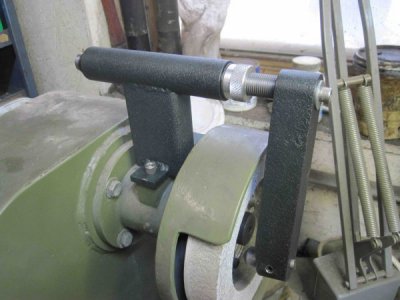
291816

As a side note, ordered some wrinkle finish powder coat and gave it a try here, like the texture.

Greg
 
I finished reshingling my garage roof last week (sorry, forgot to take a pic) with the help of my brother, and have started getting my equipment ready for doing spring cleanup. Last year I had issues with the motor for the bagger setup I made for my large walkbehind lawnmower (Snapper 52" Hydro walkbehind), in that it's using oil pretty good.

When I first made the bagger setup, I had looked at using a Gravely blower that was powered by the end-pulley of the mower deck, but I decided against using it. I forget the exact reason why, but probably because the inlet is wider and not as tall as the outlet on the mower deck, and I wasn't sure how to mount a secondary pulley on top of the existing end-pulley on the deck.

Well, I looked at it again, and decided I could make it work.

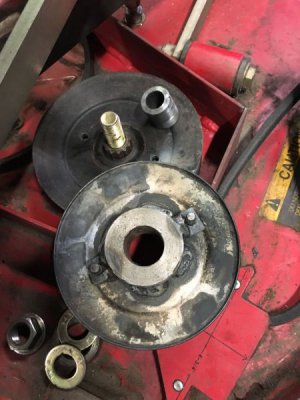
Here's the secondary pulley I made. I needed to use a steady for machining the center part of the pulley, to make the lip to center the weld-on pulley and to part it off of the rest of the tubing I had. I made some pins that engage with the bottom pulley, so it doesn't need to rely on friction between the parts to ensure the pulley turns (similar to the setup that Gravely uses for their secondary pulley).
IMG_1398.jpg

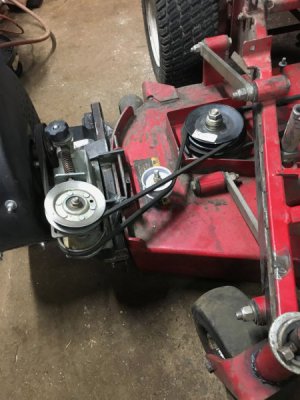
And this shows the blower mounted to the deck. I was luck in that the unused belt from my Gravely was just the right length (it came with 2 belts, which one you use depends on which size deck the Gravely has).df
IMG_1399.jpg

Tomorrow, I'll see how it works under power, chiefly that the belt stays on, and that the center pulley will stay in place (it's sitting on a fairly thick spacer, with a bolt holding it to the deck, but it's sitting up about 1.5" off the deck)
 
Back
Top