2019 POTD Thread Archive

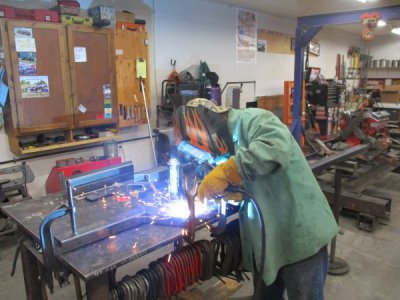
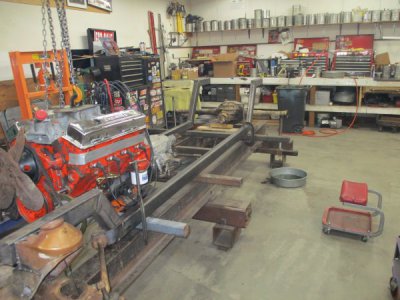
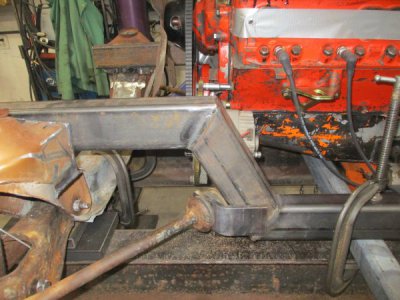
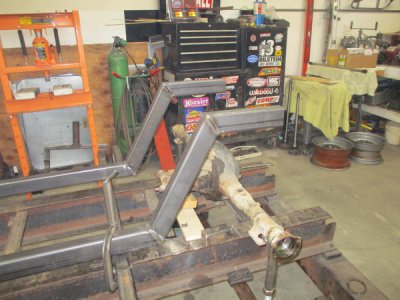
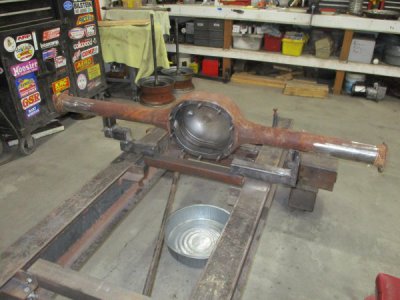
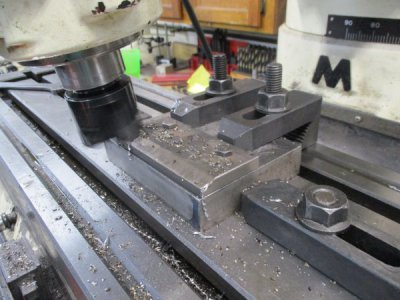
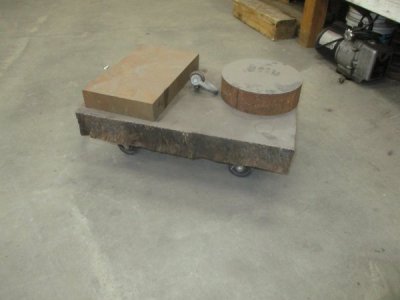
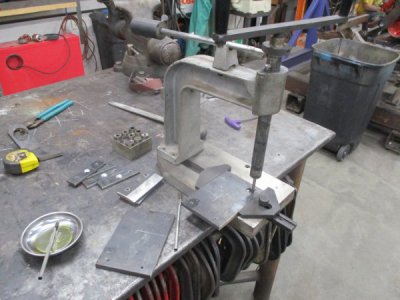
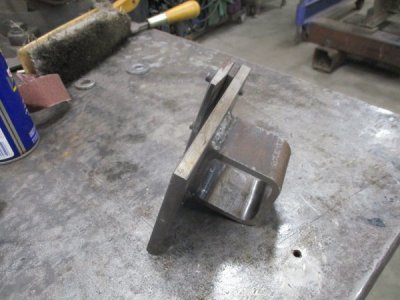
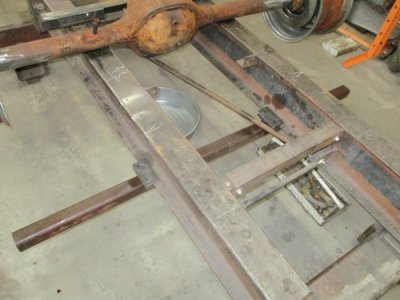
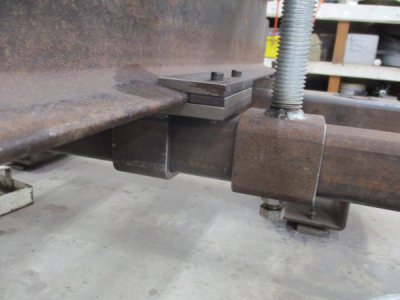
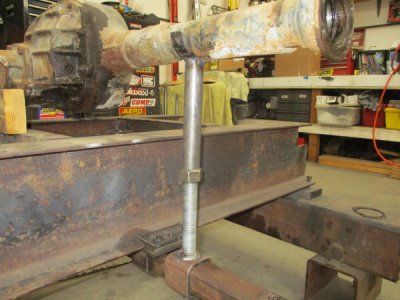
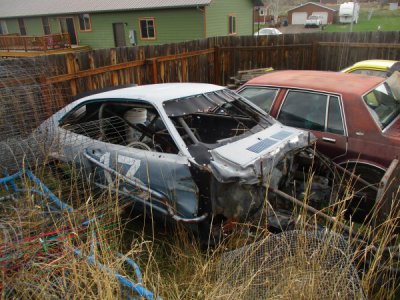
The season of turning, drilling, and milling is slowly giving way to the season of mowing, tilling, and grilling; here's one last project until I pick my pumpkins. I built my chassis jig in 1996, and have never liked the bracket we use to handle rear ends. As you can see the present version has been modified a number of times, it's OK, but I can do better. If it's in the way on top of the jig, then I'll suspend it from the bottom of the jig, first I need to build a pair of beam clamps. Here's how I cut the 8 degree angle to match the flange on the beam, I keep a lot of small pieces of steel around just for clamping, setting up ect. I bought this tapping fixture from ENCO when they were less than $80.00, it sure is handy when you've got a lot of holes. Here's one of the clamps with the hanger attached, my 2" x 2" square tubing parallels will slip through the 2 1/2" X 2 1/2" X 1/4" square tubing after a little massaging with a die grinder. Here's the clamp assembly and parallel fit up to the Jig. Here's a close up of the slider, it has a 1/2 " locking bolt on the bottom and supports the 1" adjustment screw, topped off with a peace of 1 1/4" X .120" tubing and a yoke made of 3"pipe. Last but not least, the retired race car that has been storing the rear end for the last 20 years.
 

Attachments

  • IMG_0748.JPG
    IMG_0748.JPG
    55.3 KB · Views: 35
  • IMG_0749.JPG
    IMG_0749.JPG
    58.8 KB · Views: 35
  • IMG_0751.JPG
    IMG_0751.JPG
    31.4 KB · Views: 35
  • IMG_0750.JPG
    IMG_0750.JPG
    54.2 KB · Views: 34
  • IMG_0752.JPG
    IMG_0752.JPG
    52.8 KB · Views: 34
  • IMG_0753.JPG
    IMG_0753.JPG
    47.5 KB · Views: 32
  • IMG_0755.JPG
    IMG_0755.JPG
    38.4 KB · Views: 32
  • IMG_0756.JPG
    IMG_0756.JPG
    57.8 KB · Views: 37
  • IMG_0763.JPG
    IMG_0763.JPG
    90.5 KB · Views: 73
Today i started on the Body work on the Little Niva, i still have some metal work to do on the passenger side but drivers side is done, so after couple of passes with a DA sander, couple of low spots revealed them self also i found couple of spots with cracking filler, so i grounded all the filler out, and started mixing and applying new filler, i also send ed the passenger door and applied a second coat of filler, and couple of spots on the trunk lid and roof unfortunately i did run out of sandpaper of the correct grid so i only put in 6 hours of work, also my injured back was acting up, i'll have to unbolt the doors to repair the hinges and adjust them, so i may just remove them and i can do the bodywork on sawhorse and save my back. Only issue is bolts that hold them are tapered phillips screws that had 40 years to rust in place and are made from russian steel, but that is a job for another day.
IMG_20190427_180222.jpgIMG_20190427_191259.jpgIMG_20190427_191240.jpgIMG_20190427_191235.jpgIMG_20190427_191308.jpg
 
Time for fishing.... so I cleaned and gutted a brass fish.

I have been making a fly tying vise (it started as a big project to prove to myself that I can work a lathe as this project has turning, facing, knurling, indexing, boring, off-center turning, threading, ball turning, etc). I still need the base, but the base I want to make called for a brass fish, which I ordered off of eBay. Since I needed a flat surface on it, I wanted to cut it in half. That took me a bit to figure out, but here's how I cut a brass fish in half.

First, I built a box to hold the fish :
IMG_7786.jpg


Next, I filled it half-way with Plaster of Paris, and used a blue sharpie to mark the box of where I wanted to cut through the fish :

IMG_7788.jpg


Then let it cure, finish the line, and feed it through the bandsaw :

IMG_7792.jpg


IMG_7793.jpg


IMG_7794.jpg


IMG_7796.jpg


My heart sank when I realized I missed the mark (or the fish moved after I marked the box). Next time, I'll only fill it half way with plaster so that the base of the fish is anchored to the box (which will give me a good surface to use as the cutting surface). Still, I will use both of these for the base. The whole vise is looking like :

20190428_114653.jpg


We'll see if I can find the time to finish it. I'll probably post it as another thread somewhere when I'm done with the full step-by-step instructions.
 
Today is one of those rare days where i have free time during the day, i usually work in the garage at night, but that may be the luck i had today. I started with removing the passenger door, the bolts have never been off and are made from some soft steel so they strip easily, from 5 bolts only one let go with a screwdriver and one more with a chisel the rest i had to drill out, thankfully however assembled the car put a slab of wax or grease on the back and the bolts did not rust away, in fact it was easy to remove the threaded parts of the bolt, i did use carbide drill bits but all of them come off, that left me time to visit a junkyard and the hardware store to buy some more sandpaper.
IMG_20190429_122622.jpgIMG_20190429_122631.jpgIMG_20190429_122640.jpgIMG_20190429_122655.jpg
 
Back
Top