2021 POTD Thread Archive

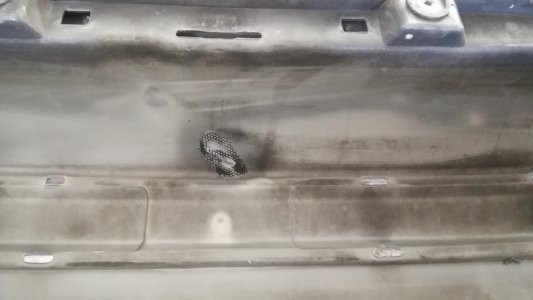
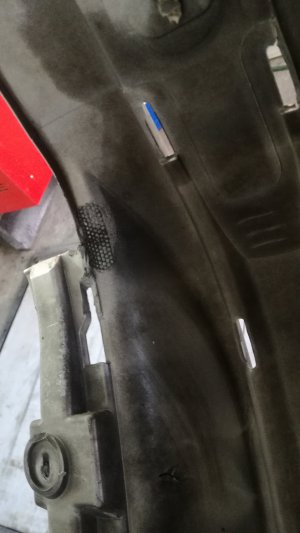
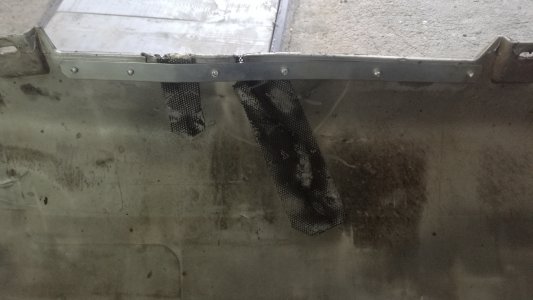
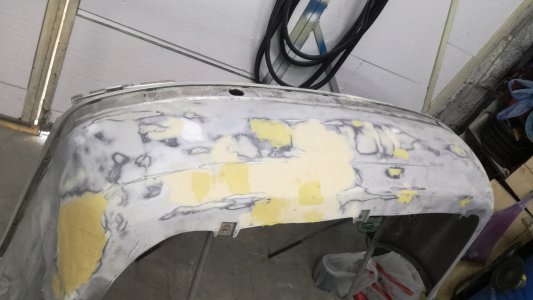
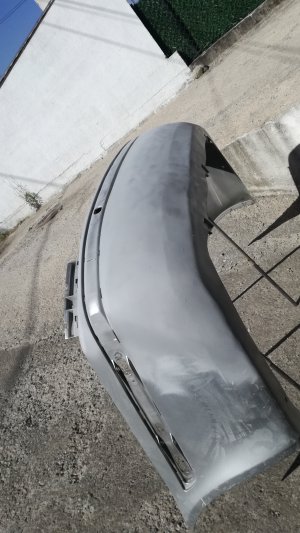
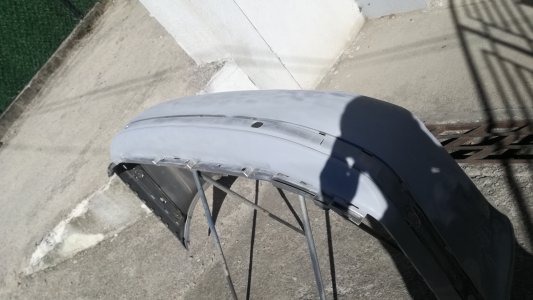
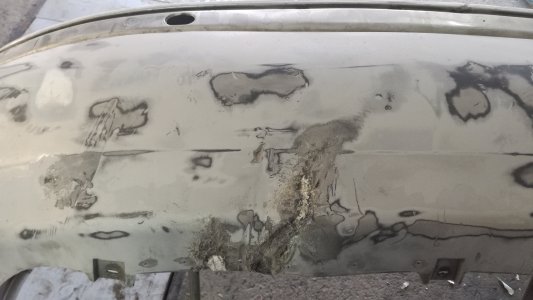
Today i'm back to repair the rear bumper, this thing is really destroyed but it's made from good quality plastic and new ones are rather expensive. So my brother spent an entire evening peeling back the wrap and it revealed its been repaired before. A wash and a hand sanding later i used some thin metal for the bottom edge and wire mesh for the cracks, its been more than a year since my last structural bumper repair but i've managed to put it together, apply some cheap body filler and smooth over the bigger dents and scars. I'm not going for perfection, the impact bar has stretched it badly i'm just looking to make it presentable from few feet after couple of coats and sandings i've apply a coat of primer and left it do bake in the sun, tomorrow it needs wet sending and paint.
IMG_20210706_161220.jpgIMG_20210706_161229.jpgIMG_20210706_161308.jpgIMG_20210706_161313.jpgIMG_20210706_161322.jpgIMG_20210707_154556.jpgIMG_20210707_162146.jpgIMG_20210707_162152.jpg
 
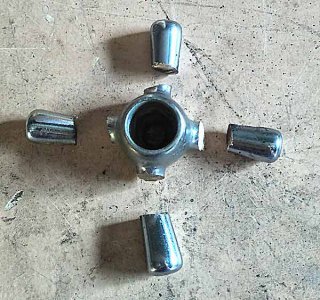
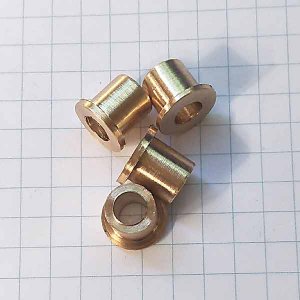
Had to make 4 brass bushes for my focusser units. I had made them in stainless but felt brass would be a tad smoother in action.
Problem! No brass rod, damn.
No Problem, got some chromed tap handles, maybe I can use these. So I lopped them off with a hacksaw
tap1.jpg
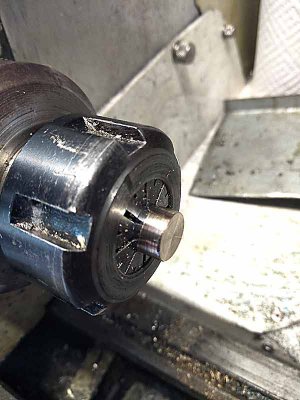
Squeeze it into a 10mm collet and turn the largest diameter possible removing the chrome.
The part in the collet was tapered so after having one work its way out I really had to torque them tight.
I was a little concerned that I might distort the collet but thought that brass is way softer so should be ok.
It was, phew.
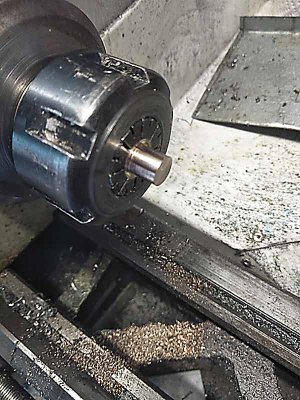
tap2.jpg
Reverse it into the same collet and turn down to 8mm dia and to length.
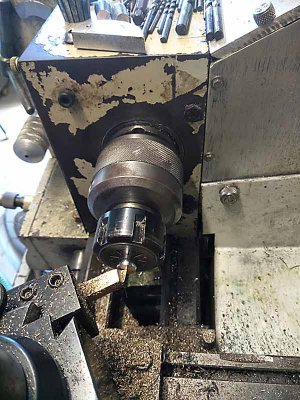
tap3.jpg
Reverse it into an 8mm collet and thin down the 10.6 dia to a 0.5mm flange, drill and remove.
tap4.jpg
giving me 4 brass bushes at my kind of price. Simples.
tap5.jpg
 
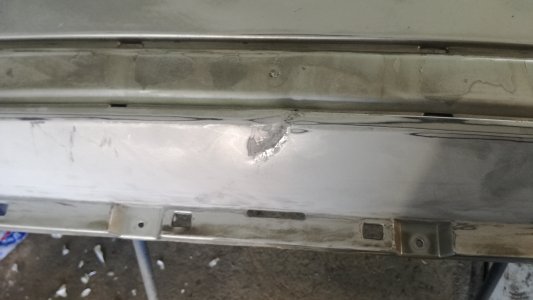
Today i'm back to repair the rear bumper, this thing is really destroyed but it's made from good quality plastic and new ones are rather expensive. So my brother spent an entire evening peeling back the wrap and it revealed its been repaired before. A wash and a hand sanding later i used some thin metal for the bottom edge and wire mesh for the cracks, its been more than a year since my last structural bumper repair but i've managed to put it together, apply some cheap body filler and smooth over the bigger dents and scars. I'm not going for perfection, the impact bar has stretched it badly i'm just looking to make it presentable from few feet after couple of coats and sandings i've apply a coat of primer and left it do bake in the sun, tomorrow it needs wet sending and paint.
View attachment 372348View attachment 372350View attachment 372351View attachment 372352View attachment 372353View attachment 372354View attachment 372355View attachment 372356
 
Setting up for deep ,deep boring

To day in the shop I started to set up for some deep boring.
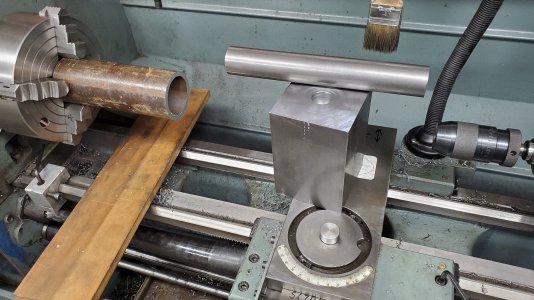
I have a job that calls for 6" long bushings. I will use 2 1/2" heavy wall pipe, the od gets turned and the id gets bored , I would like to hold +-.0015 on the bore. Boring 6" deep on my 14/40 lathe is a challenge. I've decide to do away with the top slide and instead mount a piece of 4" x 4" mild steel I have had kicking around for years. I intend to use a piece of 1 1/2" 1045 as the boring bar. I'm thinking I will use 3/8" square hss for the cutting tool. I think the hardest part of the build will be figuring out how to run the hold down bolts thru the 4 x 4. In the pic below I have the bottom of the 4 x 4 bored for the registration nub on the cross slide. Thoughts?
Wish me luck.

1626551195761.jpeg
 
4" long cap screws? 5/16-18 or -24 should be strong enough. Make a couple more T-slot nuts and use one bolt on each corner. Can't think of anything else that would avoid cutting into the side of the block, which sort of defeats the purpose of the block to increase rigidity :)

For the bar I would instead cut a pocket and drill/ tap for a TCGT or CCGT insert. Just as sharp as honed HSS with the benefit that if you dull or chip an edge, you can rotate the insert and get back to cutting without having to take the HSS piece out and rezero the cutter.
 
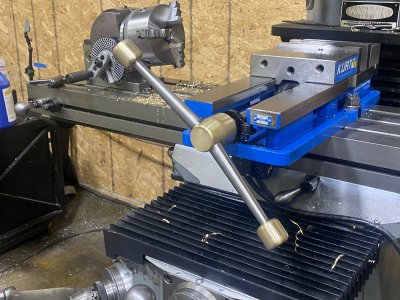
Had a slow night at work last night so made a new vise handle, I bought a cheap 3 arm version and one handle was always in the way. With 2, I can clock it out of the way. Brass and stainless from the treasure box and a 3/4" deep impact socket from an old set.

EF77917E-D75D-4CBB-A0C7-8C2B8F63E56A.jpeg
 
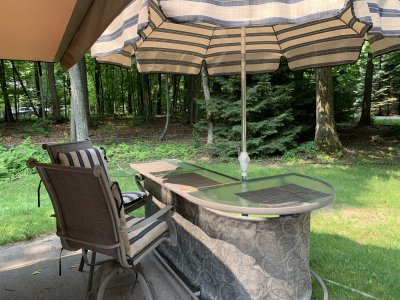
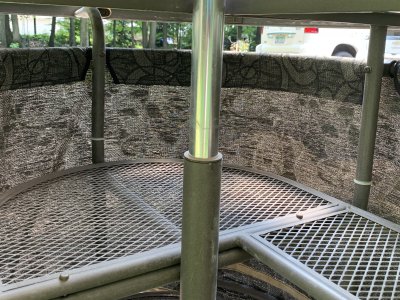
We had this bar in a covered deck area and wanted to move it. Problem was I put it together in there several years ago, it would not fit through the door, and it would not be easy to take it apart without scratching fasteners and the finish on it.

So I looked it over and saw if I could cut it in half through the 5 posts I could make some connectors to put it back together later. It has a cloth skirt that is permanent on top but Velcro’s on the bottom.

So I cut it.

79BE6A1C-ABC0-49CC-BBFC-7E621669B269.jpeg30061A89-F221-42D3-926A-5AB020E7AE33.jpeg5902D967-395F-461C-88BA-F676B486DB5C.jpeg

It worked out great.

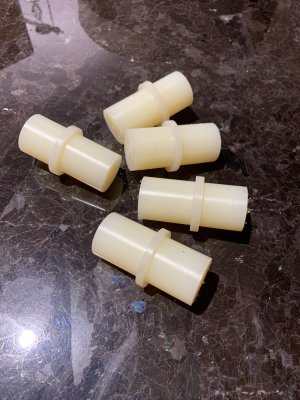
Those are nylon 6/6. If you have not used it then it is really worth a try especially for a beginner as it cuts very well and not hard on the tooling


Edit: Update

The bar and chairs were sold to a couple last weekend. Because it was cut and spliced like that they were able to take it apart and nest the two halves so it fit easily in their SUV with the chairs.
 
Last edited:
Nice job. Looks like the bar is open. Assuming Happy Hour starts at 5pm, make mine a Makers Mark Manhattan, orange bitters, shaken senseless, served up in a frosty martini glass, with a slice of orange. I tip well, if you have a hot young bartender. Cheers, Mike
 
Back
Top