Accidental hole in cast iron

Richard has a valid point. Do that wherever you can. Also, leave grinding lines on surface to give a good bite into metal. And you can always use aluminum fly screen for stiffening. Think mini rebars for concrete. Over 10 years of fixing old equipment, I have done at one time or another, everything suggested above. Your hole is in a non pressure housing, up top, and only subjected to "sling" oil on the inside and water on the outside. JB or equivilent epoxies will work fine, but do try to get a mechanical bite on the housing and make sure there is a little lip or something to keep the "plug" from ever falling inside.
 
Well this was an absolute adventure! :grin:
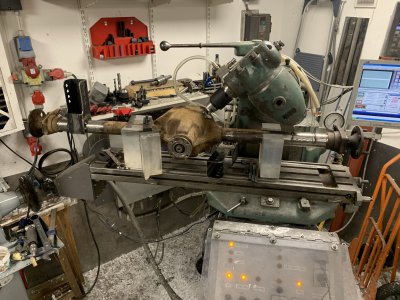
Milled out some brackets that fit snuggly around the axle tubes, roughly aligned everything and started flycutting a flat.
IMG_0456.JPEG

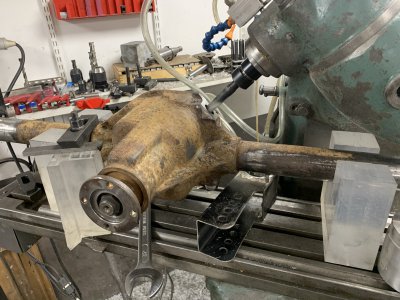
Next up very slowly drilling with a 19mm bit.
Very interrupted cut since the hole is oval.
Drilled roughly 25mm/1" deep so even tho the threads aren't great, there'll be a fair few to take the load.
IMG_0459.JPEG


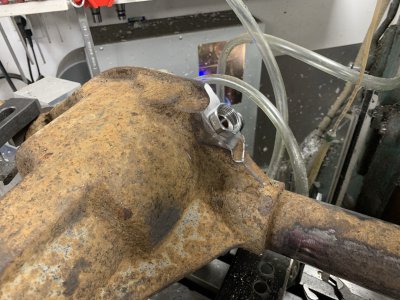
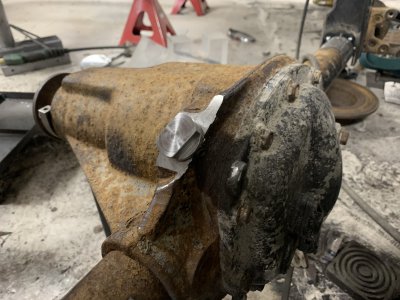
Tapped it with BSP 1/2"(Just what I had on hand in the right-ish size the hole.)
Testfitting with a generic plumbing bracket and seems to have worked out alright!
IMG_0460.JPEG


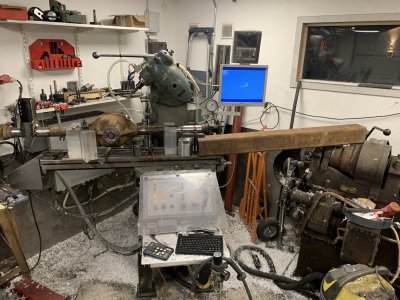
Hopefully you find this view as amusing as I did.
The table would seize up with the axle loading the table so far to the left, so I had to add this hefty square tube on the right to even things out, it's almost 12.5 / 1/2" wall thickness so weighs about the same as the axle.
IMG_0461.JPEG

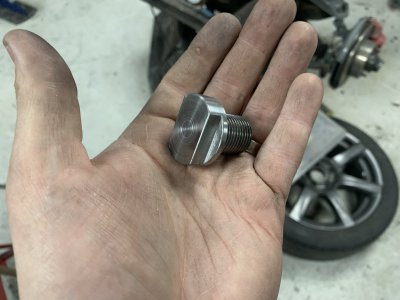
The idea is to either make a custom plug or buy a brass one, then seal it all up proper with JB weld.
This way the JB weld doesn't need bridge the entire hole.
 
I was looking at the bracket, but thought not with that pinion flange I'm thinking.
 
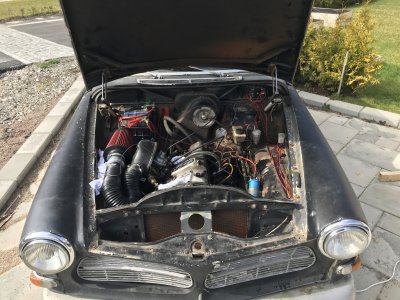
Not sure if i'd classify as a hot rod or race car but it started it's life as a Volvo 13134.
It looks decent but trust me, looks can be deceiving.
Lots of hidden rot..
IMG_8040.JPEGIMG_8109.JPG


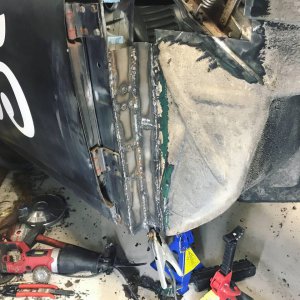
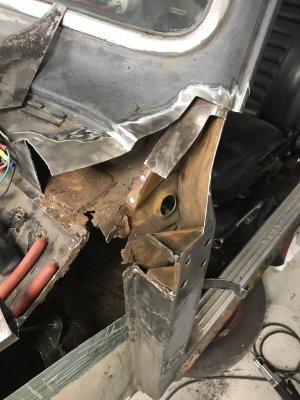
This is just a small sample of what i've replaced so far when it comes to sheet metal work..

175592-35277596859ff6534ff80b188301f404.jpg175592-60a564bc5980b2ed07f4f76930ce7b5b.jpg


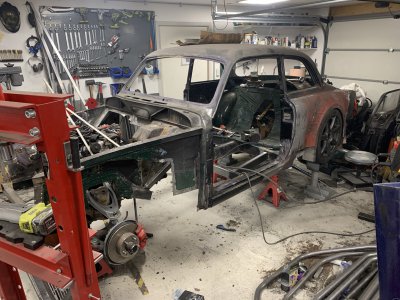
I'm currently reconstructing it with a completely different engine and rear axle. The 'new' rear axle being wider I've also reshaped the rear fenders.
Not to mention that I'm going from 14" rims with 165mm wide tyres to 18" and 245mm wide tyres.
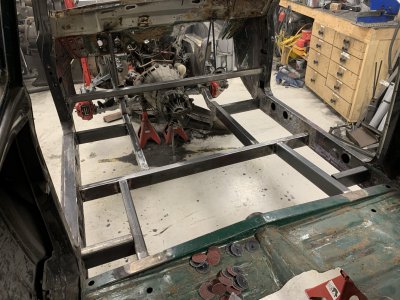
Currently working on a new 3 link suspension for the rear axle(which is what started this whole problem with the axle hole) and a new subframe since the old was rotted through.
The car will have a full rollcage, air suspension and almost 4 times the horsepower that it had stock but will be meant for the street.
Highly unlikely that I will take it racing.
IMG_0380.jpegIMG_0418.jpeg
 
Not sure if i'd classify as a hot rod or race car but it started it's life as a Volvo 13134.
It looks decent but trust me, looks can be deceiving.
Lots of hidden rot..
View attachment 359817View attachment 359818


This is just a small sample of what i've replaced so far when it comes to sheet metal work..

View attachment 359822View attachment 359821


I'm currently reconstructing it with a completely different engine and rear axle. The 'new' rear axle being wider I've also reshaped the rear fenders.
Not to mention that I'm going from 14" rims with 165mm wide tyres to 18" and 245mm wide tyres.
Currently working on a new 3 link suspension for the rear axle(which is what started this whole problem with the axle hole) and a new subframe since the old was rotted through.
The car will have a full rollcage, air suspension and almost 4 times the horsepower that it had stock but will be meant for the street.
Highly unlikely that I will take it racing.
View attachment 359819View attachment 359820
Awesome project! I love the unusual. When I saw the picture, I had to make sure that you weren't from the states!
 
Thanks!
What made you think it was from the states? Made me curious!

I was close to driving away and buying a plug but started questioning why I have all these tools if not to use them. :grin:
Quite decent fit and will probably seal up on it's own with some gasket material but rather be safe than sorry and will apply JB from the inside at a later stage once I have the differential taken apart.

IMG_0467.JPEGIMG_0470.JPEG
 
Great repair, but inquiring minds want to know exactly how you poked a hole through that casting, and will that dif hold up to all the new power? Cheers, Mike
 
Thanks!
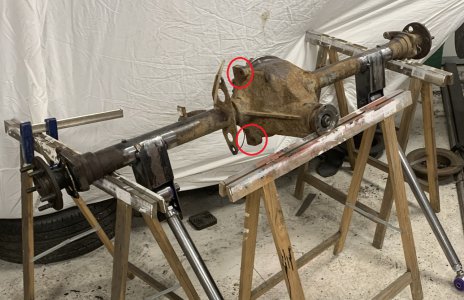
This is an older picture before I butchered the axle(Note that the custom lowerlink mounts has been on and off the axle several times as I've been trying to make things fit).
As I was removing old brackets that won't be used on this car, I decided shave off the brackets in red as well.
I thought they'd have plenty of material beneath them, but well, they didn't.
IMG_0277.jpeg

The axle is from the same kind of car as the motor(Volvo 940 turbo)so it should stand up for the increased horsepower.
Unless you're running supergrippy tyres they can usually manage 300-400 horsepower and I'm aiming for around 250-300.
 
Back
Top