
- Joined
- Jul 27, 2015
- Messages
- 145
yes I just edited my post to include the Atlas

T hank's I totaly forgot about the manual but just to be on the safe side if you don't mind could you post a pitcher I'm not that good with electricalThe wiring is on page one of the owners manual, if this isn't enough info, I can take a picture of the diagram that is on the motor.
The wiring is on page one of the owners manual, if this isn't enough info, I can take a picture of the diagram that is on the motor.
T hank's I totaly forgot about the manual but just to be on the safe side if you don't mind could you post a pitcher I'm not that good with electrical
Hey,I'm using the spiral conduit that was already on the shaper but I would think you could push wire through the conduit.Are either of you using the steel spiral conduit to secure your wiring inside of the main housing to the switch? I am trying to find some but I am unsure if I need conduit with the wire already inside of it or if I can buy just the conduit and run my own wire through it?
Hey,I'm using the spiral conduit that was already on the shaper but I would think you could push wire through the conduit.
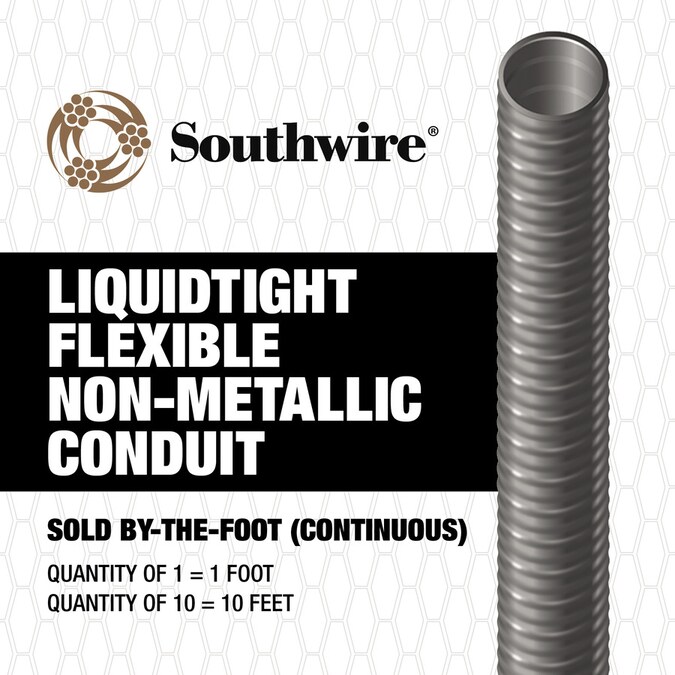
You may be able to use something like this:
Its just a flexible conduit from Lowes/Home Depot. You can get it by the foot but you'll have to figure out what fittings to use for the ends.
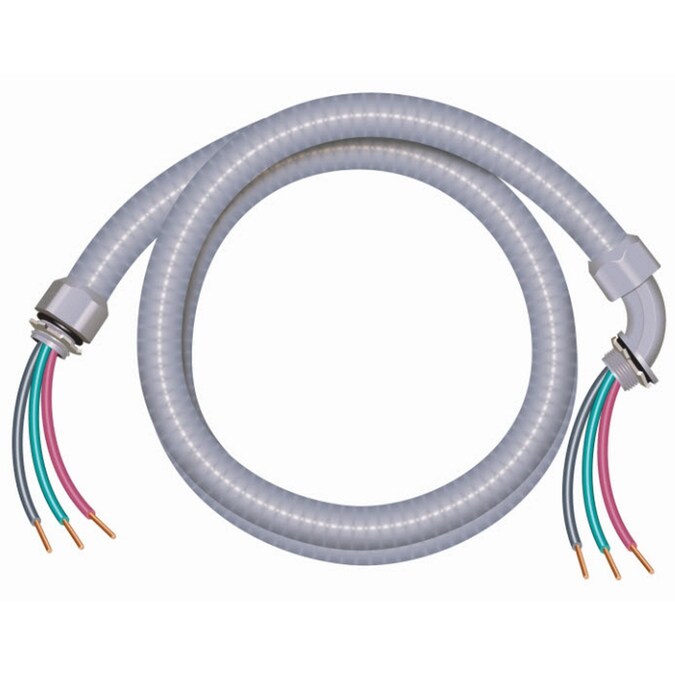
Or maybe this:
Also from Lowes/Home Depot, it's a whip used for hooking up large appliances like A/C compressors and the like. It's 6' long but you could shorten it.