Clausing 4904 refresh

DeadGuyAle

H-M Supporter - Sustaining Member
H-M Platinum Supporter
Joined
Mar 22, 2022
Messages
342
Could end up as a "restore" or a "rebuild" if you stick to the proper definitions.
For now lets call it a discovery in process.

Few weeks back I purchased a well used Clausing 4900 as my first lathe. SN - 402215 looks to be around a 1967 build.

Link below was the starting point for the project. Got good advice and input on what I saw as the main problem area on the lathe.
https://www.hobby-machinist.com/threads/damage-assessment-help.103220/

Let the games begin

Cross slide screw assembly is on order from Clausing - shipped today.
Two bronze bushings support the shaft in the assembly both have a fair amount of play. Some rough measurements and these look to be off the shelf parts. Will know more when my puller arrives later this week.
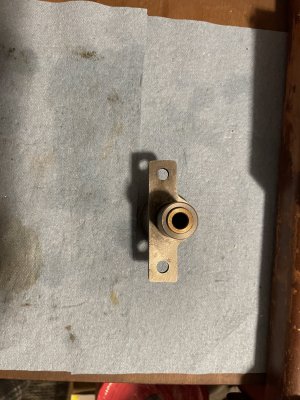
3AD4D038-D851-45CA-9451-7B1A44DD7950.jpeg

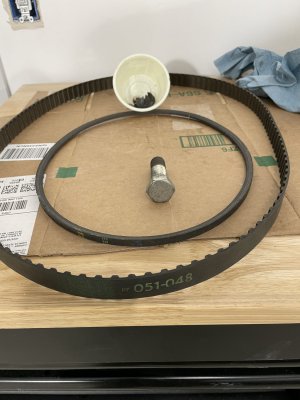
New belts coming with the screw assembly. Both were well worn, timing belt could be original.
Also needs new wiper felt and leveling pads are bolts
CF13E863-C8C0-4585-A759-FB0C01D838A6.jpeg
On power up and running prior to purchase there was tick and slight vibration needing to be tracked down.

The walk around and kick the tires, lift this push on that shows loose bushings on he apron hand wheel and far end of the lead screw
Lead screw shear pin needs replaced
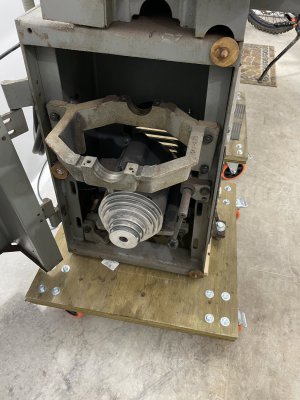
With the belts and jackshaft removed the vibration when turning the spindle stopped. Tick is still there though.
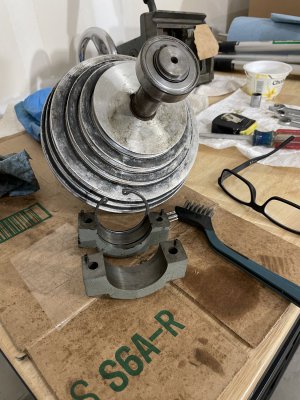
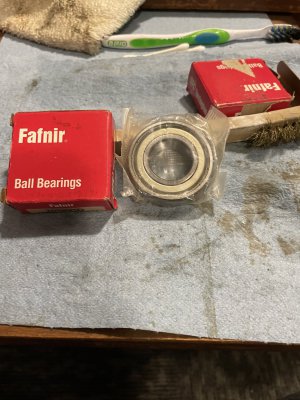
One clunky bearing on the jackshaft and one very free spinning with no lube.
NOS Fafnir available on ebay $10 each
75B4B427-EE35-4A79-B49E-7FC993E532A1.jpeg
E8292EDF-FD39-4502-9632-AAD1DF6040B8.jpeg
E61D538A-D4F6-4075-8B08-92668BAF796B.jpeg
More to come, so far just minor wear and to be expected stuff but we have that ticking when tuning the spindle to chase down yet.
 
So new to all of this, I need to spend more time with the basics. Like reading the manual.
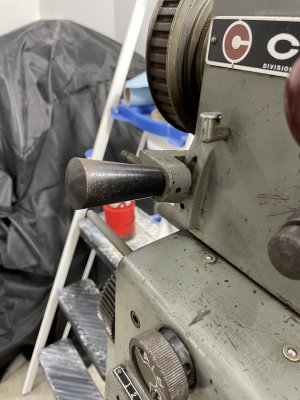
Discovered this is neutral!
9715B7F5-9AC0-4660-8E15-526222CB1818.jpeg
Now that I can spin the spindle all by itself was much easier to track down the ticking sound.
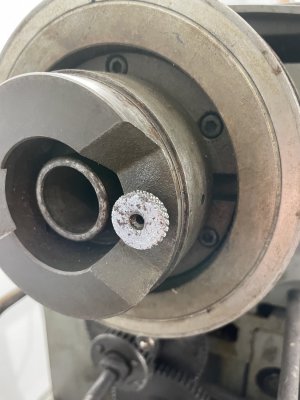
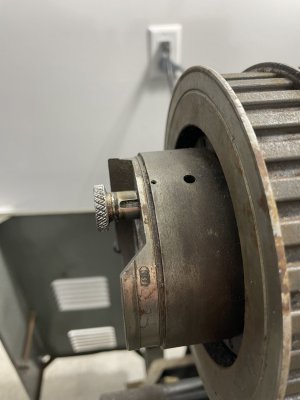
Coming from the back gear driver pin. Which looks to have seen better days.
Parts diagram shows several parts and an assembly 4900-70 with everything.
May just call the good folks at Clausing parts and check availability. Could be gummed up but expect it's just worn out.
One of many functions I need to wrap my mind around how it works. Was slightly problematic when we ran in back gear for the initial inspection but it did work.
I can't feel it engage or disengage and can shift the back gear lever at anytime when spinning by hand so disassembly/discovery required.
67AA3CE3-8E2B-4500-8C62-8624F8588208.jpeg
 
Sprayed the driver pin down with some wd-40 a few days back. Some gentle push pull and it disengaged tonight
B77FFAB5-CC7F-4FB4-B70E-276F42B52679.jpeg
No more ticking or odd gear engagement noise.
Need to get a shop manual prior to billdozing my way through some of this.
Parts diagram shows a couple of set screws holding the assembly on. Remove and maybe she will just slip right off
Or maybe not.

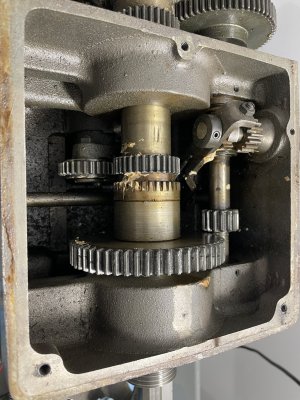
Head gears look good
9CCCE341-462B-4EFE-A6E8-47026B37579A.jpeg

Lots of accumulated swarf lay in the bottom. Overall looks to be in good shape.
 
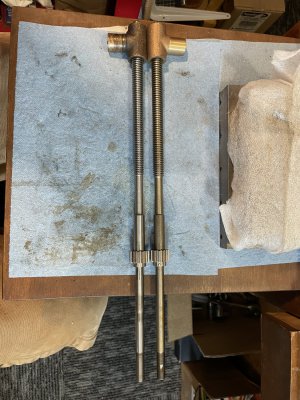
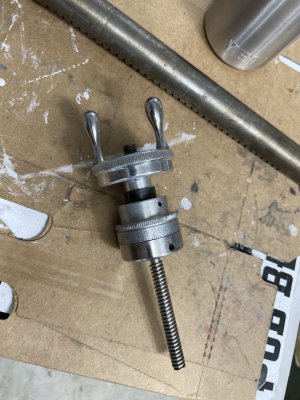
New cross slide screw assembly arrived today!
0513554E-26F0-4ECF-A41E-EA510DBF7EAB.jpeg
Repair of the old screw assembly world be an interesting future project.
 
Have not had much time to work the lathe project outside of general cleaning. The new shop/garage setup and unpacking organizing tools is sucking up most of my time and I don't want to get to far ahead of myself with disassembly.
Morning forward I'll attempt to put some better structure around the posts now that the general walk around is done.

Challenge one is no existing shop.
So some, need one to do the other or aka catch 22 obstacles lay ahead and will slow progress.

Start with finishing clean up, repair and reassembly of
  • Cross slide
  • Compound slide
  • Tool post holder
  • And theirassociated parts


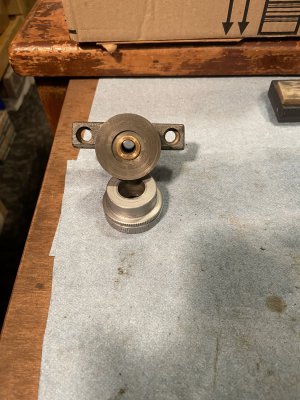
Cross feed assembly has two bushings, parts diagram only lists the assembly but expect it's the same bushing as used for the compound feed. Shaft diameter is the same at 3/8".
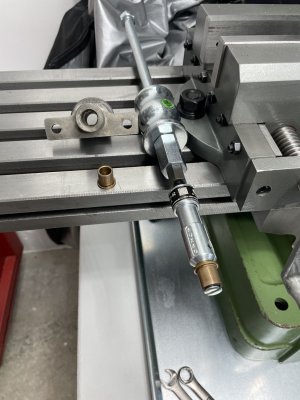
Not quite sure how to pull the old bushings from the cross feed assembly.
The arms on the puller for under 7/16" hole are too short to reach the end of the bushing and 7/16" puller to large.
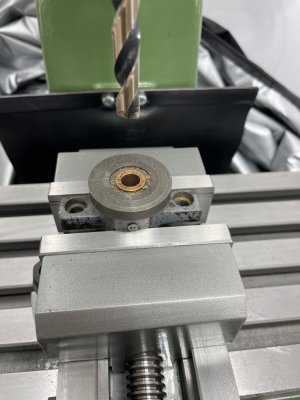
Thinking drill out to 15/32", but I need punch the compound bushing out first and check the wall thickness and verify if there will be sufficient material left to grab onto.
Open to suggestions!

347991E4-72CB-4828-B2AF-3A3D78408A99.jpeg
CF23F4E1-5007-4B2E-8188-FC69FFCA4FE9.jpeg

Thanks

Hopefully this will be of value down the road for others.
 
Still moving forward although at a snail's pace.
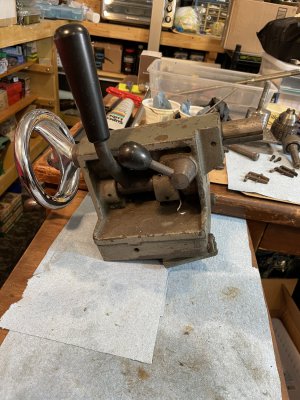
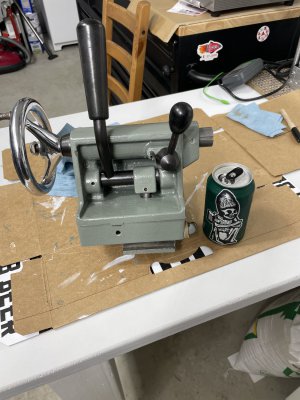
Put the cross slide work on hold for now and moved onto the tail stock.

AD87F5D2-EE62-4F89-927A-FB73E5CBA6CA.jpeg

Not a painter by any stretch. Enjoyed the bluing and drinking beer part but painting was painful.
Paint was color matched to an original cover plate and true Clausing green at least.


07C05297-D61B-412B-824C-83E964FB6EEC.jpeg
Number of things I need to update on and will post more soon.
 
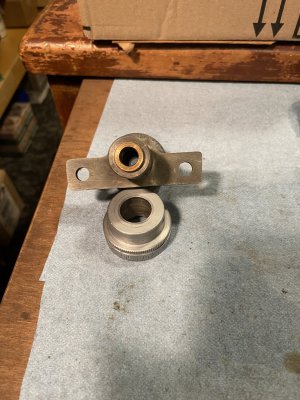
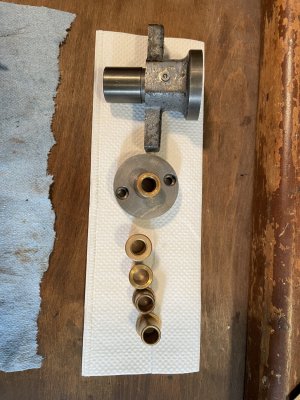
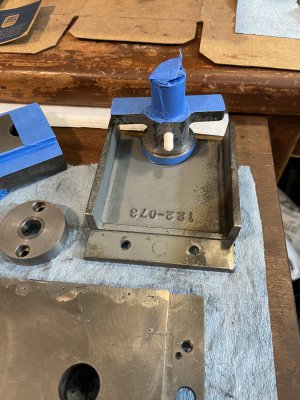
Got the bushings out of the cross slide screw support.

51B01D41-160A-4B23-9774-867A5650A3DF.jpeg


7C47E045-B5C1-4594-B4A4-CC33EEA7D2C7.jpeg
Off the shelf new bushings have wider flange and are .125 longer. Don't believe that I will need to trim to use for the cross slide support. The compound slide screw support bushing will need to be shortened.
FB1FA36B-C83E-4A47-A498-A45C2879F512.jpeg
Getting set up for the next round of painting. Have mixed feelings about my oiler cover solution :rolleyes:
ACB7D7BC-786E-48BB-A00A-03022F4970BF.jpeg
 
Last edited:
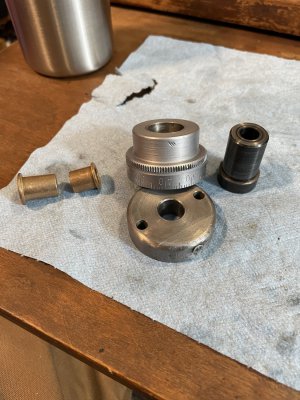
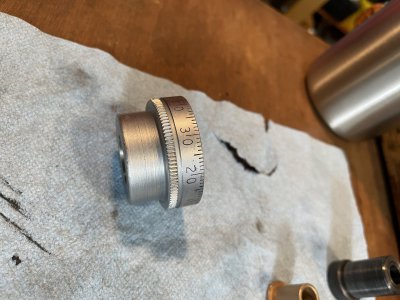
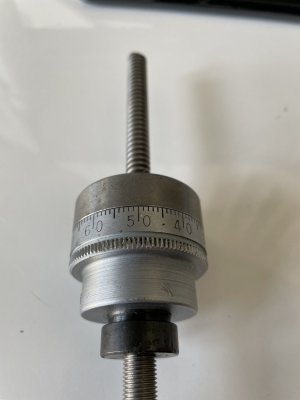
Cleaned up the compound slide dial and new vs old bushing for reference.
5238E2EE-2F2B-4F26-B49A-B12D6EF6B29F.jpegBBFC42C0-B6AF-4371-BFCE-A9A2FC92D951.jpeg
Attempted to clean up the crunched bits but only so much you can do with it.
lacquer stick did a good job of highlighting the numbers.
EAF203B7-C36F-4242-AC89-7926277E4BBF.jpeg
 
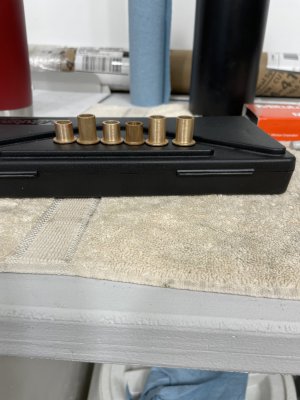
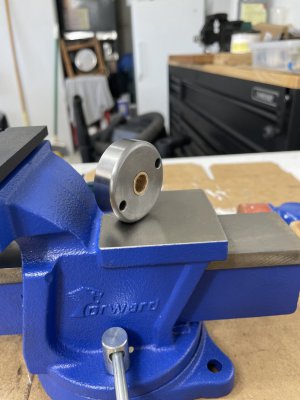
New bushings trimmed to size. Far left was botched attempt to shorten.
Off the shelf bushing next, tool post screw bushing new and original, and cross slide screw bushings.
OD was brought down by .003 for all three and tool post slide shortened by .125
the slightly larger flange is not an issue. Additional length is fine for the cross slide screw support.
4FC50CFA-B77F-4C79-9B65-59D4D8F57F0C.jpeg
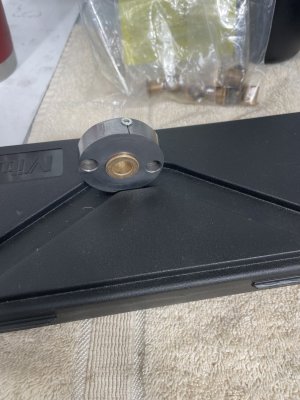
Shined up with new oiler and bushing installed
F8E68BA6-916B-4F06-9F5B-344709CC4C78.jpeg
7DF66D18-9A43-4861-B8A4-A5A1BEE61621.jpeg
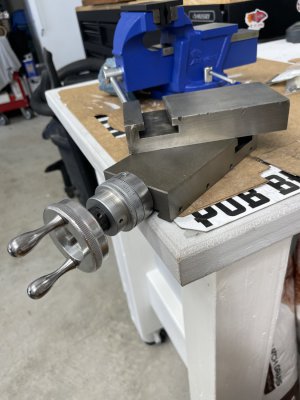
Purchased a new tool post slide from Clausing and did a quick mock up
687277E2-4E7F-4FFA-AC2F-46E6370A5EC1.jpeg
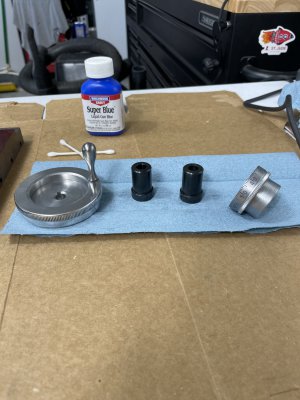
Polished the hand wheels and blued the spacer's
5382176C-D6AC-4AC7-B521-18414C0F184E.jpeg
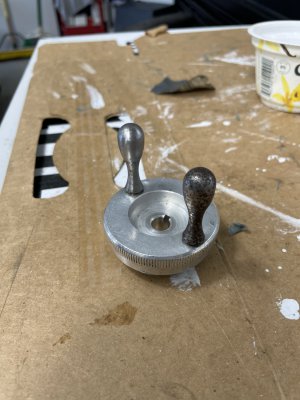
Both hand wheels had rusted handle. Cleaned up nicely
BC693427-318F-45C9-9A63-CBD8E3082833.jpeg
E96C7F27-BC02-44D2-B293-05C9A3503F7B.jpeg
 
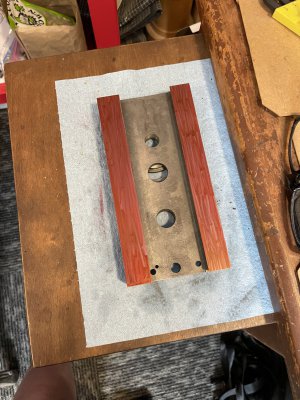
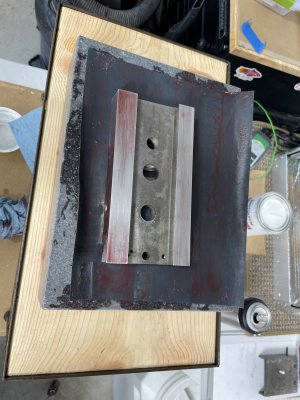
Working on the cross slide, checking overall flatness with a very light rub using 600 grit sandpaper on the surface plate
7008CA98-2DB0-407F-84B9-F948BC9FA39C.jpeg
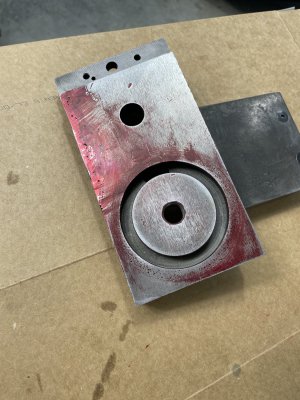
Some swelling from being repaired and welded on the top of the slide
488315F3-96DA-400E-B31B-97BF22312BEA.jpeg
top side view
F1726426-0E04-4584-A8D9-FC42B017E294.jpeg
 
Back
Top