-
Welcome back Guest! Did you know you can mentor other members here at H-M? If not, please check out our Relaunch of Hobby Machinist Mentoring Program!
You are using an out of date browser. It may not display this or other websites correctly.
You should upgrade or use an alternative browser.
You should upgrade or use an alternative browser.
Clean and repair South Bend 9" lathe Model A with 4-1/2' bed.
- Thread starter Tim9
- Start date
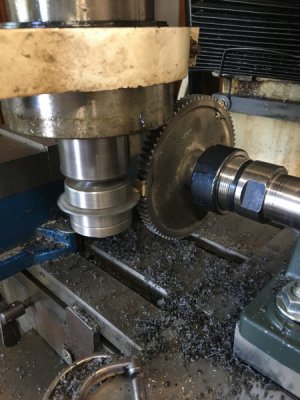
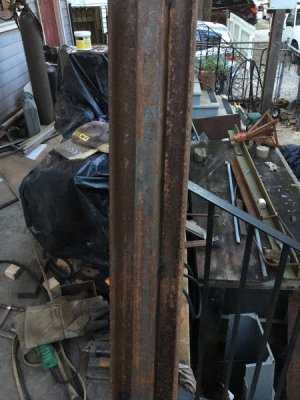
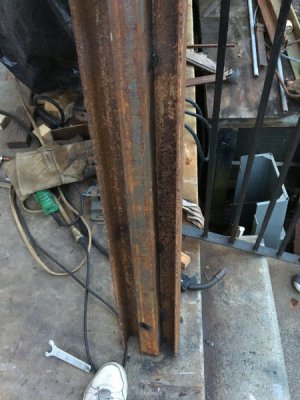
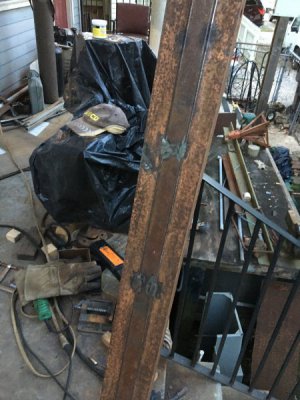
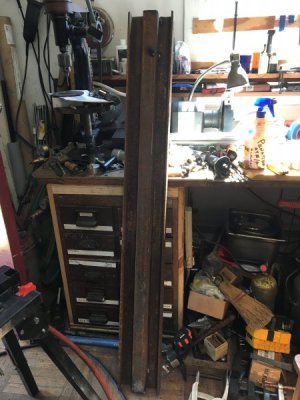
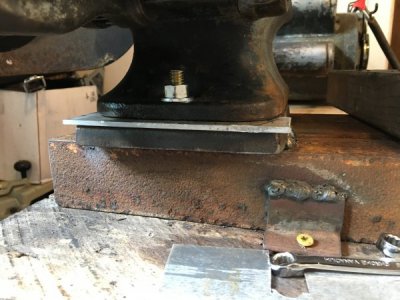
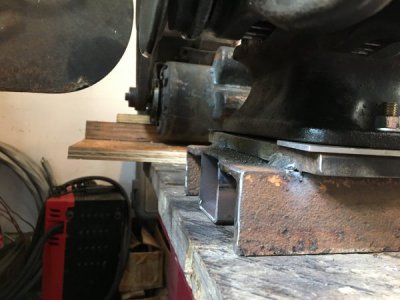
Oh yea, I forgot about mentioning the broken cast iron tailshaft leg. I’m just tapped out financially at this point plus I didn’t want to wait another week for a leg I ordered off EBay. So I cut a piece of 6 x6 x 1/4 steel tube to length matching the height of the leg. I then used nickel 55 rod to weld this to the cracked cast iron. 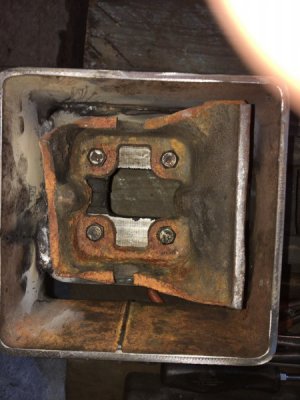
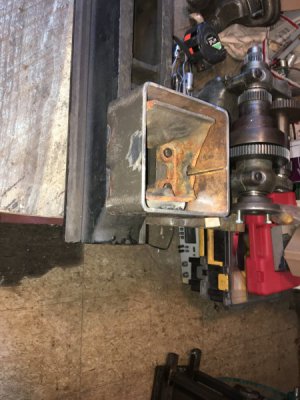
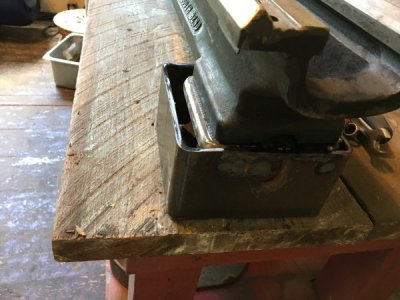
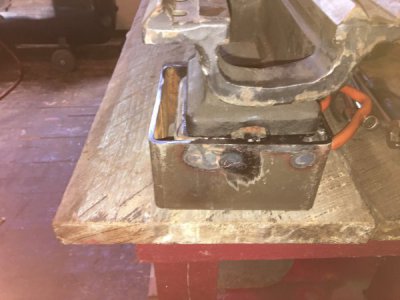


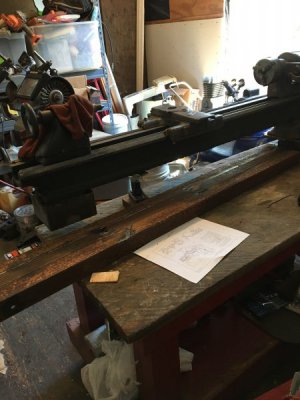
First pic is the tailshaft side. Second pic is headstock side. Third pic tailshaft again. Sorry for the confusion but I just take pics as I finish a project and they seldom are in chronological order.
Here’s the lathe finally mounted to the bench. The headstock is shimmed to the 1/2” Steel plate which is tacked to the angle iron base. There are two 3/8 x 16 studs threaded into steel 1/2” plate. Lathe is shimmed and headstock tightened down. Tailshaft end has two sliding plates which are welded to 6x6 tube which tightens to the angle iron base once leveled. It appears to be somewhat functional. The test will be after I use the lathe a while.
But I’m happy with the outcome so far.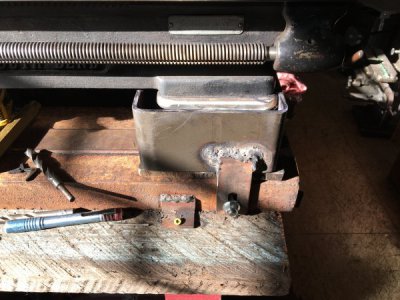


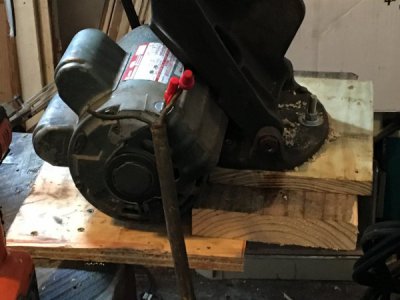
I needed to fire up this puppy to at least see condition of headstock / spindle. That said I really just rigged the countershaft and motor. I received this lathe with the motor shown. It’s a 1 hp Dayton motor which has a singing front bearing. It's also way too big. The capacitors hit against the table. So I have to raise it up with wood shims. It's sitting about 1-1/2 inches higher than the table base in order to allow space for the capacitors. I'll deal with a more permanent solution at some later date. I just want to get it running for now.
I disassembled it and removed the bearing, cleaned the bearing, and oiled it up. I also needed the part number of the bearing to get the replacement bearing.
In the past I’d run to American bearing supply to get the proper replacement bearing but the last few times I went there they really raped me on price.
I don’t mind paying retail for a bearing but they were charging me 20.00 for some crap bearing made in Turkey. That’s more than retail price for Timken or SKF BEARINGS !
It’s a shame because I’ve been going to this same business since 1982 when I had my Auto shop.
After the second raping, and on the attempted 3rd rape on price... I told the counter man to keep his bearings and now I just order all bearings on-line.
Anyway, since the motor had a shielded bearing , it was an easy temp repair to clean, lube and order 10 sealed permanently lubed SKF bearings from Amazon for the same price ABS would have charged me for one crap 6203 made in some third world country.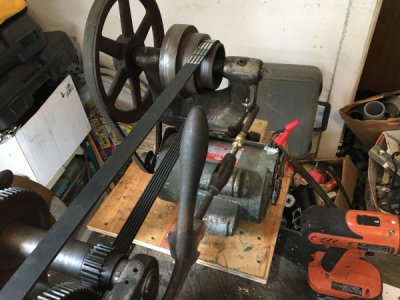


Last edited:
I fired the lathe up and noticed a repetitive binding noise in the gear train. The motor would also strain on every full revolution of the gear train. And if the belt was loose the belt would stop and continue slipping.
After close inspection I could see the stud gear at the reverse tumbler was out of round and looked like a bent shaft. I removed the reverse tumblers and removed the stud shaft and mounted it in my other lathe to check it. It wasn’t bent.
I then cleaned and closely inspected the 20t stud gear. That’s when I noticed it had been brazed and repaired at some point.
It was obviously out of round.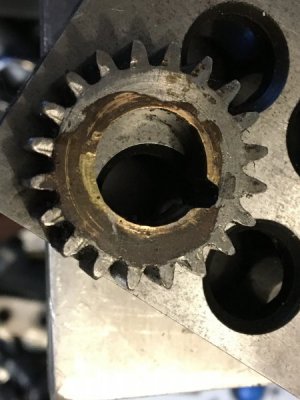
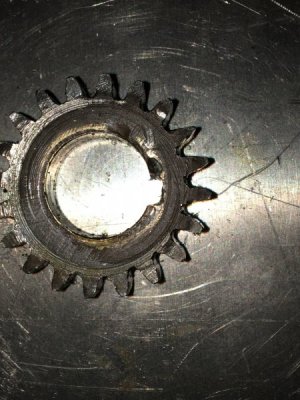


Time to make another delrin gear. 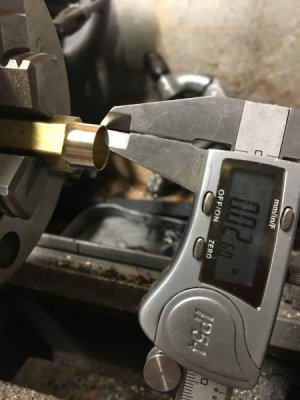
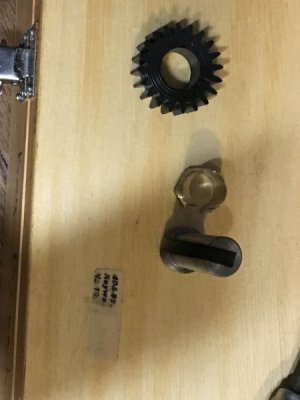
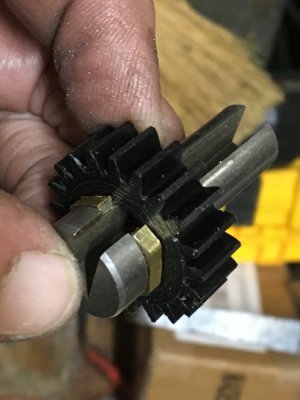
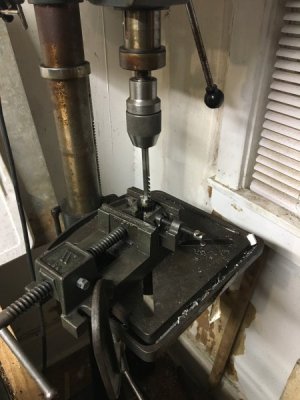
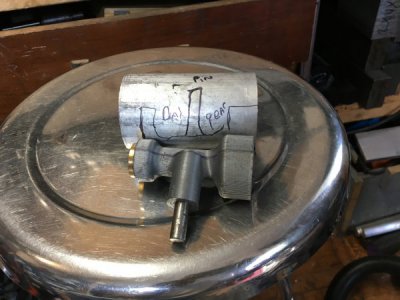
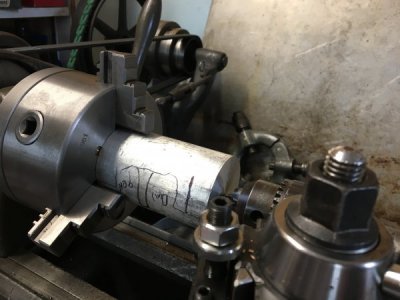
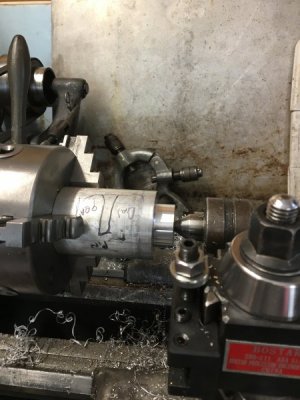
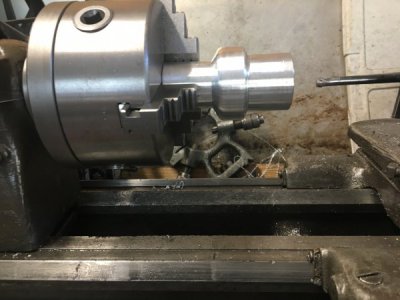
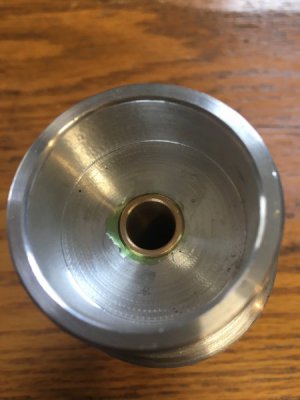
No point showing everyone my making another gear. But here are four pics of a bushing I had to make for my keyway broach.
I have two broach kits. One is the midget set for 1/4” to 1/2” shafts
The othe kit is 1/2” up to 1-1/4 shafts.
Wouldn’t you know it. Neither kit had a 9/16” keyway broach bushing. So the quickest fix was making a bushing to fit over the 1/2” bushing.
That’s what’s shown above. I’m kind of proud and surprised I pulled off turning that bushing since the wall of the thin section is 25 thousands by 3/4 Long.
I have to thank Joe Pieczynski for his videos. He has a great video on cutting thin wall bushings. He pulls off some stuff way more impressive than 25 thousandth brass wall.... but it’s his technique which showed me how to do it. Without his videos, I’m sure I’d have crashed this bushing.
The second to last pic is the brass bushing sitting on the 1/2 broach bushing. You can see where I sawed the opening in the brass bushing. I used a jewelry saw to saw this thin walled bushing. Last pic is my using the drill press to broach the delrin gear.
Last edited:
- Joined
- Jun 22, 2012
- Messages
- 1,552
Fun watching your progress!


