-
Welcome back Guest! Did you know you can mentor other members here at H-M? If not, please check out our Relaunch of Hobby Machinist Mentoring Program!
You are using an out of date browser. It may not display this or other websites correctly.
You should upgrade or use an alternative browser.
You should upgrade or use an alternative browser.
Clean and repair South Bend 9" lathe Model A with 4-1/2' bed.
- Thread starter Tim9
- Start date
Thanks for the encouragement Greg !Fun watching your progress!
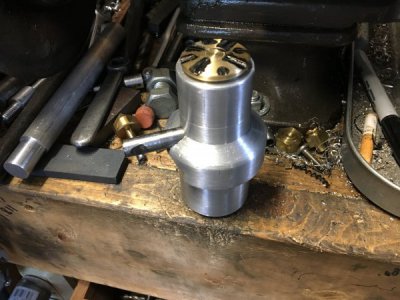
On to getting a little 4’ chuck set up for the lathe. Picked this up on eBay for 38.00 and it’s pretty tight with tight & ground jaws. Pleasantly surprised with this chuck but it came without a backing plate. That said, the lathe I purchased came with a backing plate but no chuck. That’s because the previous owner couldn’t unscrew it and it’s probably why the bull gear had a broken tooth. With a little heat I got The backing plate off. But it has a 4 bolt pattern and my chuck is 3 bolt pattern.
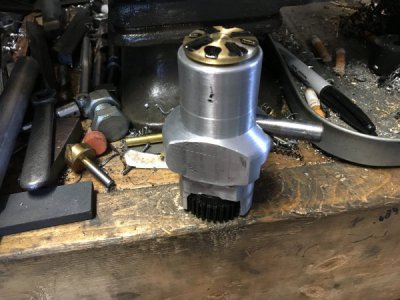
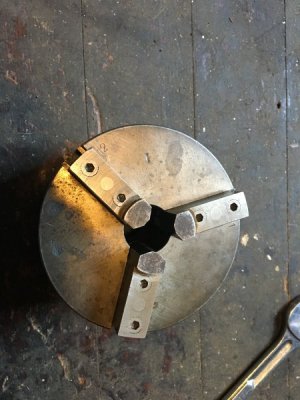
In the second pic you can see the 3 transfer studs screwed into the “new” chuck.
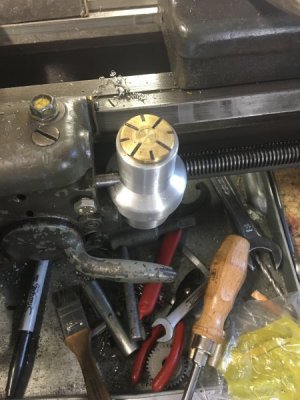
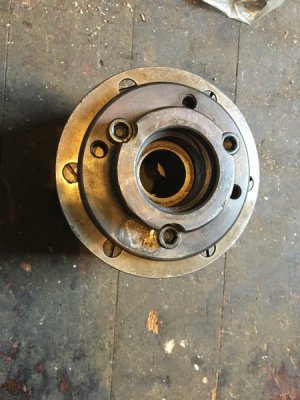
Third pic shows where I filled one of the 4 bolts with a stud and silver brazed it to fill that hole since I wasn’t comfortable where the new hole would be so close to another hole.
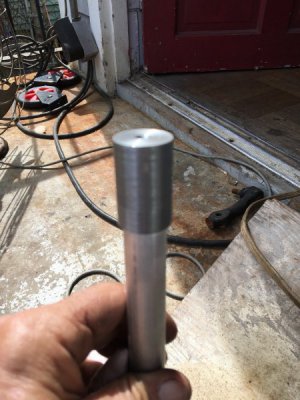
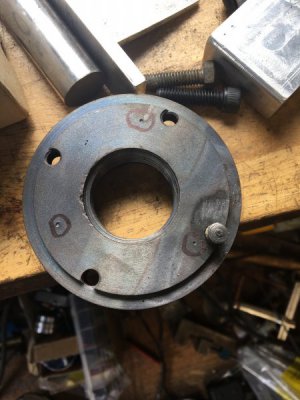
Last pic is cleaned up backing plate after fitting it’s boss to specs of new chuck.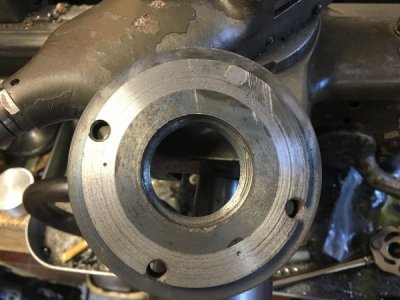
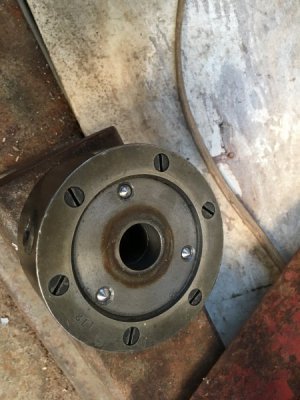


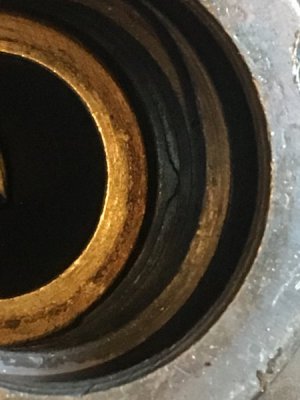
Here’s the completed chuck mounted. You can see close up of a chipped / damaged threads. The backing plate would not screw on either spindle and would bind @ 1/2 way trying to install backing plate on spindle. I cleaned up the threads by setting lathe to 8tpi and engaged half-nuts and rotated lathe manually.... then adjusted the threading tool to engage threads. I did this by moving crosslide into position while also adjusting the threading bar tool at the QCTP Allen mounting screws until the lathe was in sync with the threads. Once everything was in sync I tightened Allen screws and then would just move cross slide a thousandth and manually rotate lathe to clean the threads. Anyway I hope that makes sense. It worked and backing plate freely screws onto the spindle.


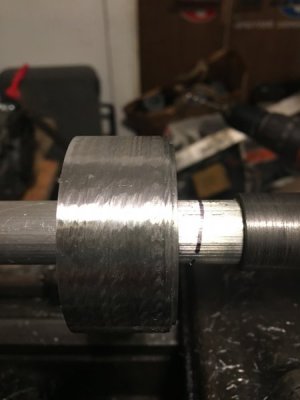
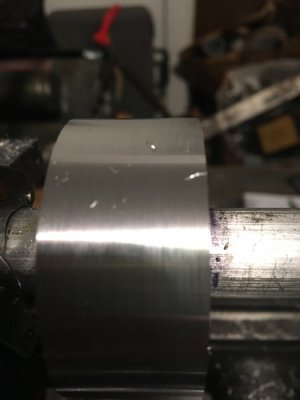
I’m going to make an alignment test collar bar next in order to test for twist and I’ll design it to double as a tailshaft line up bar. Not much design to this other than setting the inner most collar out away from headstock enough to take a cut and then the rear collar will also have a couple inches of shaft for another cut. When used as tailshaft line up bar.... the shaft will be on dead centers. And since the bar is done on the cheap and made of aluminum, I’m going to loctite a hardened steel cap on the tailshaft side before I Center drill it for the MT-2 dead center adapter. I could do same for the headstock side but I like the aluminum on this side as I don’t need a dogbone or faceplate to lock the shaft since the dead center is rotating with the spindle and it produces enough friction to lock the shaft in place for the light cuts I’ll be taking for these tests.
Well... On to plan B. I need to make a lathe dog and I'm going to put steel caps on both ends. FWIW, I don't have a lot of steel rounds yet have an abundance of aluminum. That's why I am using an aluminum bar.
Well... On to plan B. I need to make a lathe dog and I'm going to put steel caps on both ends. FWIW, I don't have a lot of steel rounds yet have an abundance of aluminum. That's why I am using an aluminum bar.
Last edited:
- Joined
- Jun 22, 2012
- Messages
- 1,552
Interesting.........
So... even though I had already leveled the bed and bench I went back to square one. I first checked the spindle for its shims in the headstock. I felt the housing and it was warm. When I rotated the spindle it was somewhat tight at a certain point while spinning by hand. When I received this lathe both headstock bolts were loose. I properly shimmed the headstock. Buying the steel assortment of shims from McMaster was a very good move.
I then checked the lineup of tailshaft to spindle by placing Mt3 dead center in spindle and a Mt2 in tailshaft. They were a good bit off. Both low by a mile and to the rear.
Sorry I don’t have many pics of this but it’s all basic stuff really.
I took my tailshaft out of other lathes tailshaft and mounted that in a 3-jaw which was mounted to spindle. Then moved this lathe’s tailshaft flush to shaft in chuck. I miced the difference in height.... about .020
WOWSERS !
Anyway I made shims and placed them between tailshaft and tailshaft base plate.
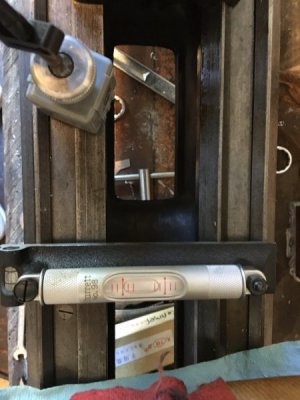
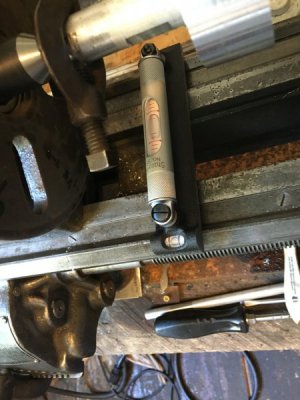
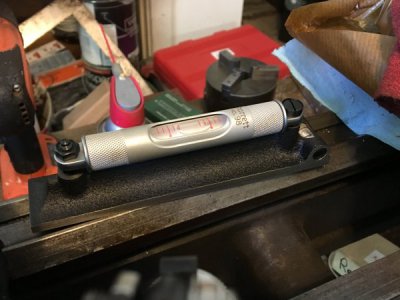
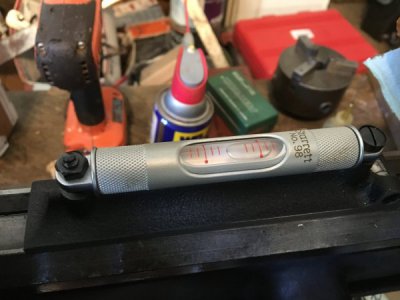
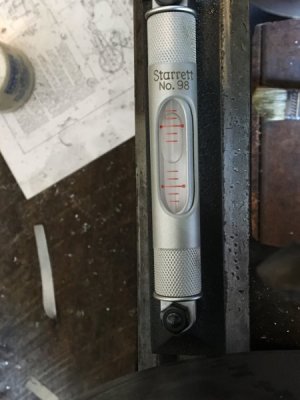
Checked again and it occurred to me that even though I had already leveled this lathe I should check it again. The lathe is in a room of raised house. The 100 y/o house is pier type construction with wood flooring.
Low and behold, it was way way out of level. And significant bed twist.
So I loosened bolts and reshimed headstock. Moved level to tailshaft end and it was now good.


Last edited:


