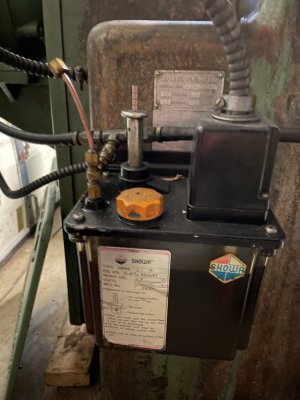
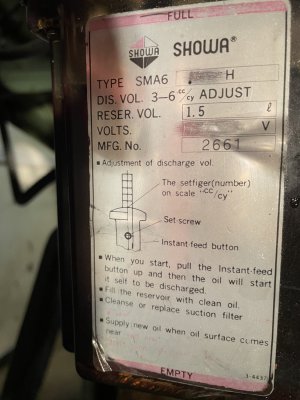
The second problem I’m facing is that the automatic oiler isn’t working. This was apparently a refit at some point in its life as originally it ways were lubricated by the hydraulic system and the spindle had a reservoir with its own oil supply. This automatic oiler provides oil to all of the ways, the elevation screw and the spindle. I ran it and never got oil to the ways. The elevation screw is the next easiest thing to see and it looks fairly dry. I opened the discharge tube on the oiler and it isn’t pumping oil there either. It causes me concern over the spindle. There is a time delay for the pump so I will take it apart to see if I haven’t gotten it into a weird state by turning on and off again while exercising the rest of the machine. A neat thing I learned when prowling through the electrical box is that the oiler has a float switch in it. If the oil in its reservoir gets too low it will open the circuit to the coil on the motor starter and shut the the spindle motor down without telling you why. Someone has erased the some of the information on the data plate. The voltage I know but the other piece of information is how often the oiler pump is supposed to come on. I’m going to remove the oiler clean it up and run it on the bench to see if it can be made to work. I would like to have it back in service before I lift the saddle to see just how clogged all the lines are.
The third problem is the automatic cross feed adjustment seems erratic. I have an uncomfortable feeling that will involve a bit of trial and error for me to sort. Each try will most likely involve removing the saddle.
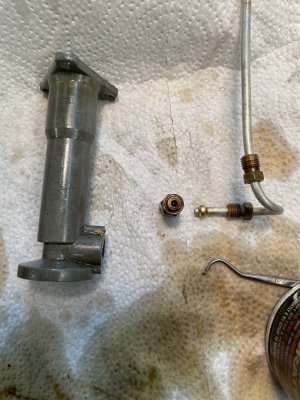
No amount of fiddling from the outside of the oiler yielded results. So off with its head. The reservoir had spooge in the bottom of it and a hard coat of varnish. Dumped it and filled it with diesel fuel to see how much of it I can get out.
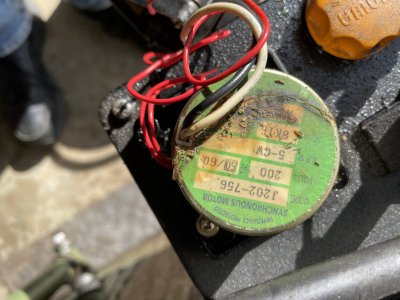
I was able to look up the motor by part number and it runs at 5 RPM. This apparently cycles the pump on a 10 minute schedule.
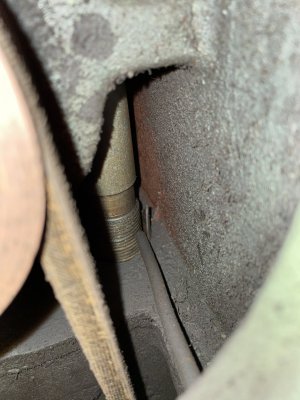
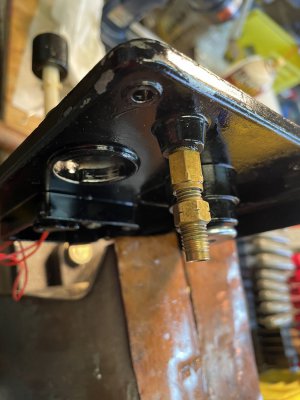
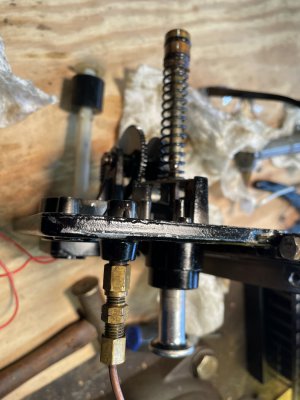
From the previous exterior picture you can see that someone had pulled the plunger out way past what the mechanism could do. I took the mechanism apart and it was in good shape. This brought my attention to the pump.
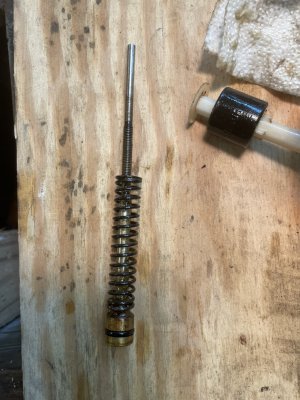
You can see the plunger exposed with the pump housing removed. I found a lot of what I call spooge at the bottom of the pump. It had frozen both the intake and exit check valves so basically the pump was in hydraulic lock. It has been a long time since this pump moved any oil.
Cleaned up the pump components. And replaced the oring on the plunger.
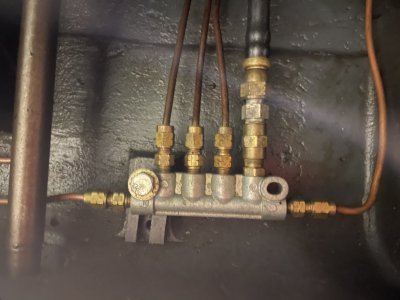
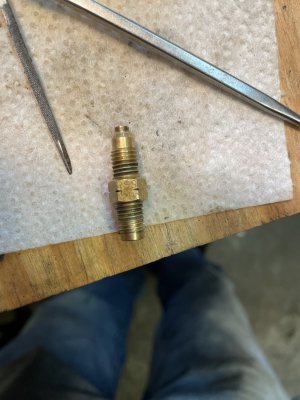
The pump has a metering unit on its exit. All the branches go to yet another metering unit before it goes to the ways. This seems like an awful lot of restriction to me. I am contemplating removing this particular metering unit and let the down stream units handle the restriction. If it’s too much I can put it back.
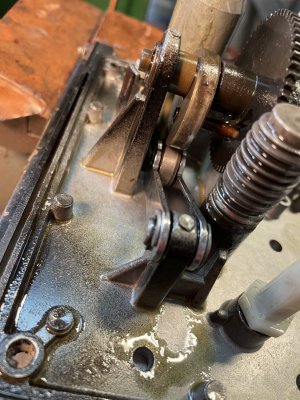
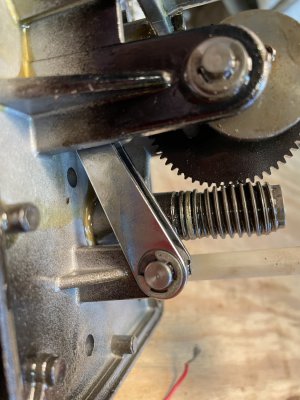
I got the automatic oiler working. It takes several minutes for the mechanism to lift the plunger. The cam has an arm that rides in a slot. When it is lifting the plunger it is hard against one side if the slot. When the cam goes over center it is then free to go to the other side of the slot which allows the plunger to come down as fast as it can. It will be slower when it’s full of oil. The motor ran continuously for the 40 minutes or so while it went through a couple of plunger drops. I had never tinkered with anything like this so I took a video of it. This is the last few seconds before the plunger drop and I tried to show the slot the arm on the cam rides in.
Finished the reassembly of the lube pump and opened some other panels to see the condition of the vertical ways and elevation mechanism. I started singing a Gary P. Nunn song.
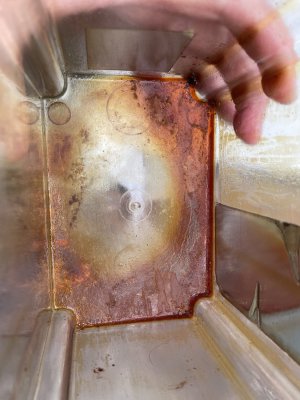
I got the crud out of the lube pump tank. The varnish is real thick and this is as clean as I dare to get it with the solvents and scrapers I have on hand.
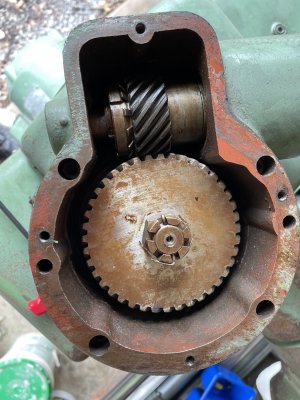
No lube on the elevation mechanism. I lubed it with grease like it directed in the operator’s manual.
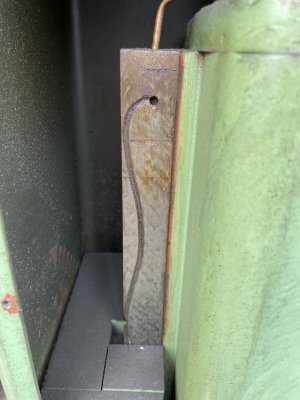
The vertical ways are dry, dry dry. The felts at the top are crumbling. There is a precision surface on 3 sides and the felts help guide the oil to all three. I gave it a good dose of way oil all the way around. This is at full height.
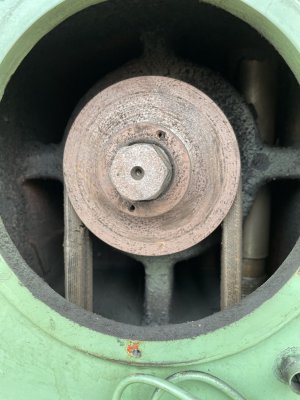
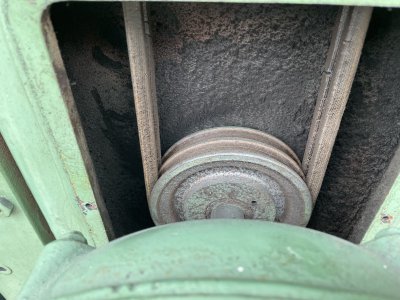
Changing the spindle belts will be fun as there isn’t enough clearance without loosening the pulley.
And the belt change will have to be soon.
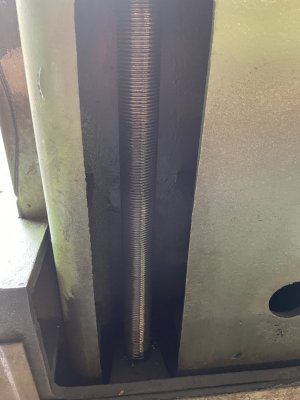
The elevation lead screw was dry as well. I had already lubed it before I thought to take pictures.
It takes 230 turns of the elevation wheel to go from bottom to top. Each turn is 0.050 inches. It got a bit easier with lubrication.
This site uses cookies to help personalise content, tailor your experience and to keep you logged in if you register.
By continuing to use this site, you are consenting to our use of cookies.