- Joined
- Mar 22, 2013
- Messages
- 215
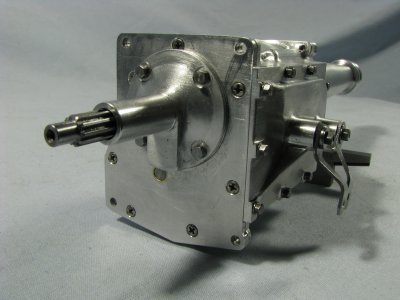
Gentlemen,
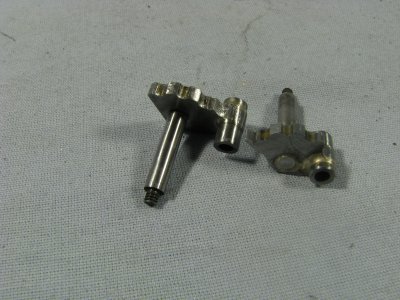
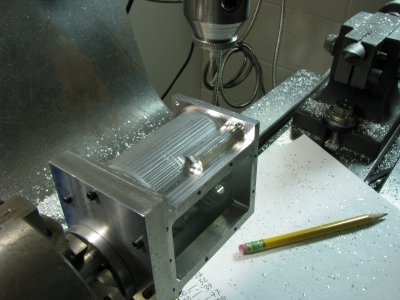
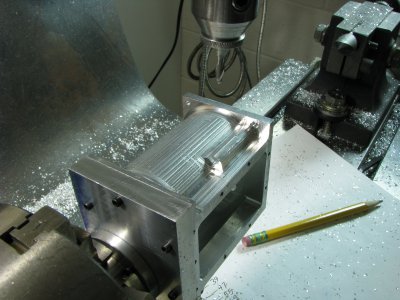
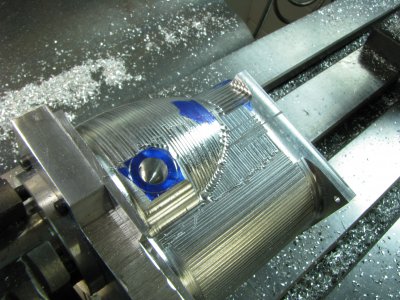
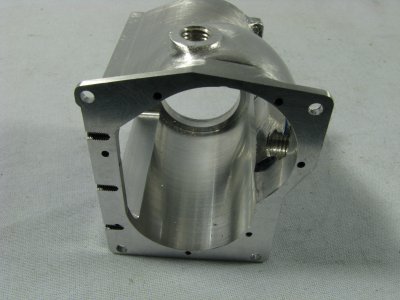
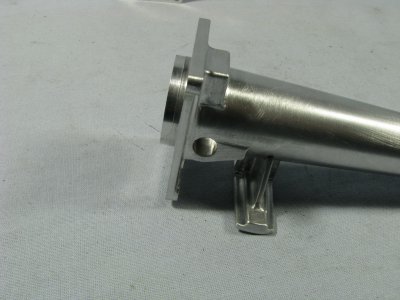
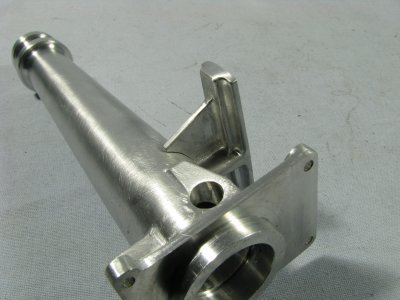
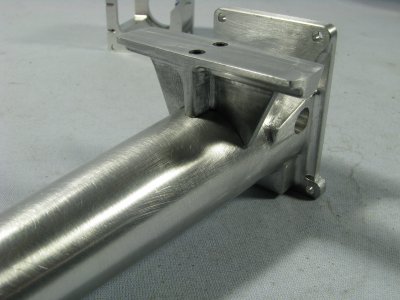
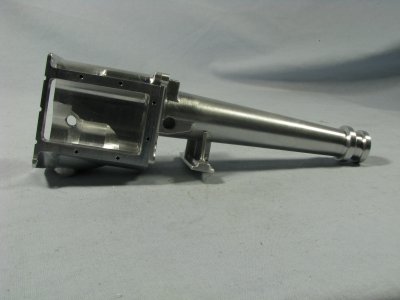
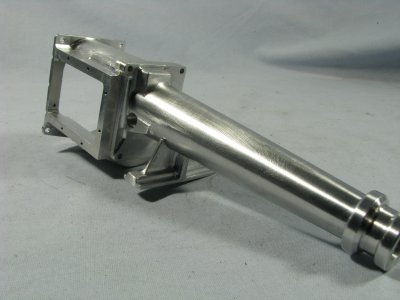
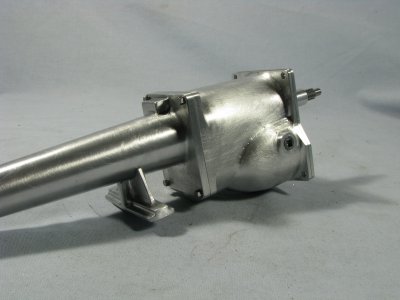
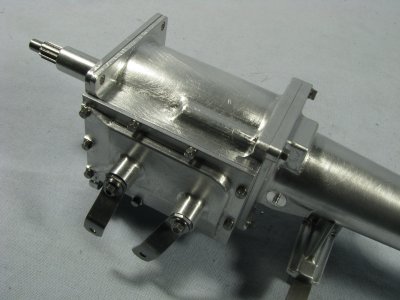
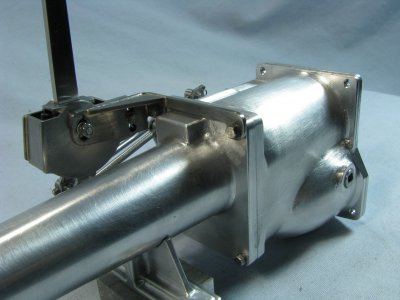
Years back I had built a Borg-Warner T-5 transmission to go behind my 302 V-8 engine. Back over the winter I thought about making one for my recently completed Fordillac V-8 engine. My son has a friend who's into all things flathead so he loaned me an early 50's Ford 3 speed trans to measure. I didn't take the whole thing apart but far enough to measure the gears inside. With the preliminary sketches made I competed a set of Autocad drawings and started making chips.
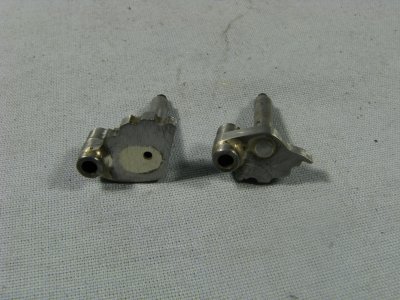
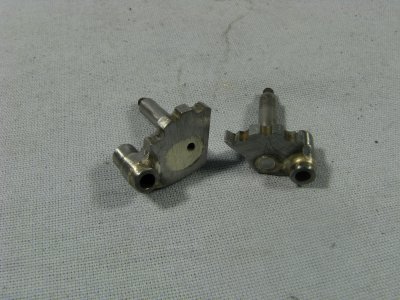
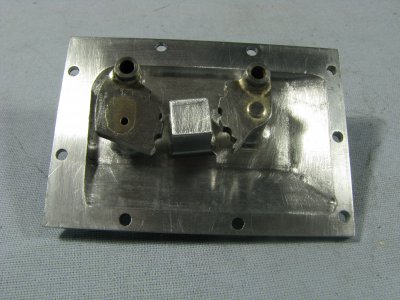
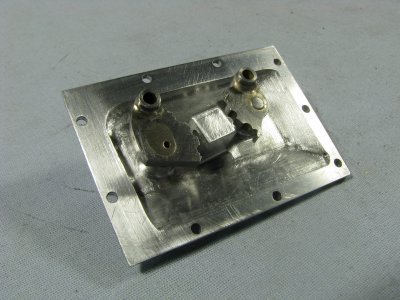
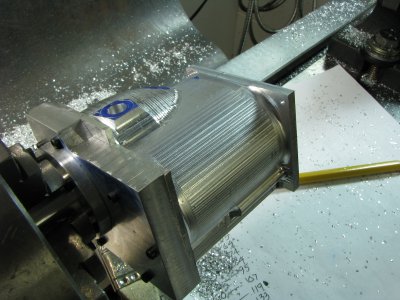
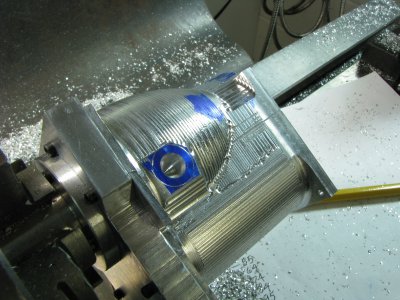
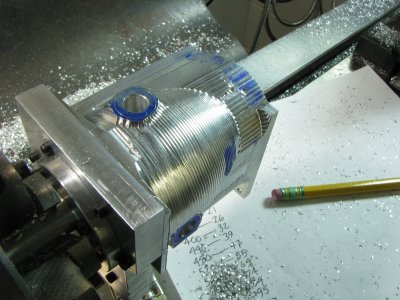
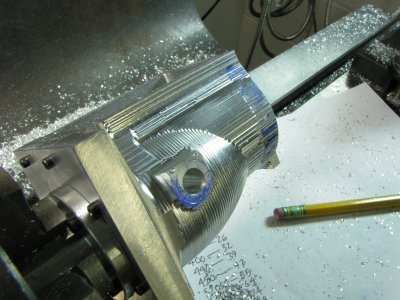
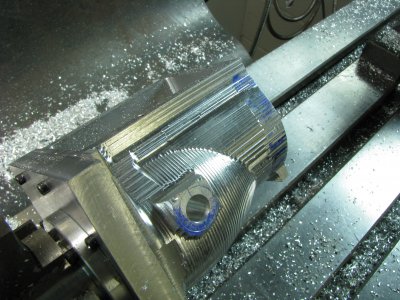
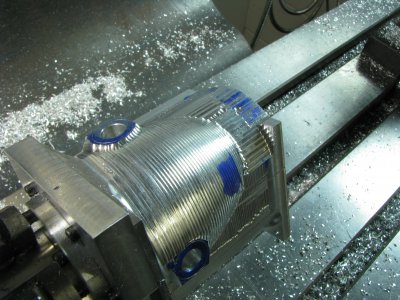
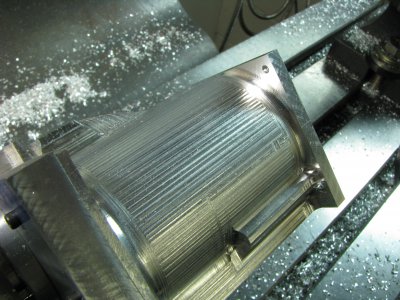
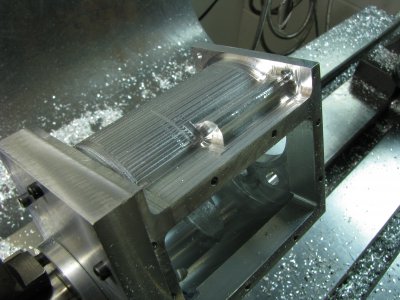
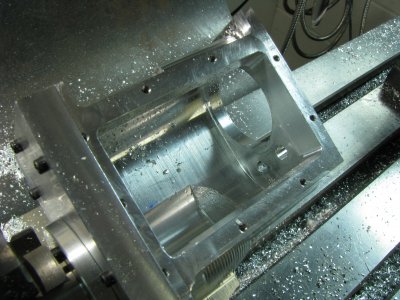
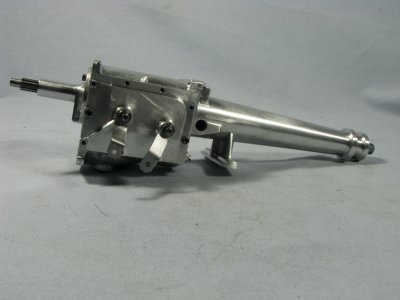
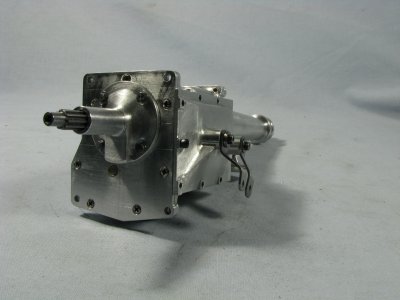
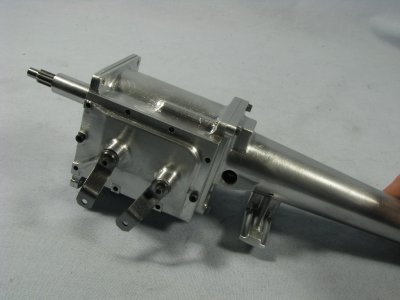
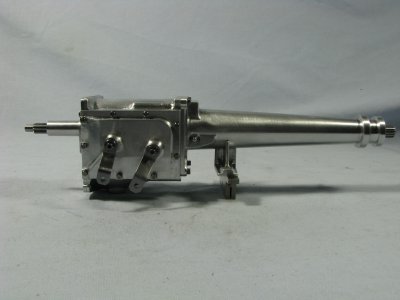
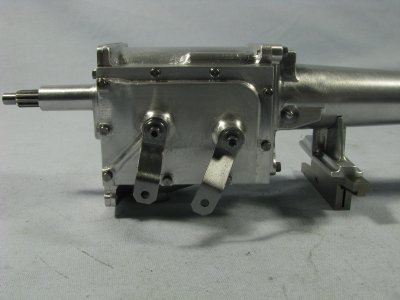
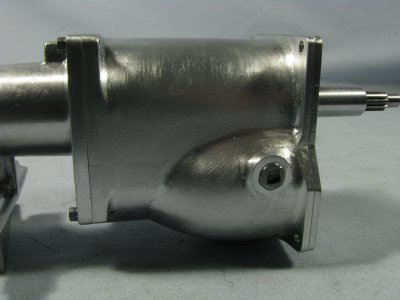
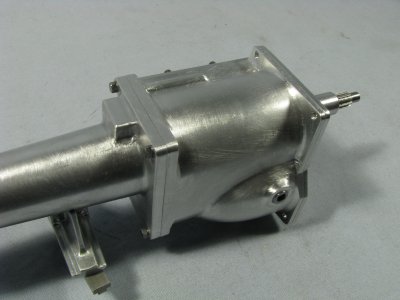
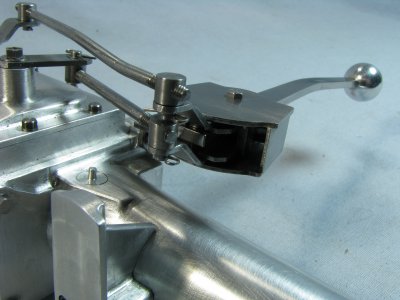
When I built the T-5 trans I opted to make it with spur gears because of several reasons but for this one I thought I would go all out and make the appropriate helical gears for it. The case, tailshaft and covers are made from 6061 aluminum while the gears and shafts are made from steel. The shafts are W-1 drill rod and the gears are 1144 grade steel.
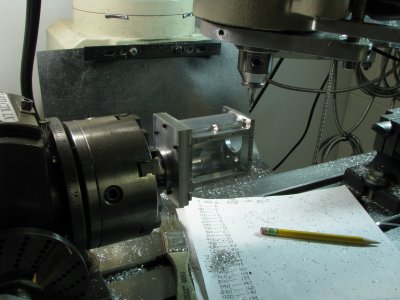
The reason I didn't make helical gears for the T5 was because you have to make helical templates for each gear you cut and I didn't want to spend that much time.
With the math for the gears calculated I cut all the gears and to my surprise and delight they meshed well with a minimum of clearance.
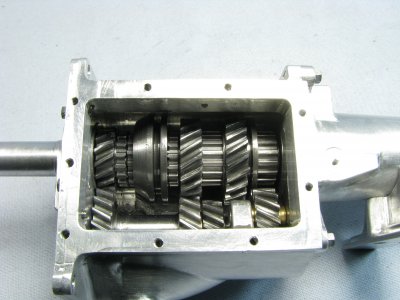
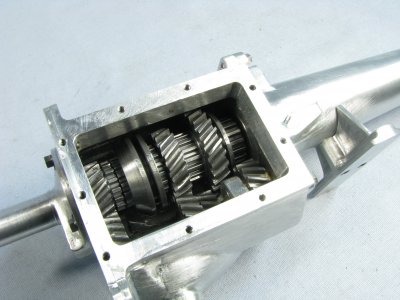
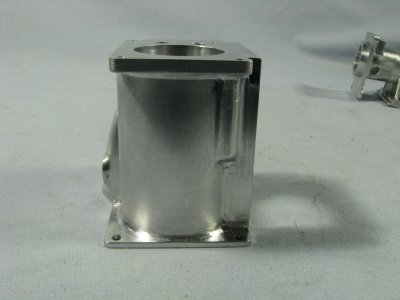
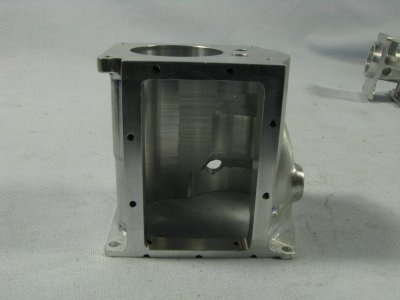
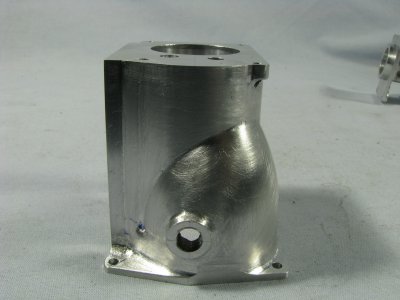
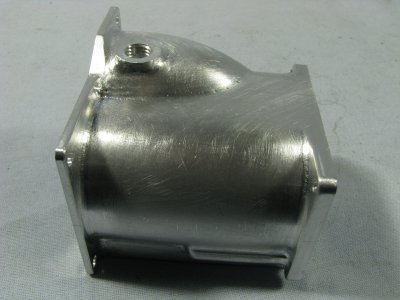
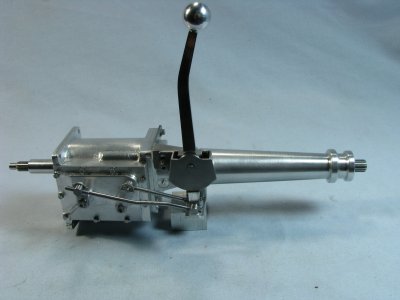
Years back I had built a Borg-Warner T-5 transmission to go behind my 302 V-8 engine. Back over the winter I thought about making one for my recently completed Fordillac V-8 engine. My son has a friend who's into all things flathead so he loaned me an early 50's Ford 3 speed trans to measure. I didn't take the whole thing apart but far enough to measure the gears inside. With the preliminary sketches made I competed a set of Autocad drawings and started making chips.
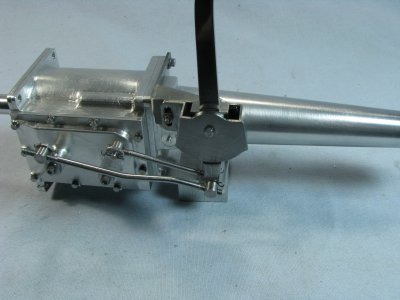
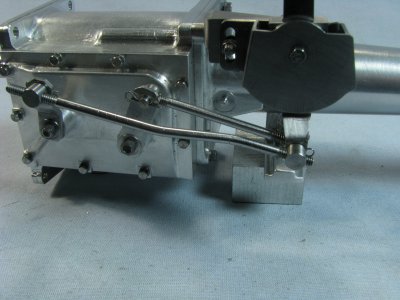
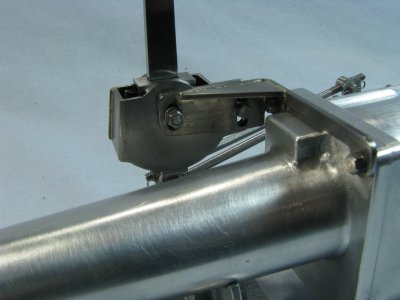
When I built the T-5 trans I opted to make it with spur gears because of several reasons but for this one I thought I would go all out and make the appropriate helical gears for it. The case, tailshaft and covers are made from 6061 aluminum while the gears and shafts are made from steel. The shafts are W-1 drill rod and the gears are 1144 grade steel.
The reason I didn't make helical gears for the T5 was because you have to make helical templates for each gear you cut and I didn't want to spend that much time.
With the math for the gears calculated I cut all the gears and to my surprise and delight they meshed well with a minimum of clearance.