Getting a New PM-1054 Going

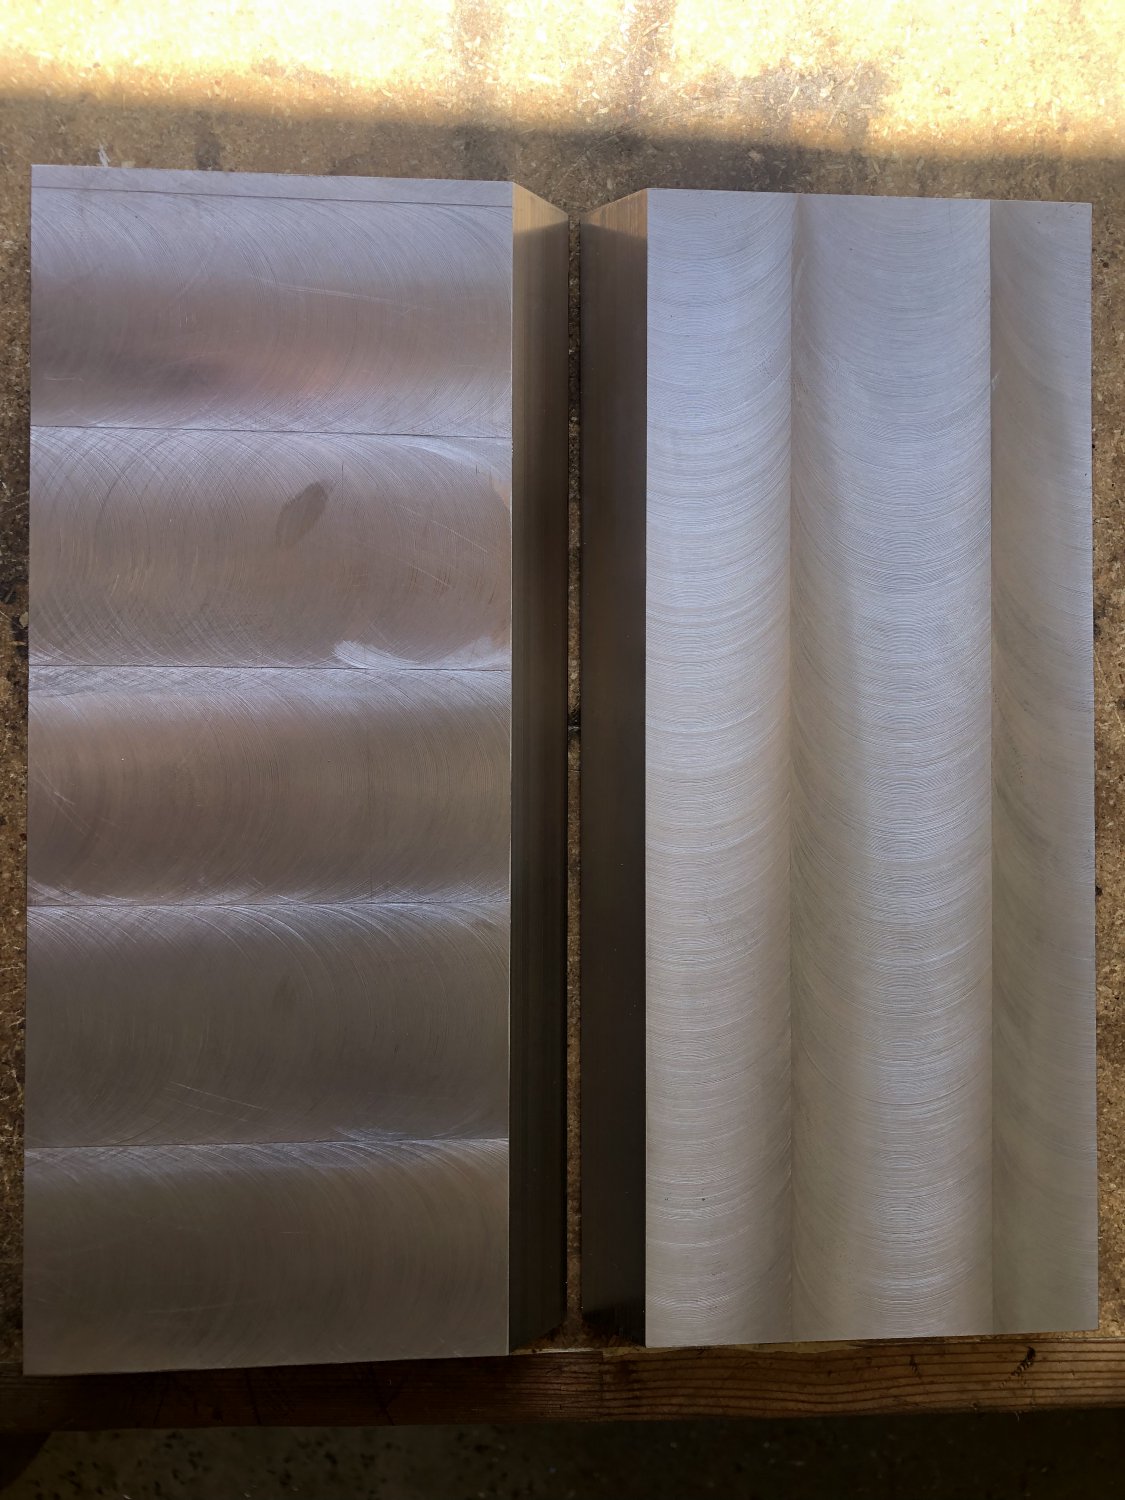
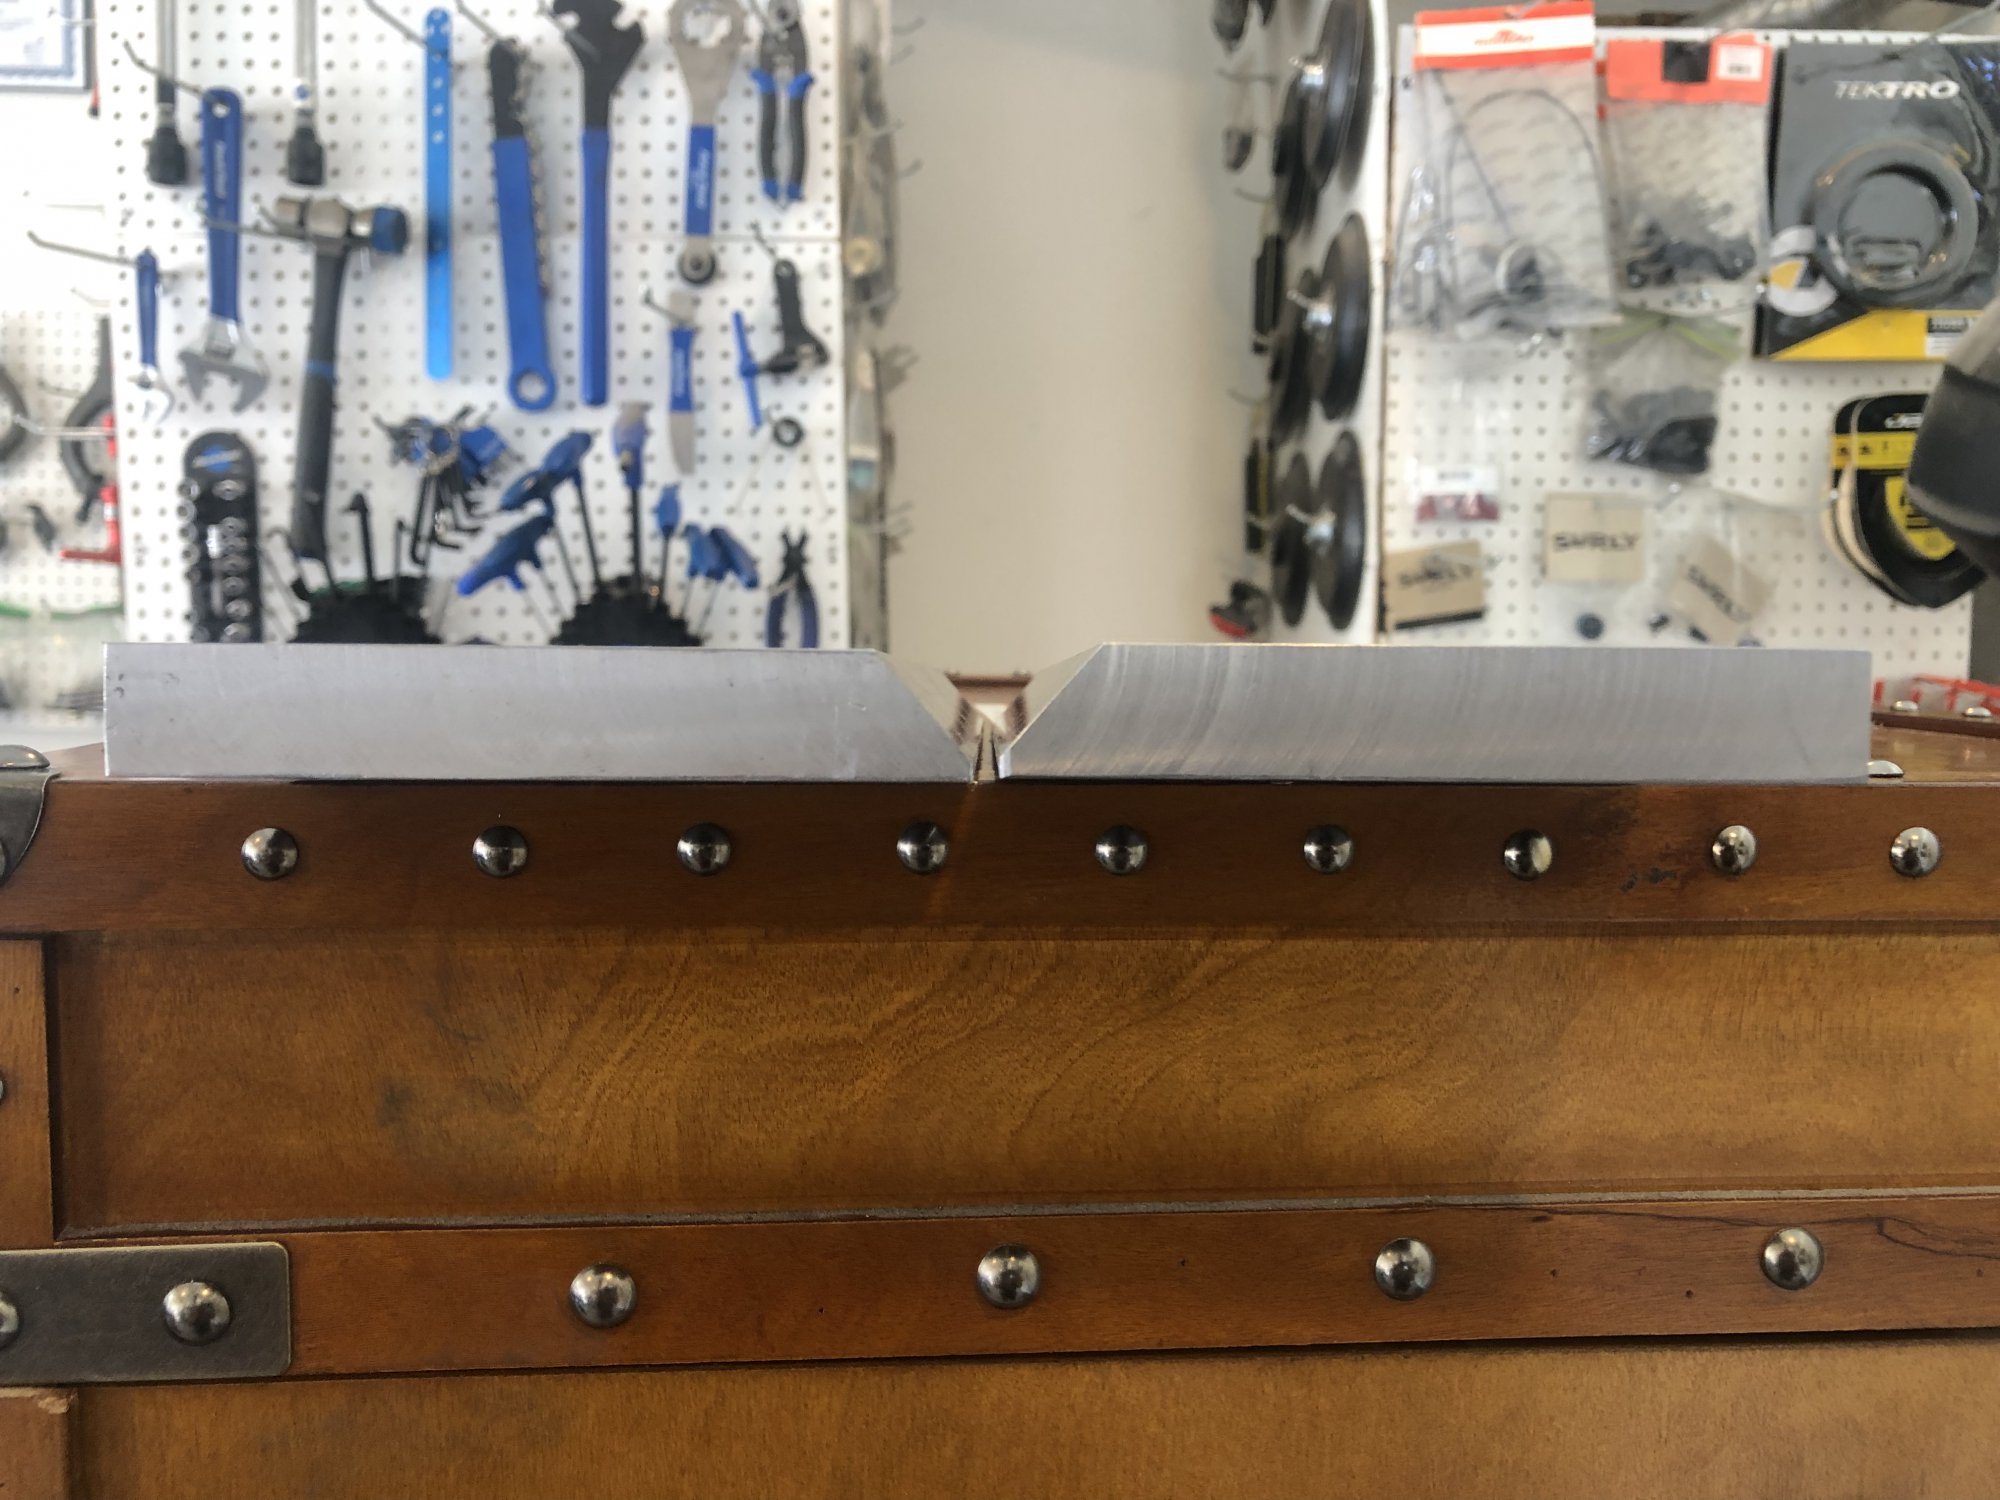
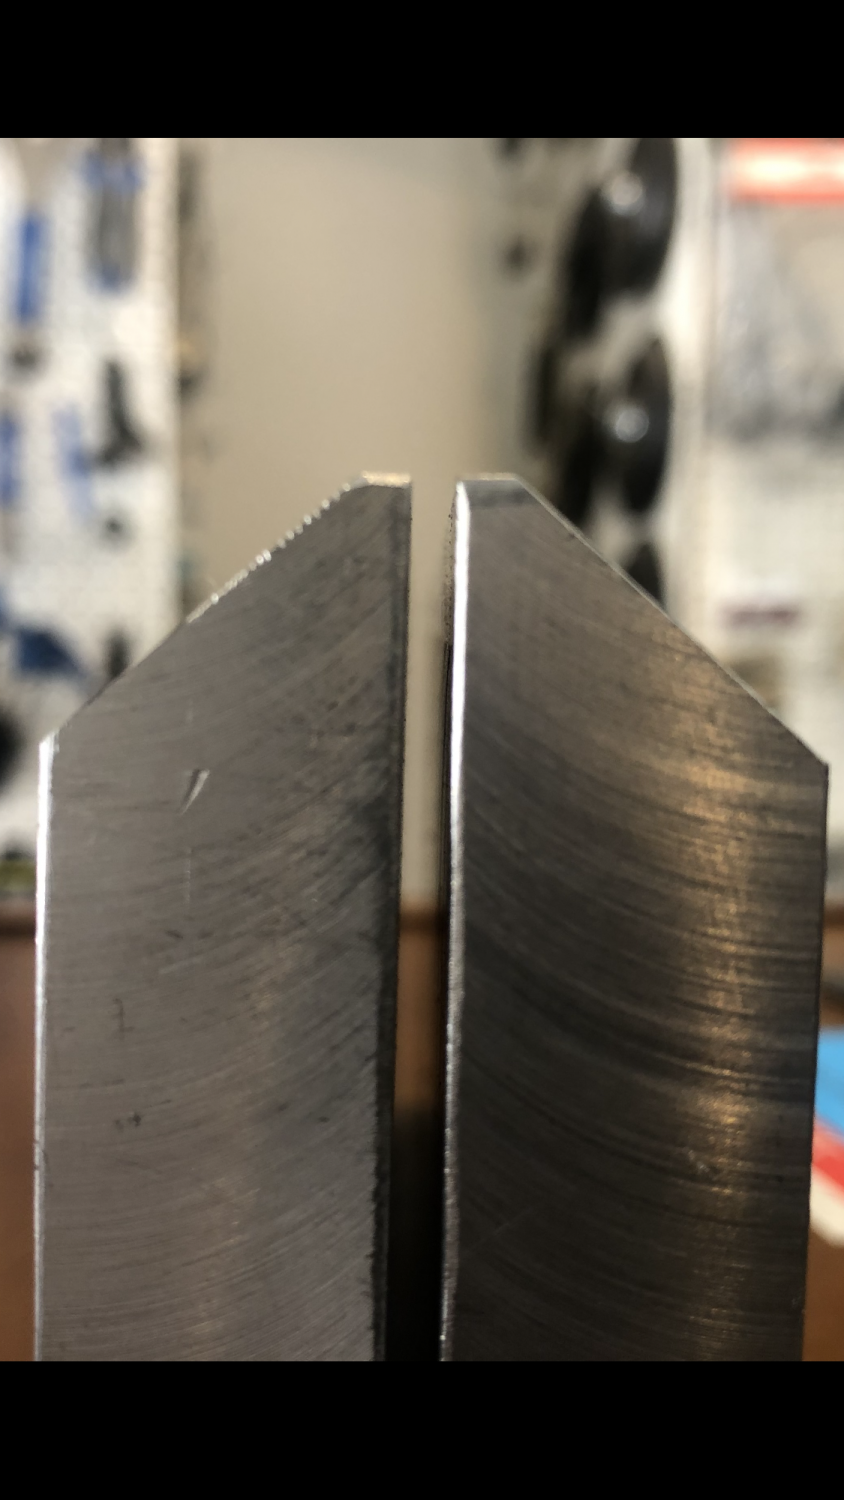
I am not so proud of this, but here is first thing that I made on this milling machine: 1” weld test plates with 42° bevel and 3/32” landing.

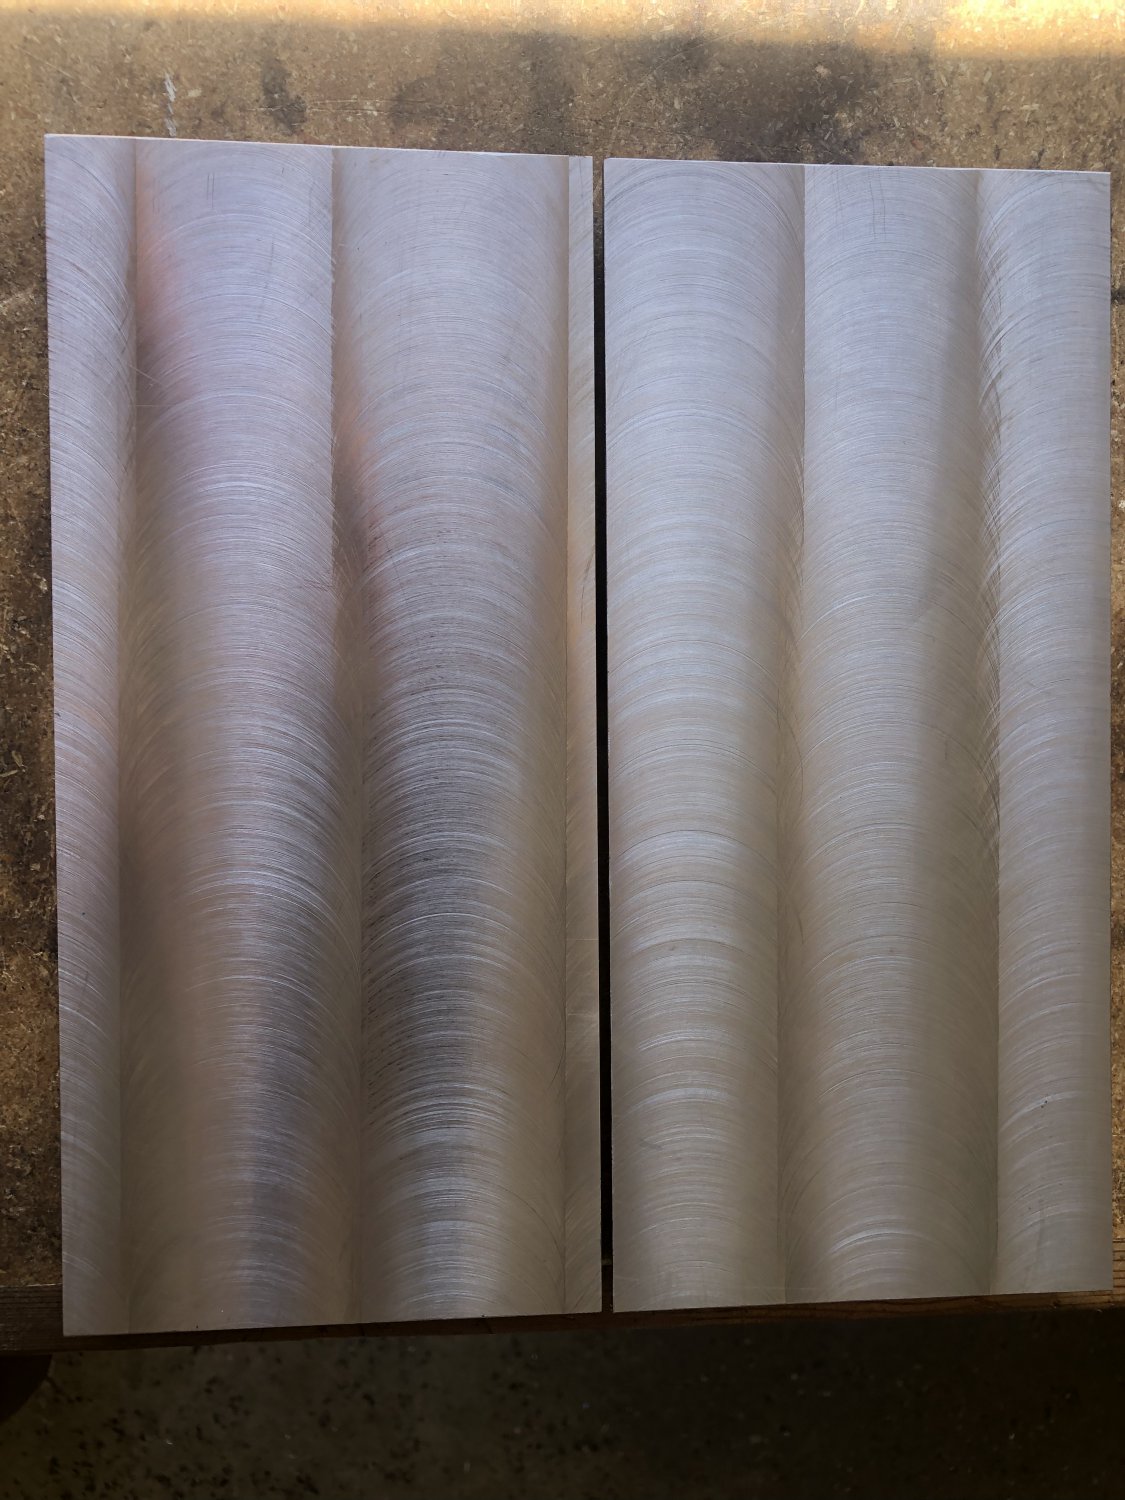
The landings don’t match up very well. The finish is, I want to say, unfinished? The deburring work with the hand file needs improvement. It took me way too long to make them, but it was solid entertainment and I learned a lot.

Moving forward, I just need more consistency…and a fly cutter!
524E0E8C-BC6E-4F65-8741-A8C5A70D873A.jpeg

9C1268CE-9172-4C42-B3C5-E13174CC7ED7.jpeg


The landings are a train wreck. Next time, I to make sure to machine them using an identical process.
41E879E3-30A8-4D73-B376-B960A6BA4729.jpeg


57D2D998-0831-4516-8134-CB42D02B440B.png
 
Last edited:
Why are you so concerned about the mirror finish on a plate your going to weld on?
It takes a while to figure out how to get the best results from different materials.

Joe
 
And most "Welders" cut those bevels with a torch or grind them. I've never seen a "Welder" with a milling machine out in the field.
 
Looking at these pics really show how out of tram your mill is.
 
Looking at these pics really show how out of tram your mill is.
That is exactly what I was thinking as I was uploading the pictures!

First thing tomorrow, I am going to tram the nod & tilt with a dial indicator.
 
Today I tried & failed to tram the head. I was using a brand new .0001” Chinese dial test indicator & a tramming “adjustable arm tool” that goes in a 3/8” collet. You put the mill in neutral and swing the arm (with the DTI on the end) to sweep two opposite sides of the table about 10” apart.

As I anticipated, the .0001” DTI was much too sensitive to work with. Keeping in mind that I had to lower and raise the knee between readings (making sure to hit my z-axis zero to the nearest .0002” according to the DRO), even the slightest bump of the arm or DTI (e.g. setting the DTI to 0) would send the DTI reading out .001” or so.

Also, the spring-loaded measuring arm on the DTI was sticking just a little bit, or at least it was not smooth. You can imagine how frustrating it is when you get your reading, and then when you lower the knee the needle does not move. It was definitely a sticky “plunger”!

I quickly came to the conclusion that a .0001” DTI is too fine to tram a head in this manner.

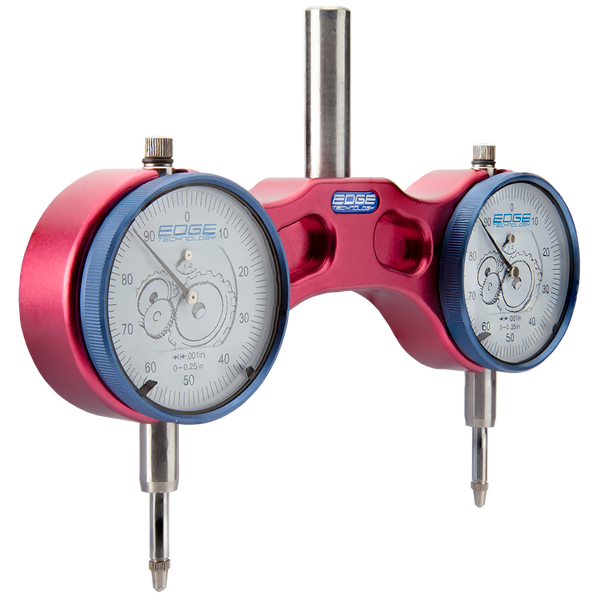
I bought one of these below even though it only spans just over 5”. At least I won’t need to swing an arm around to get a reading with this one! Looking at the price, I would guess that the dial indicators are cheap imports.

52F40FCB-8F11-45B8-BCFB-F18E090A5B44.png


Link:


Note that the resolution is .0005” which is about as fine as I would want to use. Starrett makes one of these and it’s resolution is .001”, but I didn’t have enough money for the Starrett one.

The company that I bought this from (Edge Technology) also offers one with a resolution of .001”.
 
Last edited:
I own, and I use the Edge Pro Tram system for gross tramming operations. It works fine. The indicators are solid Chinesium. For finer tuning, (and for indicating for centering a hole under the spindle CL), I prefer to use a Noga NF1018 centering indicator holder and a 5/10ths test indicator as shown below, secured in the spindle with a 5/16" R8 collet.

Indicators - 1 (2).jpeg


Indicators - 1 (1).jpeg
 
@erikmannie Do you have a .0005" dti? Get yourseld a 1/4" peice rod and bend it ~45°. You'll need a snug to fit on the end and put your indicator on it. Set up a 1-2-3 block so that the indicator just touches on an edge, same on the other side.
 
Back
Top