- Joined
- Aug 3, 2017
- Messages
- 2,437
Gorgeous! I'll make sure to send you my address.


")


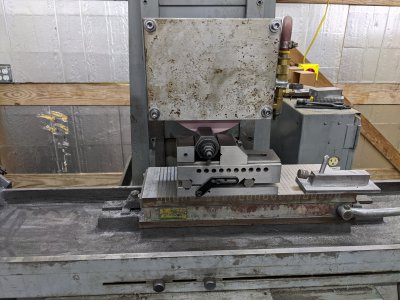
Oh crap! forgot I had a broaching tool coming...I better find that arbor(s) I need! What size if the arbor on that grinder? What mill did you get?
On an somewhat related note...my compound machining project won me a new Mitutoyo Digital caliper from Practical Machinist. I guess I got t post more of my projects, could be a lucrative side gig!
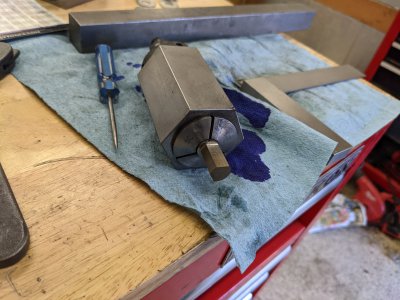
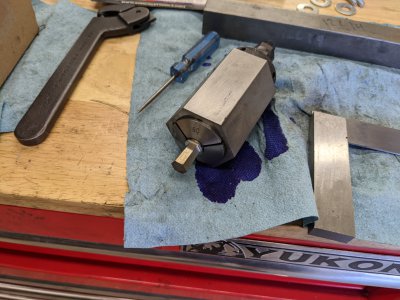
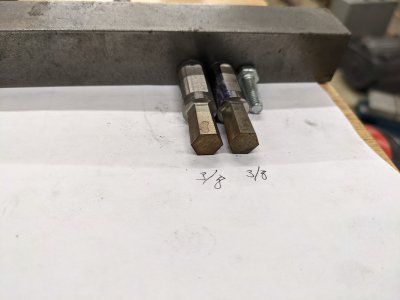
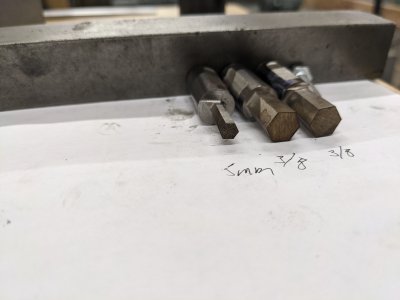
You unfortunately have a little time, I probably won't be done with my parts and putting these together for a few weeks:/ it mics out pretty close on my surface plate, so perhaps it just looks worse than it is?Yeah I might shorten the depth of cut on the smaller ones, it at least should prevent the root from getting so small.My broaches don't need to be more than 2 diameters long....
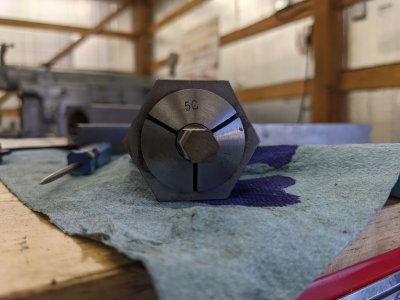
 I have 8 more cutters to go to get you all 3 of them (barring disaster or another mess up), and I likely will be doing 1x a day at this rate!