• Welcome back Guest! Did you know you can mentor other members here at H-M? If not, please check out our Relaunch of Hobby Machinist Mentoring Program!

  • In order for the Member Map to work properly, you must allow Google services AND Hobby Machinist to know your location. These settings are found in your browser of choice and in your Hobby Machinist profile.

Winner Home Grown Cutter Grinder

Status
Not open for further replies.
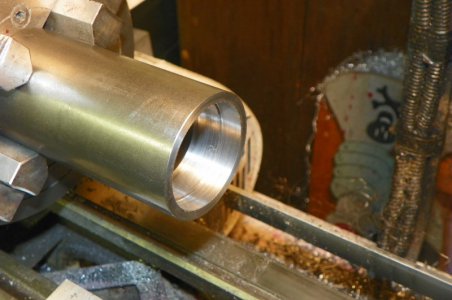
Open to 1.000 all the way thru. Need to go to 1.500 thru.

"Billy G"

102_0483 (800 x 531).jpg
 
Neighbor called this AM, had a water main leak. Got that fixed. Then the daughter called, her car wouldn't start. Got that done. And I still got both bearings in. :rofl:

"Billy G"

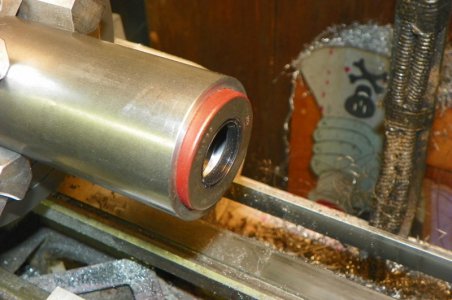
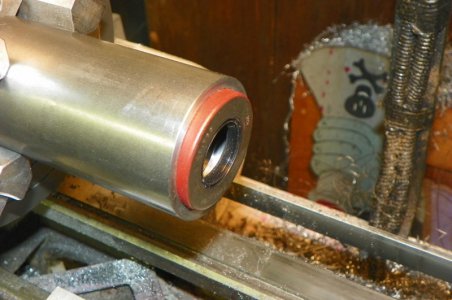
102_0484 (800 x 531).jpg 102_0485 (800 x 531).jpg
 
Last edited by a moderator:
I tried that once to. Brought a big hunk of steel in and put it on the kitchen table. Then my wife came in!!!!!!!!!!!!
 
The bearing fits and seal fits are extremely important here as it the bearing alignment. I best way to accomplish all three IMHO is to bore them without turning the part in the chuck. It's also the hardest way. So with that said I turned it. :)). The 4 jaw is your savior here. The bearing fits are a light press fit. Not by hand, with the Arbor Press. Seal fit is a tad tighter. That red stuff on the outer edge of the seal is to seal the seal OD to the part. It is activated under pressure. This part is time consuming but if not done correctly the seal will leak at the OD. I can't have that happen as this spindle is oil filled.

"Billy G"

102_0486 (800 x 531).jpg 102_0487 (800 x 531).jpg
 
Tomorrow the spindle shaft. Once that is done and the spindle is assembled it's on to the mounting assembly. Be back tomorrow.

"Billy G"
 
I was asked how I fit the seal. OK this is how I do it, emphasis on I. I was taught by an old timer this way. I had trouble when an apprentice because of the seals not being all the same OD. They would vary a few thousandths plus or minus. They are more consistent today. I still use this method. Again, remember this is how I do it

#1 - measure the OD of the seal.

#2 - bore the hole to within .015 of the finish OD

#3 - set the bottom edge of the seal 1/3 of the way into the bore.

#4 - tilt the seal up to the top of the hole. It won't go all the way.

#5 - take a small cut and do step #4 again. Continue this till the top edge closest to the hole touches.

#6 - you are there. It works for me every time. I use the inconsistency to my advantage.

"Billy G"

102_0487 (800 x 531).jpg
 
Last edited by a moderator:
Billy G, It is amazing how much progress you make every day. How do you find the time to do the work, document it and then share it with us? Thanks for sharing this project with us. Looking forward to the finished product.

I am hopeful that someday soon I can document a project/build like this. I can't guarantee the same velocity though!


Here is how I handle the day. I set a reachable goal and stick to it. I know how far I can go without burning out. Sometimes I miss the mark but that's OK. If I tire, I walk away, it's not that important. I have been retired since 1995.

"Billy G"
 
Last edited by a moderator:
That sounds like and excellent way to fit a seal. I have wondered how many thou. was needed or if it was the same as a bearing. Excellent job.
 
Status
Not open for further replies.
Back
Top