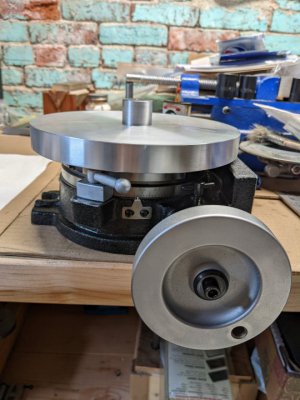
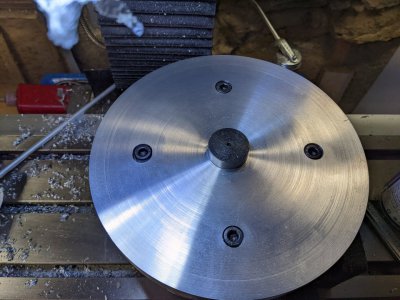
HV-6 Rotary table fixture plate build

Made my own gear shaft. It doesn't have a ball oiler in it, but otherwise is identical to the old one. I do have some replacement parts on the way, but didn't want to wait. This temp gear shaft needs daily oiling, but that's ok. The real gear shafts should arrive in a few days. Looking at my previous post - it appears I was desperate! :)

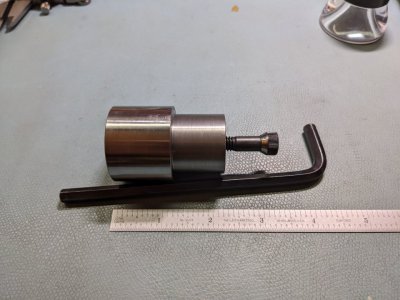
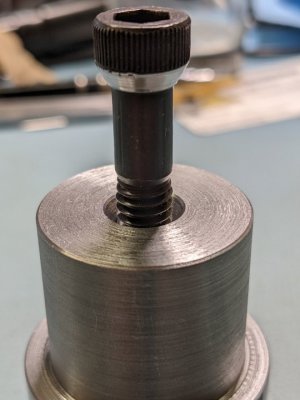
So back to the mandrel. Took another 0.02mm off the diameter. It's still a tight fit to the fixture plate. Then drilled the mandrel through with a J drill, and then partially with a P drill. Then tapped the mandrel from the backside with a 5/16-18, hoping the tap would make it through. I was about a thread off... So I forced a 5/16-18 bolt through. It was tough, but it made it through. Then machined a 60 degree cone in the top using a #5 center drill.
PXL_20220225_022335023.jpgPXL_20220225_022433682.jpg
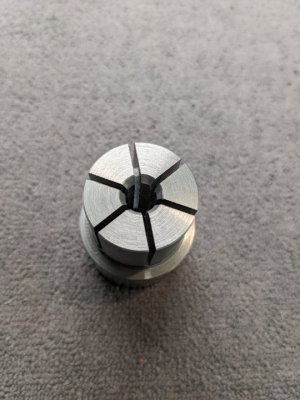
Machined a matching 60 degree flare on the socket head cap screw. Woah, that screw was hard to machine. It almost squealed. Next, I need to slit the mandrel. That should to be fun.
 
Slotting the mandel wasn't all that fun. It took a long time. My PM25 just doesn't have the torque to keep the blade going at 150 RPM while cutting. Someday, I will make a new pulley set for it to go slower. Or figure out a way to upgrade the motor. But the mandrel is done. Ended up using a 5/16-18 2" screw instead of a 1/4-20, why, because that was the only 2" screw I had. Here are some pictures.
PXL_20220225_232202712.jpgPXL_20220226_003429380.jpg
Also had to do snowblowing. Got 9-10 inches of snow to clean up. Did the machine work in the morning and early afternoon. At 3pm it was time for outdoor work. Got a decent workout today.
 
Last edited:
You didn’t test it at all yet? Looks good though.
 
I did try it. OD of mandrel must have sprung open a little. Even after filling the slot burs, it's slightly too large. Have to run some emory paper on it to get it to fit. I could hammer it on, but wouldn't be able to get it off. It seems it's right around an interference fit. It's burnishing the aluminum.
 
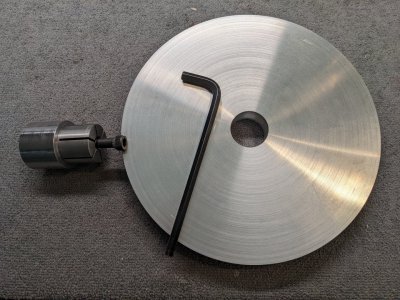
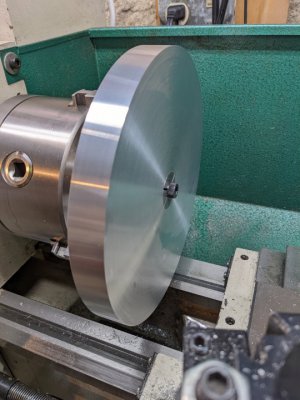
Turned the edge of the plate, using the mandrel. First time I have ever made, or used a mandrel. Definitely need a better solution for cutting the slots, that took a couple of hours. Very slow progress, as the blade would catch, then over-rev. Had to wait for it to get back to speed to keep cutting. Since the plate was turned, I then turned the soft arbor to fit the plate. Installed both onto the rotary table. Finally some progress!

PXL_20220226_161236686.jpgPXL_20220226_172559097.jpg
And another self imposed interruption - clean off the snow from the cars. Was good to get outside - very bright sun and windless, quite pleasant, for a winter day.

Next, clean up the mill. Still has the dividing head on it and quite a bit of cutting oil still in the slots. Got my chip brush soaked with cutting oil and chips. Now the brush is like an oil paint brush, not a cleaning device. Got plenty of chip brushes, so no problem.

After cleanup, I think I will make some spacers for the plate. You know, so I don't drill my rotary table! Plan is to indicate the arbor for center and drill the four holes for the tee-nuts. Since there's a tiny bit of slop in the tee-nuts, I think I can clamp the plate to the table and drill the two holes along the x-axis. (@ +/- 2.500") Once the holes are in, I can use two tee-nuts to clamp the plate, and rotate the plate 90 degrees, and get the other two tee-nuts locations.
 
Looks good. I'm thinking about making one of these but such that I can mount my 5" chuck on the RT. You could probably add the three bolt holes to your plate for the chuck but you'll need to be able to get to the bolts that secure your adapter to the table.
Thanks for sharing this project. I'm interested in seeing the end result.
 
You can use a band saw for slitting the arbor (oops mandrel). Your progress looks great.
 
After a separate thread on HM where I was disappointed about the angular offset of the table, I learned how to zero it. Basically it is a combination of rotating the collar on the handle, and sliding the pointer over a skosh. This made it a lot easier for me to get the mounting holes right. Originally there was a 3 degree and 11 minute offset from an indicated zero while mounted on the mill. Now there is no offset.

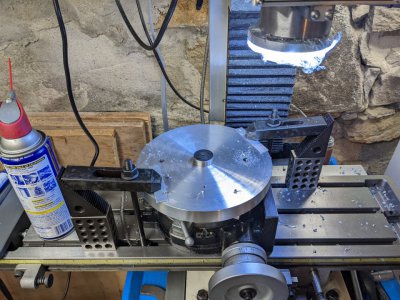
Next, I cut some 1/2 x 3/4 aluminum stock into 6 inch pieces. I had measured them with a micrometer and found the 1/2" dimension was within 0.0001" along the whole length. Good enough for me to use as a spacer. Using the arbor as the center, placed the spacers on the table so they wouldn't block the 0 and 180 degree locations for the mounting holes. Then placed the fixture plate on top. Finally, the plate was clamped to the table with hold downs and 123 blocks as spacers. Then the center was found using an edge finder and the 1/2 function on the DRO in both X and Y. Finally the clearance holes for the M8's were drilled at the 0 degree and 180 degree points using the mill only. The RT was locked at 0. I used a 21/64" drill as it was the closest I had. That's 8.33 mm, so it was fine. Here's a picture showing the set up on the mill, after I drilled the two clearance holes.
PXL_20220227_215425510.jpg
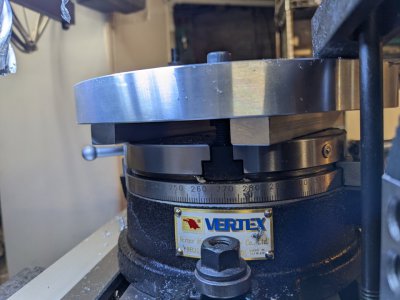
Then I used a 9/16" end mill to make the counterbores, plunging it 8mm into the plate. The next picture shows the spacer bars and the screw lining up with the tee-nut.
PXL_20220227_222907960.jpg
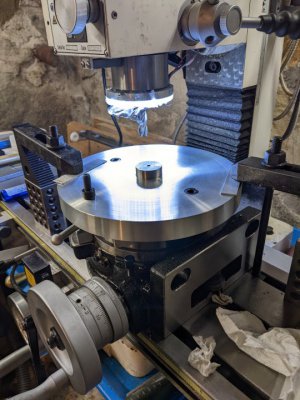
With the two screws in place, and clamping the plate, I could remove the external hold downs.
PXL_20220227_223642502.jpg
Was feeling pretty good then. I then proceeded to screw up the counterbore at 90 degrees. However, I didn't discover this until drilling the holes at 90 and 270. Oh, well, got my mistake out of the way. Had to make a new counterbore at 90. It's slightly elongated. C'est la vie. It is the counterbore at 9 o'clock. I'll call it a feature!
PXL_20220227_233756476.jpg
Still, it was a very good day. Hoping for a less exciting angular day tomorrow. Have a lot of drilling to do!
 
When this is all finished, should I turn down the height of the arbor to be flush with the table (without spacers)? I had left it long so I could use the spacers while making it.
 
Back
Top