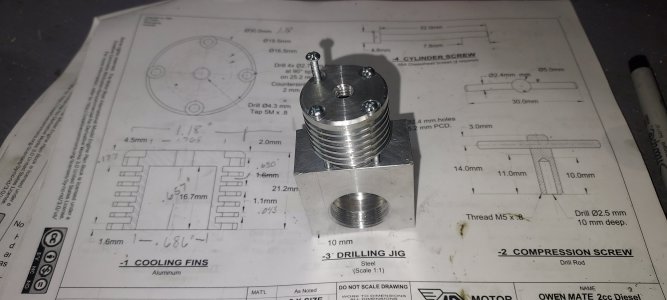
I want to build my first engine

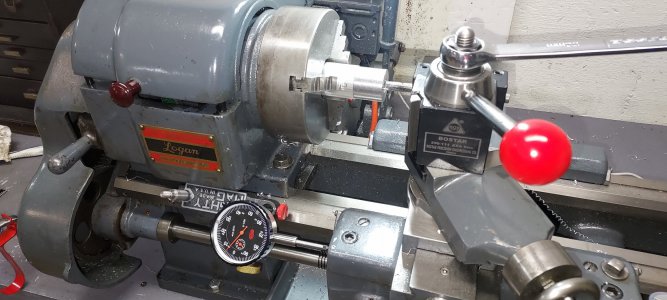
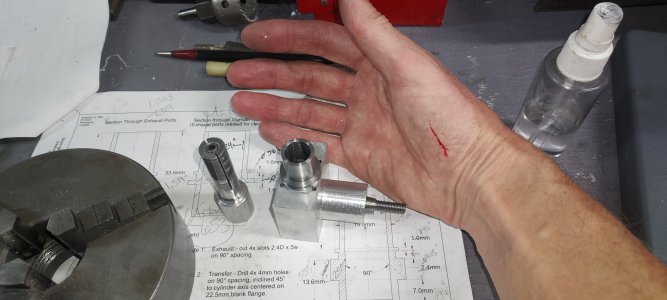
Note to self.....remove tool from toolpost when dinking around with cylinder lap
20231015_094502.jpg

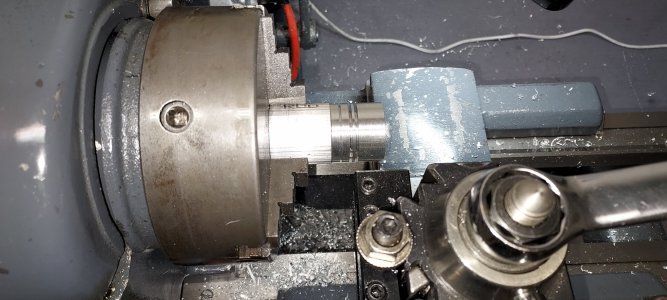
Trying to get a feel for lapping. 500 grit diamond lapping paste can remove significant stock. I'll make a new lap and restart with 1200. I think I have managed to get the bore parallel at this point with the 500. I also figured out the taper problem...bed twist which needed a shim removed. Perhaps I should remake the cylinder idk.
 
Hi

Makintrax73


I am sorry I didn't see the post earlier, don't read this forum that often. How is it going with the cylinder? Indeed the taper being wrong way that much is a problem and I think lapping will not fix it. I would propably try to chuck the cylinder with a four jaw chuck and carefully clock it to be zero runout (or as close as you can get it, I think inside 0,01mm runout should be achievable). Then proceed to bore it again with light passes and make multiple passes at the same setting with a sharp tool to get the bore as good as possible. To make the bore bigger is not a problem at this stage as you will fit the piston later. Ofcourse you cant't make it much bigger because of the ports but I would think that 0,10mm bigger is just fine. Then proceed to lapping it. I have always lapped with diamond paste and that does remove the machining marks relatively easily but not much more imho.

Edit. re-red the text and the taper was 0,015mm wrong way, thats not that bad so you might indeed be able to lap that out. In the end you want about the same amount of taper but correct way round and it should be perfect. (I have found that around 0,015mm of taper above the exhaust ports is very good for this type of engine.
 
Last edited:
Hi

Makintrax73


I am sorry I didn't see the post earlier, don't read this forum that often. How is it going with the cylinder? Indeed the taper being wrong way that much is a problem and I think lapping will not fix it. I would propably try to chuck the cylinder with a four jaw chuck and carefully clock it to be zero runout (or as close as you can get it, I think inside 0,01mm runout should be achievable). Then proceed to bore it again with light passes and make multiple passes at the same setting with a sharp tool to get the bore as good as possible. To make the bore bigger is not a problem at this stage as you will fit the piston later. Ofcourse you cant't make it much bigger because of the ports but I would think that 0,10mm bigger is just fine. Then proceed to lapping it. I have always lapped with diamond paste and that does remove the machining marks relatively easily but not much more imho.

Edit. re-red the text and the taper was 0,015mm wrong way, thats not that bad so you might indeed be able to lap that out. In the end you want about the same amount of taper but correct way round and it should be perfect. (I have found that around 0,015mm of taper above the exhaust ports is very good for this type of engine.

Yes. What i did is flip the cylinder around, put it in a 4 jaw true it up and re-bore it. So my thought process was similar to yours. This opened it up .004" but put the taper going the right direction since I did all of that before I figured out where the taper was coming from. Seems like its in pretty good shape with a nice smooth surface and 1/2 a thou taper.
 
Very cool thread. My ultimate goal for hobby machining is to build engines. Is this a good starter engine to make? Will be following along closely.


Sent from my iPhone using Tapatalk
 
Very cool thread. My ultimate goal for hobby machining is to build engines. Is this a good starter engine to make? Will be following along closely.


Sent from my iPhone using Tapatalk

So far it seems to be medium difficulty. The plans are clear and available for free. There are machining notes available. Those are available here:

Notes: https://modelenginenews.org/mate/p0.html
Plans: https://outerzone.co.uk/plan_details.asp?ID=13710

The block extrusion is not available AFAIK, but making it from a piece of 2"x2" AL barstock wasn't terrible.

As I move forward with the build the main thing I'm concerned about is getting the carb and spray bar right, and perfecting the piston/cylinder fit.

I have read that a steam engine is supposed to be more forgiving, and I'm sure that's true so perhaps that would have been a better choice. In my case because I have also dabbled in RC planes I thought this might provide a use for the engine and some extra motivation to get it done and running.
 
Last edited:
Got some time and motivation going today. Got the cylinder head machined. Other than getting a bad 4-40 screw from the local Ace which needs replaced I am very happy with how this part turned out....

Boring to fit the cylinder
20231026_055149.jpg

Machined the fins with a .058" groving tool I got in a box from who knows where
20231026_101128.jpg

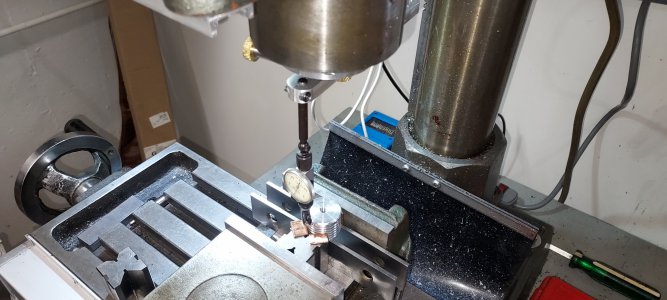
Dial in center on the mill/drill
20231027_091001.jpg

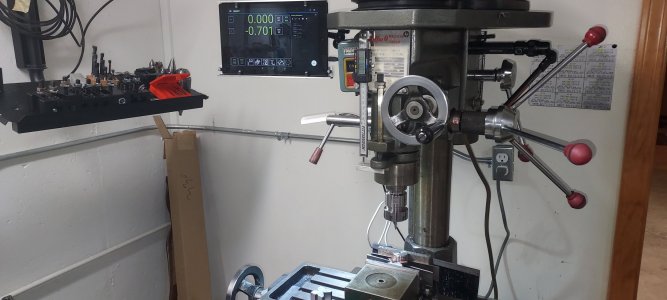
Use the TouchDRO hole circle function to locate the 25.2mm pcd hold downs....the plans recommend a drill jig but I skipped that step relying on the dro to locate the holes
20231027_155026.jpg

Finished product fits perfectly other than the bad screw....
20231027_163457.jpg
 
Looking good! I was at the same situation as you are about three years ago when I started my first IC engine the Boll Aero 1.8

I wanted to share with you a great article on how to achieve the piston cylinder fits on a model diesel engine incase you are not familiar with it:
https://www.adriansmodelaeroengines.com/catalog/main.php?cat_id=178

Keep up the good work and good luck with the rest of the build. It is a great learning experience for sure.

My Boll Aero build can be seen here:

regards
Olli
So cool
 
Thanks, I'll read it for sure. Been saving that for toward the end I heard it is important to get exact!

Worked on turning the crank today. I damn near overshot and had to start over. It about .0005 under what i wanted honestly but doesn't feel loose. Idk we'll see how it goes.

Turning down the shaft to size:

View attachment 461839

After the other end was trued in a 4 jaw I centered it and used my dro in the mill to drill a center to located the crank pin:

View attachment 461840

Test fitting parts, checking for clearance:

View attachment 461841

View attachment 461842

Next up is the crank pin offset turning. Found out it will require a mandrel. My 4 jaw won't offset far enough on such a small shaft.
Following.

Is that the 3" or 4" Vevor vise?

How do you like it?
 
Following.

Is that the 3" or 4" Vevor vise?

How do you like it?

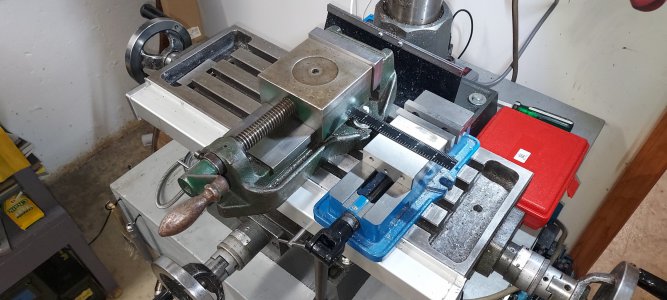
It's a 3" Vevor vise. Sort of wish I went with a 4", but based on the specs I thought it might hang off the edge too far for my taste. It has very sharp corners, which has proved annoying. Other than that it seems pretty decent for the money. I can't get stock exactly square, but reasonably damn close, and it doesn't cost 1/2 of what a used Kurt does. I ended up getting a bigger US made vise off ebay (pics from yesterday are the US made vise), but for smaller work the Vevor will remain in the lineup.

EDIT: here's a comparison Pic

20231028_150407.jpg
 
Back
Top