Just picked up a BP

View attachment 80580

Thanks for the blasting info alloy. It will be a great help. Thanks also for the heads up on the HF blast cabinet. HF sure is hit and miss, depending on what one needs! Also, good luck on the y-axis lock repair. I tend to agree with Jim's repair suggestion of the brazed plug. Very strong and a relatively easy solution.

Bob
 
I have both the hf pressure pot and the larger cab. Both work just fine for me. The hose in the cab sucks. It likes to kink or collapse. Other then that mine works pretty well. If it's something really tough I use the PP. It just seems to have a bit more kick. But it is a super mess. I run straight play ground sand out doors when using it because of material loss. Full white suit and head gear and a respirator. It's a fricking mess in the open with no vac to pull the dust
 
Another idea on your Y-axis lock. I might be tempted to mill out the existing broken material and then make a steel plug that could be brazed in with nickle bronze. I think that would be much stronger than the original material. From your posts, I take it that you have access to a machine shop. If needed we could do it in my mill.

Yes I do have access to manual machines, but it's hit and miss. I run VMC's all day, and engineering always has a hot new project they are working on with the manual machines. I had been thinking about a solution that involved machining only since I have no welding equipment, but really didn't come up with anything.

I do like your idea of making it stronger. I don't think welding up the casting will never make it as strong as it was originally. What plug material will be compatible with the nickle bronze rod?
 
.

I do like your idea of making it stronger. I don't think welding up the casting will never make it as strong as it was originally. What plug material will be compatible with the nickle bronze rod?


Just about any steel would work fine, 1018 maybe? Stay away from the leaded steels like 10L12


EDIT:

Another idea that doesn't require any welding is to make a plug as I described above, but rather than welding it in, extend it a bit deeper and thread the casting. Then just screw the plug in and secure with some red Locktite. This assumes there there is enough meat in the casting to do this.
 
Last edited:
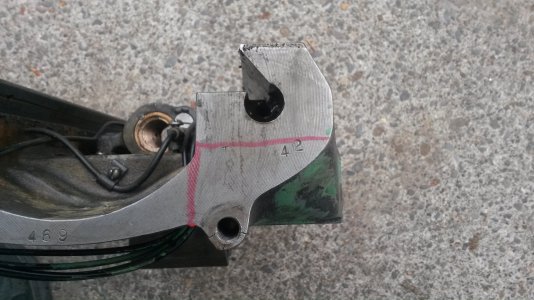
I thought about the plug idea but there isn't much material in that area to do that.

I was thinking mill out an area like I've marked in the pic, and bolt a plate in and the plate and bolts would take the load and not the casting.

If I do it right and use a little filler and cover up the bolt heads and parting line you will never see it.

casting.jpg

casting.jpg
 
Great idea. I like it.
 
Last edited:
Well got a little done this week. Hard to do much getting up at 4:30 and working 10 hour days. I'm beat after work.

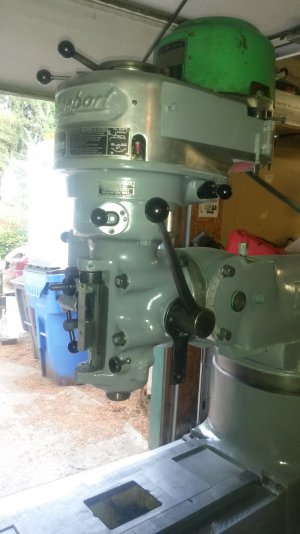
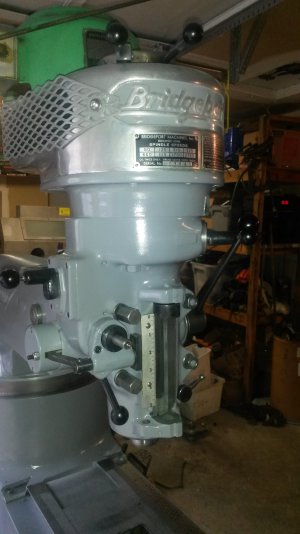
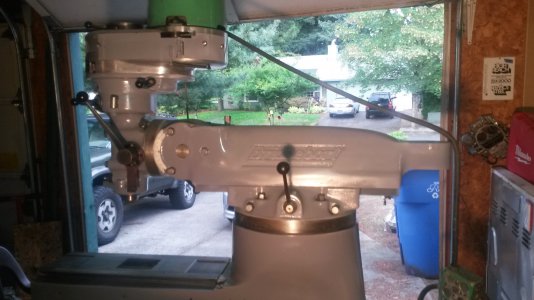
Go some paint on the head and ram. Yes.............I know the motor is still green. Will work on that this weekend. Tomorrow I will work on fixing the crack in the saddle. I will try and post pics of that.

head2.jpghead3.jpgram.jpg

head2.jpg head3.jpg ram.jpg
 
Wow, that's starting to look like a Bridgeport again, rather than a Leprechaun.:thumbzup3:

BTW, it turned out that the shop I was going to recommend for the welding doesn't do cast iron, but I think you have a much better idea anyway.
 
Everyone I talked to said they needed to heat up the casting to weld it, and I don't want to try and remove the oil lines and try to replace them. The pressed in fittings in the table nut don't look like they were made to be removed. And I've not seen anything anywhere on replacing the lines. And I really think the way I am going to do it is much stronger than any repair could ever be, and cheaper also. And if I ever need to replace the repair plate it's easy to duplicate.
 
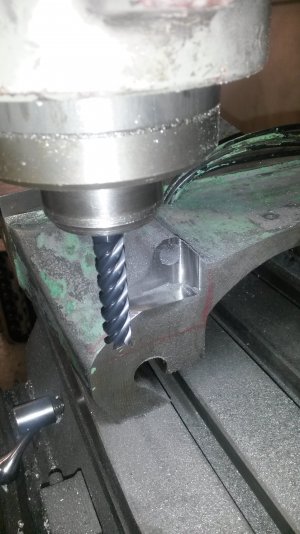
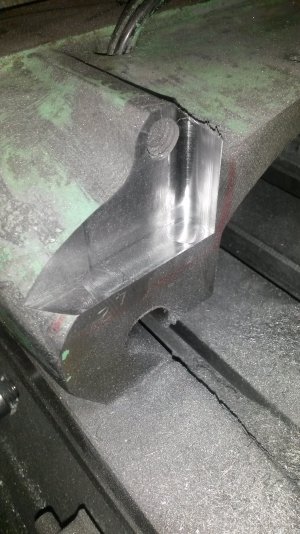
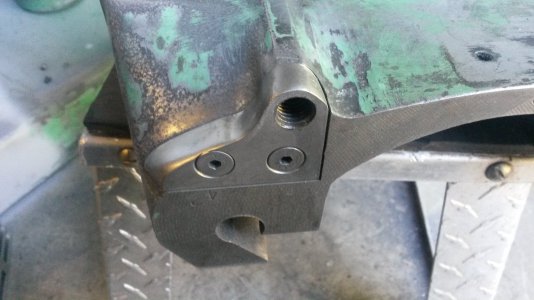
Got the saddle repaired today. Made the plate and bolted it on and used some dye and a scribe to get the rough outline and milled away as much as I could. Then I bolted the plate back on and used a die grinder and my belt sander to get it to match the profile of the saddle. I used a transfer punch in the table lock rod hole to get my location to drill and tap the hole for the lock handle.

Came out pretty well I think. Hopefully if someone else has the same problem this will help them.

20140725_124457.jpg20140725_125906.jpg20140725_181619.jpg

20140725_124457.jpg 20140725_125906.jpg 20140725_181619.jpg
 
Back
Top