- Joined
- Aug 12, 2013
- Messages
- 858
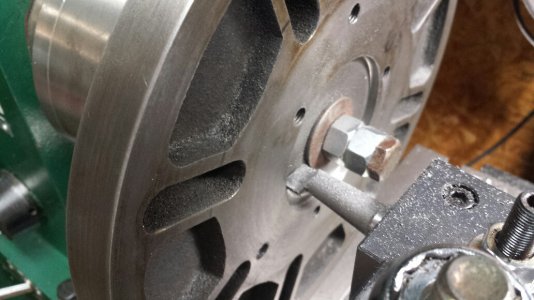
You could just turn it in place to get a concentric outer diameter.
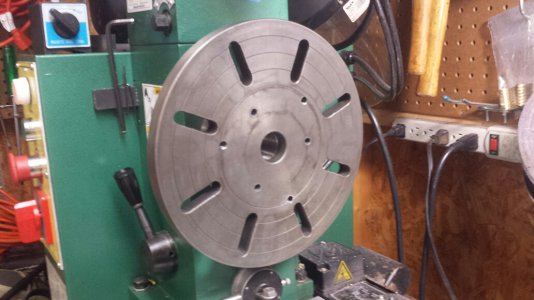
The downside is that you will be add a balance issue, since you would be taking off up to 0.120" off one side when you turn the plate. Of course, since this is just a rough casting, it might not be balanced to begin with, so maybe it doesn't matter.
You could always drill some MORE holes in the plate to balance it when you are done.

Since usually a faceplate is used to turn oddly shaped chucks of metal that won't fit into a chuck, and since said chunks of metal tend to be wildly, scarily unbalanced, the balance issue probably wouldn't matter.
Or... you cut rotate the plate by 30 degrees and drill 3 MORE holes... maybe you will be closer to concentric alignment next time....

 And if those don't quite work, then rotate it by 15 more degrees and drill 3 more holes...

 And if this doesn't work, then look for a good deal on a 12x36 lathe that has a D1-4 or D1-5 style cam-lock spindle, so you don't have to go through this again...
And when you are all done, throw the faceplate in the bottom drawer of your toolbox, where it will sit until you need it next year. Most of the work I do fits in a 3 jaw, 4 jaw, or 5C collet chuck.
The downside is that you will be add a balance issue, since you would be taking off up to 0.120" off one side when you turn the plate. Of course, since this is just a rough casting, it might not be balanced to begin with, so maybe it doesn't matter.
You could always drill some MORE holes in the plate to balance it when you are done.
Since usually a faceplate is used to turn oddly shaped chucks of metal that won't fit into a chuck, and since said chunks of metal tend to be wildly, scarily unbalanced, the balance issue probably wouldn't matter.
Or... you cut rotate the plate by 30 degrees and drill 3 MORE holes... maybe you will be closer to concentric alignment next time....
And when you are all done, throw the faceplate in the bottom drawer of your toolbox, where it will sit until you need it next year. Most of the work I do fits in a 3 jaw, 4 jaw, or 5C collet chuck.
Last edited:


