

- Joined
- Jul 19, 2019
- Messages
- 116
Thanks very much Mark. I appreciate your support. My lathe has been an absolute dream to work with, and that is thanks to all your help, direction, and wiring schematics when I rewired it.I have a much heavier lathe (2400lbs) with carbide inserts for turning, so my DOC is anywhere from 0.02-0.1" with a feed rate in the 0.009-0.012"/R range for 4140. As Firemaker76 outlined, it is easy to hit your target by measuring the diameter change vs. the DRO/Dial reading change and compensating with each successive cut. When threading this diameter I make a female test mandrel in this case it was aluminum and the male was some scrap steel rod. This gives you an approximate DOC when threading and also as a fitment guide for multiple parts (i.e. a go/no go for threading) On a smaller lathe I would recommend sticking with 1144 which is easier to machine and is very durable. You can often find ends on eBay or scrap at very reasonably prices, shipping is less if 12" or under. Example below I would get two (1-5/8 or 1-7/8" Steel Rod 1144 High-Strength x 6" Long Stressproof), or a smaller diameter as I am not sure your lathe can handle heavy turning. The bluing solution is below, it kind off works, took a number of coats and I cleaned, then boiled the metal in distilled water and applied hot. This was my first time bluing, but it depends on the steel and it needs to be very clean. After a couple of coats, lightly go over it with fine steel wool and then apply a coat of oil.
Firemaker76, very nice work and attention to detail, wish I had more patience for the finer details you did. Much better to make your own machinist jacks to your own design, far better than what you can buy.
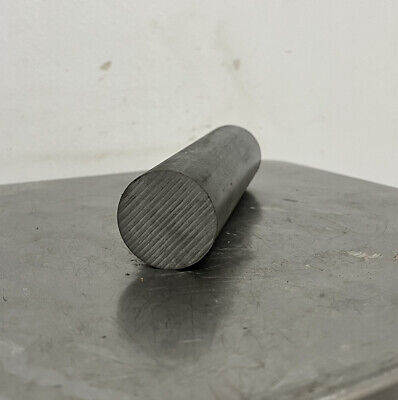
1-5/8" Steel Rod 1144 High-Strength x 6" Long Stressproof | eBay
A311 Class B Stressproof A311 Class B StressProof® is a steel produced using a proprietary process that draws the bar through a special die under heavy draft. StressProof® round bar,hex and standard cold finished or TG&P (Turned, Ground and Polished).www.ebay.com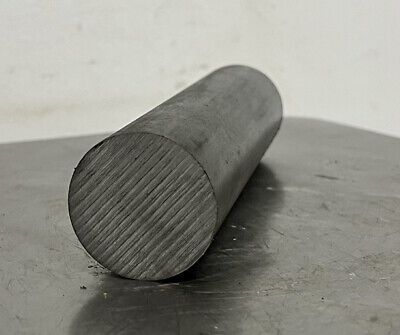
1-7/8" Steel Rod 1144 High-Strength x 6" Long Stressproof | eBay
A311 Class B Stressproof A311 Class B StressProof® is a steel produced using a proprietary process that draws the bar through a special die under heavy draft. StressProof® round bar,hex and standard cold finished or TG&P (Turned, Ground and Polished).www.ebay.com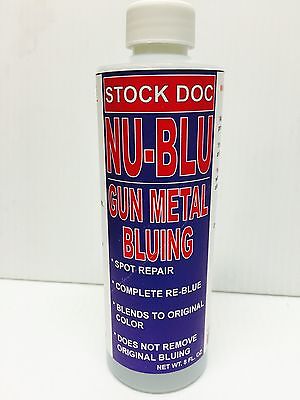
NU-BLU GUN METAL BLUING 8 oz | eBay
NU-BLU Gun Bluing is not your average Cold Bluing, it is designed as a reverse Hot Bluing, without the need for dipping tubs and the use of gallons of product. This eliminates blotchy, inconsistent results.www.ebay.com
-Mitch Humborg