Making a backplate for an ER40 set tru chuck

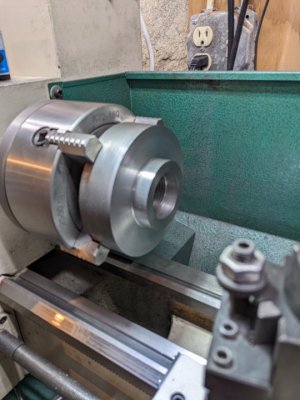
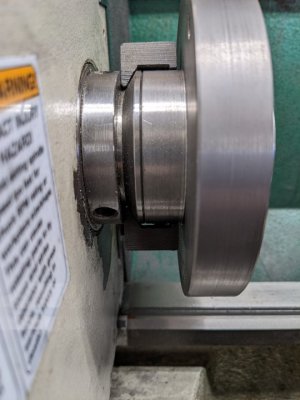
Opened up the counterbore and slightly chamfered the threads. Happy to say it's a good fit, but not tight. Made the counterbore about the same as the others. My spindle is 1.8101", this counterbore is 1.8152" which is about the same as the other back plates I have.
PXL_20220320_185259280.jpg
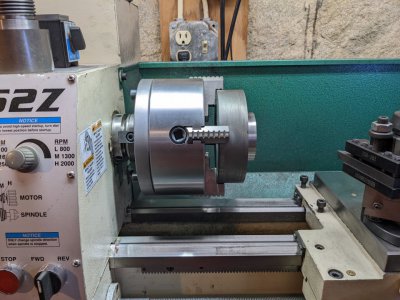
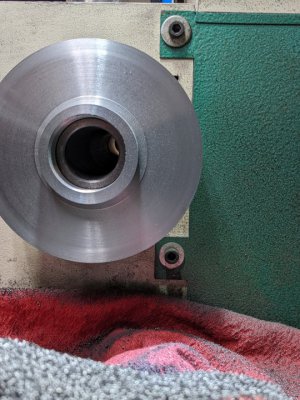
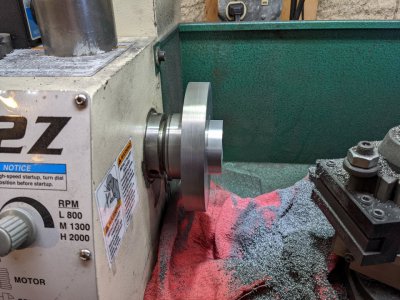
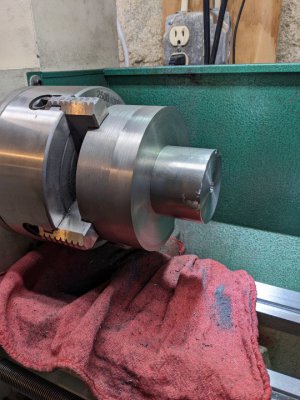
With that out of the way, I will take down some of the diameter on the register side, down to roughly 67mm OD. Made a start on that this afternoon. Something isn't right, as cuts over 0.020" are causing a low frequency humming. Maybe the cutter height isn't quite right. Need to make a tool height gauge for this lathe. I know the height, but haven't made the gauge yet. A magnetic light I have mounted to the headstock was noticeably vibrating. So kept the DOC low and plodded along. Still managed to generate a few chips! Did a lot of vacuuming a couple of minutes after this picture.
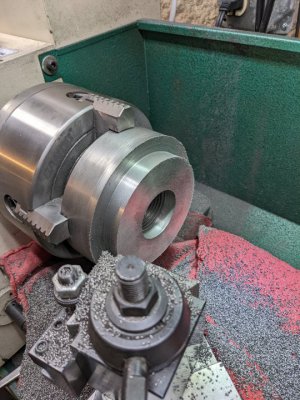
PXL_20220320_204247888.jpg
 
Out of a little paranoia, I unthreaded the 4 jaw chuck from the spindle, and flipped it around, to try fitting my back plate to the spindle. Man, that was heavy and awkward. But fit it did! Heavy sigh of relief. Put everything back to normal. Really glad to have made the spindle copy!

Looking at the shop rags made me hesitate to put them back, they were filthy. So I washed them. I knew that the red rags would run, so dumped them in a bucket with some detergent. Wow, the water turned dark red. Good thing I didn't put them in our washing machine. Anyways, the rags are dry now and ready for another use.
 
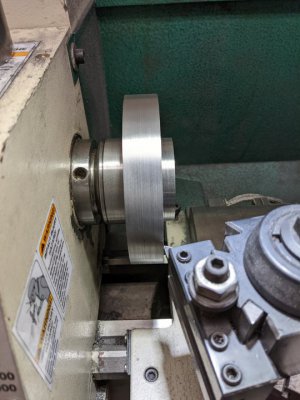
More chips. Within 0.030" of diameter, and 0.030" of depth for the spindle side. Want to leave something to true up when mounted on the spindle, but not sure if I can get a lathe tool back there! Going to do a pretend trial of turning the 4 jaw back plate. Think the 3/8" tooling that I have won't be either long or stiff enough at extension.
PXL_20220323_161745142.jpgPXL_20220323_161818179.jpg
Going to be awfully close. The apron extends out a ways. It will very obvious when I get the cross-slide closer. This will be done with lathe off! Might be that the cross-slide is too tall for this operation...
 
For some reason, it took a long time to set the compound angle. Haven't done it on this lathe and was struggling to figure out a good way to indicate it. The protractor doesn't go past 90! Not that it is accurate, but how hard would that have been to put in the extra marks? Finally took a ground 30 degree angle and stuck it to the compound using a magnetic block from an indicator stand I junked. Then indicated the surface along the cross-slide axis. Eventually the readings started making sense and got it to within 0.0005" in a 1" travel. Think that is an error of 0.28 degrees. Stopped fiddling with it. I should have put on my good DTI and got it to a tenth, but got lazy. Figure it's a lot closer than using a protractor with it's wide black lines.
Bruce, see this. Sets the angle on the 602 as quickly as it takes to loosen and tighten the compound clamping screws. https://www.hobby-machinist.com/threads/29-5-deg-angle-tool-for-lathe.34541/
 
Well it was obvious once I looked at it again - the 6" chuck wouldn't clear the cross-slide. So I turned down the spindle side to size while it was still in the four jaw chuck. Big moment for me was to remove the piece from the four jaw. Then removed the four jaw chuck and its back plate from the lathe. Blew out all the chips from my back plate and installed it on the spindle. It went on without a problem. Was a good moment.

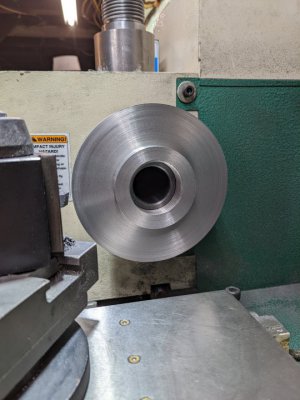
Then turned the diameter true, and started hogging out material for the boss. It is starting to look like a set tru back plate is revealing itself from that disc of cast iron.
PXL_20220323_214859817.jpgPXL_20220323_214733079.jpg
Tomorrow will be a rainy day, perfect for working on this!
 
Made some progress today.
PXL_20220324_160255851.jpgPXL_20220324_160320949.jpgPXL_20220324_160405519.jpg
Need to measure the boss very carefully now, I might need to take off a thousandth or so from the diameter. Want to have some adjustment range, but not too much. The back plate didn't bottom out against the chuck, which is good. I have an odd ring of a couple of thousandth's height around the boss. I changed to a TCGT to get a finer finish and thought I touched it off correctly. Guess not. Fortunately, the chuck is relieved in that area, so it doesn't matter at all. Overall, pleased with the progress.
 
Last edited:
Don't need to do anything to the boss, it's fine. Chamfered all the edges and took the backplate off the spindle. Harder than expected. Not much to grab onto! Had to put on a pair of gloves to grip the back plate. I think I may drill a couple of holes for a tommy bar when I get a chance.

Have to clear off the mill table and set up the next step, drilling and tapping for M8. Get to use the DRO bolt circle calculator. Haven't tried it before, should be fun.
 
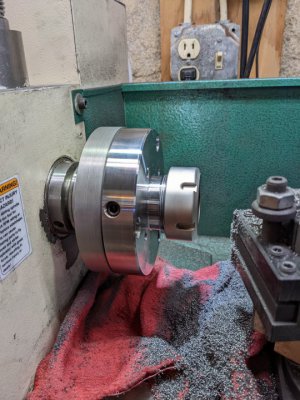
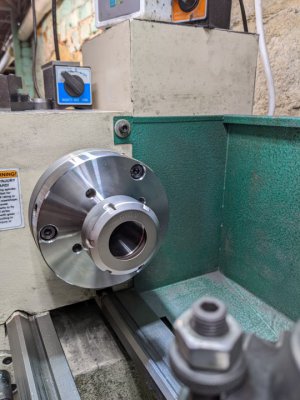
That was easy! Drilled and tapped the plate using the bolt circle function. Tapped with a spiral flute M8 tap. Here's the chuck mounted on the back plate, with 30mm M8 SHCS screwed in. Next is to rig up the dividing head and drill the spindle clamp holes with a 5mm hole, and tap to M6. After that, drill three 8mm holes spaced at 120 degrees for a tommy bar. I made a tommy bar a while back for my ER32 chuck, might as well use the same bar. Hmm, maybe I will drill the chuck itself rather than the back plate. It is made of steel, so that might be better.
PXL_20220324_214022571.jpg
You know, I didn't think I would get this far along. I don't even have any collets to check this out! Need to fix that.
 
Today I put in the spindle locks. They are just threaded holes on the spindle counterbore. To do this I used my dividing head on the mill. Was thinking of also using the dividing head to drill some holes in the chuck for a tommy bar. Thought it was a better idea to have the holes in the edge of the steel chuck than in the cast iron. As it turned out, the chuck mounted on the back plate couldn't be held by the 5" three jaw chuck since the register side of the back plate interfered with the chuck jaws. This was a good thing as it turned out. Here are the spindle locks installed.
PXL_20220325_155157168.jpg
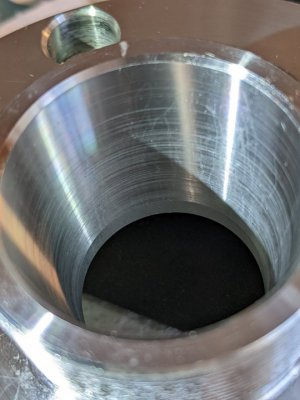
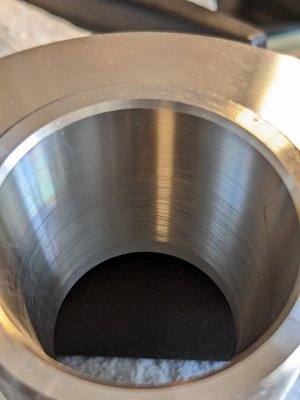
Since I couldn't drill out the tommy bar holes, I thought I would install the chuck to the back plate and indicate it true. Or at least indicate the collet taper. So installed the chuck and removed the collet nut. I looked into the taper and found what looked like scoring. Back of the finger nail revealed quite a few burs. Long story short, Shars is replacing the chuck. They agreed with me that the finish quality of the taper was unacceptable.
PXL_20220325_182917145.jpgPXL_20220325_182943713.jpg
It's good that they have stood up for their product.

This project is so, so close to being complete. Only need to dial it in, and perhaps still reduce the OD to match the chuck. But it has to wait a bit, for my replacement chuck to arrive.
 
Back
Top