

-
Welcome back Guest! Did you know you can mentor other members here at H-M? If not, please check out our Relaunch of Hobby Machinist Mentoring Program!
You are using an out of date browser. It may not display this or other websites correctly.
You should upgrade or use an alternative browser.
You should upgrade or use an alternative browser.
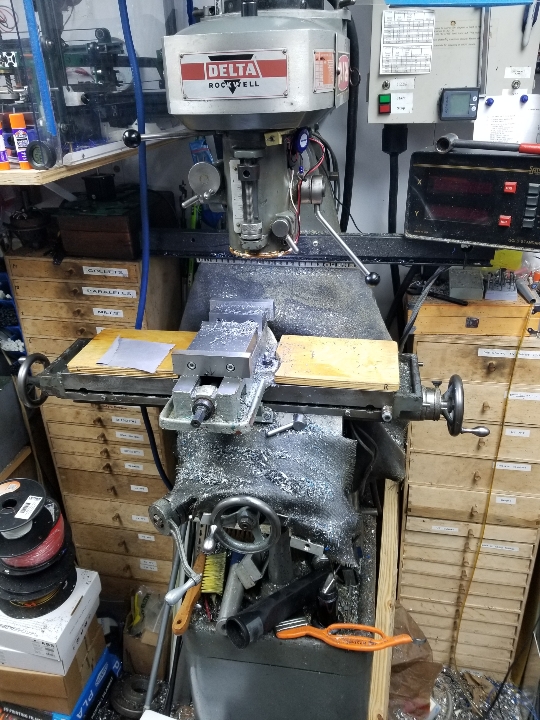
My first knee mill
- Thread starter jwmay
- Start date
- Joined
- Mar 26, 2018
- Messages
- 8,407
Keep em comingAny interest in my posting the progress?
- Joined
- Oct 14, 2013
- Messages
- 984
Here you go!

Sent from my SM-G892A using Tapatalk
Sent from my SM-G892A using Tapatalk
- Joined
- Dec 3, 2017
- Messages
- 1,909
Thanks for that picture of the slides!
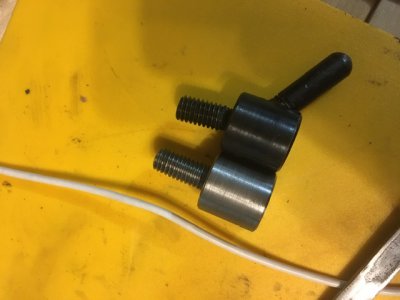
I don't have a dial or original handwheel for that side. Mine had a factory power feed which must have been thrown away in pieces before I got it. The handwheel I do have seems to have come from a Rockwell tablesaw of the time. Anyways it'll get a power feed eventually. Thanks again!Here's where you want to put the hand wheel to tighten the mounting bolts.
- Joined
- Dec 3, 2017
- Messages
- 1,909
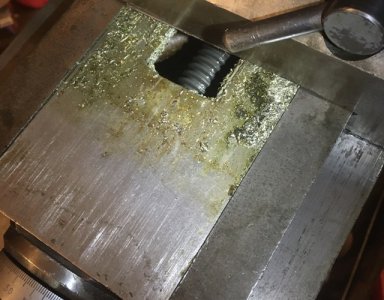
Who could have guessed? More crud! Thanks to welingrod1's picture, I was able to figure this slide problem out. I shined a light in there and it seems my bent metal rod did a decent job of clearing chips. But I hadn't gotten any oil on the bevel gears. From this access though, I can hit it ok.
Attachments
- Joined
- Dec 3, 2017
- Messages
- 1,909
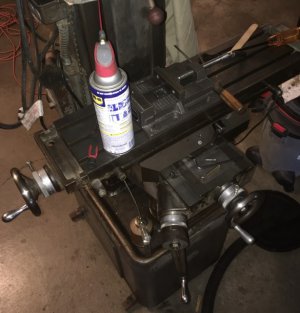
Bevel gears get grease. Got another solo cup out of the knee. Took off, cleaned and polished the dials and handwheels. Removed the Y gib, cleaned, stoned and reinstalled after "flossing" the gib area with a long strip of cloth. Bevel gears are greased. Knee cavity is comparatively clean. Gibs are adjusted. Screws are lubed. It's about time to mill something I think. Head needs trammed, and I still need to figure out where to put it...and how to put it there.
Attachments
- Joined
- Oct 14, 2013
- Messages
- 984
Great progress!!!
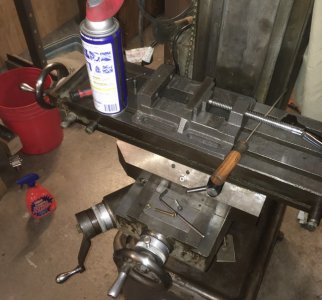
Two tips: I put my vice one more slot outward, and you should saw off the coolant channel on the column side. A couple of wads of epoxy putty will close the gaps.
You also want to make a couple of covers for the right and left sides. Trust me and do ot now, rather than later when you discover "why" the hard way. ;-)
Sent from my SM-G892A using Tapatalk
- Joined
- Oct 14, 2013
- Messages
- 984
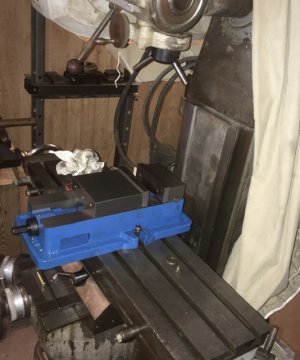
Ah, I need to make one of those too :-(
Sent from my SM-G892A using Tapatalk
Sent from my SM-G892A using Tapatalk