New G0602 Setup

Paul, if I’m understanding your last comment above correctly, nothing is wrong. The cross slide has 2 pairs of contact surfaces. It sits on the carriage and is forced down onto them by the pressure from the dovetails and gib. The top doesn’t/shouldn’t touch anything. I have a G9972Z which is very much like the 0602 other than the speed control and center to center capacity. Most of the parts between the two are interchangeable. It’s a very capable machine for the size. I’ve worked on parts for 5” naval guns on mine.

If you haven’t already, check out Clough42 on YouTube. He’s done lots of enhancements to his G0602.
 
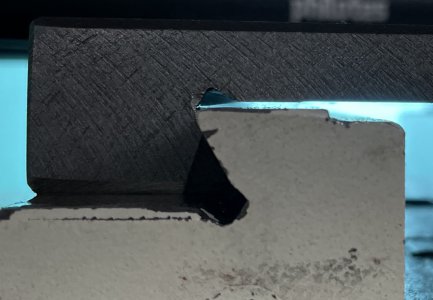
Correct, looks like this on both sides at the top, only contacts the bottom as it should:
Cross Slide Way Clearance.jpg

Plus one regarding Clough42, also Blondihacks. So much to learn!
 
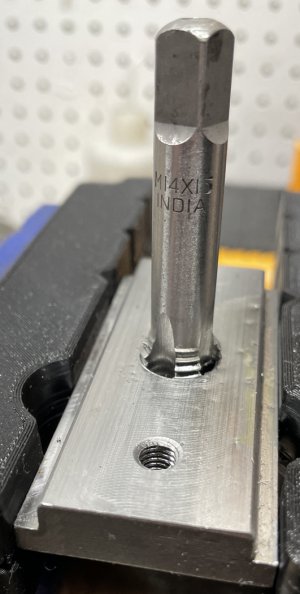
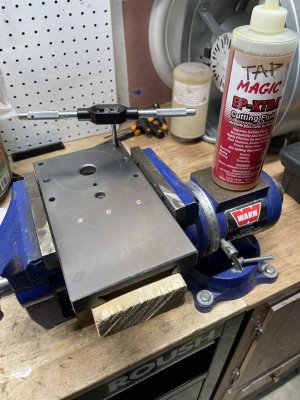
Continuing work on further cleaning and setting up the lathe for use. Drilled and tapped the tool rest side plate to accept the AXA M14 x 1.5 threaded post:

Tapping AXA Thread.jpgTapped AXA Thread.jpg

Started to have a look at alignment, here's what I found with an MT3 test bar in the spindle with an MT3-MT4 adapter:

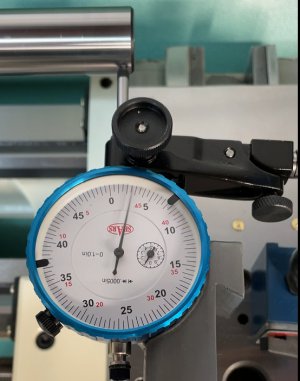
Near side runout is ~ 0.0005" each direction
Near End Test Bar Runout.jpg

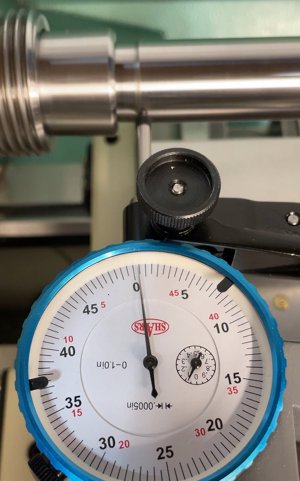
Far side (~ 9 1/2" away from spindle) runout is ~ 0.0025" each direction:
Far End Test Bar Runout.jpg

Any suggestions for improvement here? Perhaps shim the tailstock end foot on the operator slide a few thousandths to get these to match?

Or a different method to tune alignment?
 
Personally, I wouldn't trust that test bar to be true. Many aren't. Do you have a DTI? That's a dial test indicator, typically they have a small lever with a ball tip. I'd use a DTI to check the MT3 taper run out first. A dial indicator won't work for this. I know, I tried and got misleading measurements. The DTI worked well and is great for relative measurements. If the taper is not true then your test bar can't work. But I don't trust the bars anyways. If your taper isn't true, I'd be calling Grizzly. Most likely it won't be too bad, but if you don't measure it, you won't know where the errors are.

I'd install a chuck on the spindle and chuck up a smooth ground rod, about 1" or greater in diameter about 12" long, and do the "Rollies Dad" measurement to determine your initial misalignment. It's relatively easy to do and is a robust method. You should be able to find a copy of the PDF by searching for my username and Rollies Dad. I know I posted a copy a while back. I'm sure others will jump in, but this should be a good start to get you going. You should be able to use your dial indicator for Rollies Dad Method, sometimes known as RDM.
 
The Grizzly spec for spindle taper runout is .02mm at the spindle nose and .03mm at 100 mm from the spindle nose. This is equal to .0008" and .0012" @ 4". The runout for my G0602 is .012mm and .02mm.

In addition to potential problems with the test bar, there can be issues with the M4/M3 adapter.
 
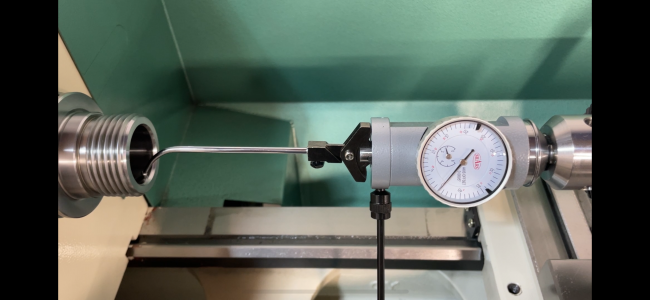
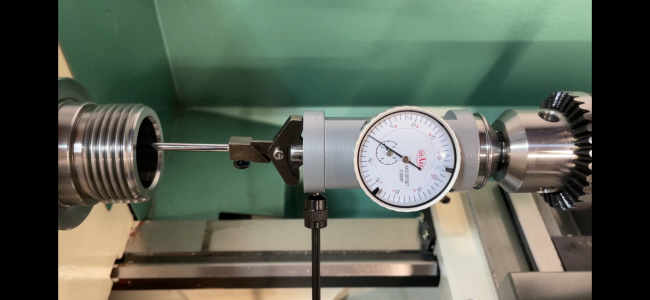
Thanks fellas, sage advice. I have a Shars coaxial indicator, I’ll check the spindle runout with it

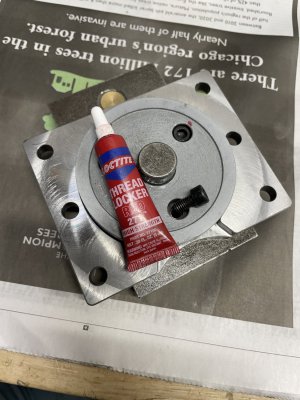
Got the slides assembled after teardown and a mineral spirits bath. It’s amazing how much grit and crud was in these.

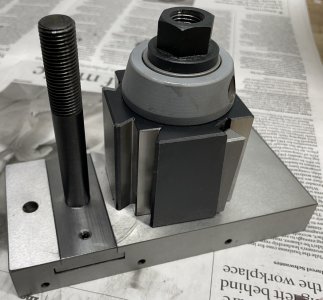
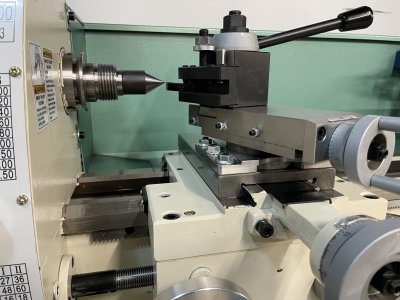
Getting closer to turning something, finished installation of the AXA QCTP and Belfanti compound clamp

IMG_4448.jpeg


IMG_4449.jpeg

IMG_4450.jpeg
 
Last edited:
If you rotate the test bar 180 degrees relative to the taper, does the run out change? If so, there's a problem with the bar. If not, check between 90 and 270. If good at 90 degree increments, it's probably ok.

Good to see minimal run out in the lathe taper.
 
Back
Top