New PM-25MV Mill

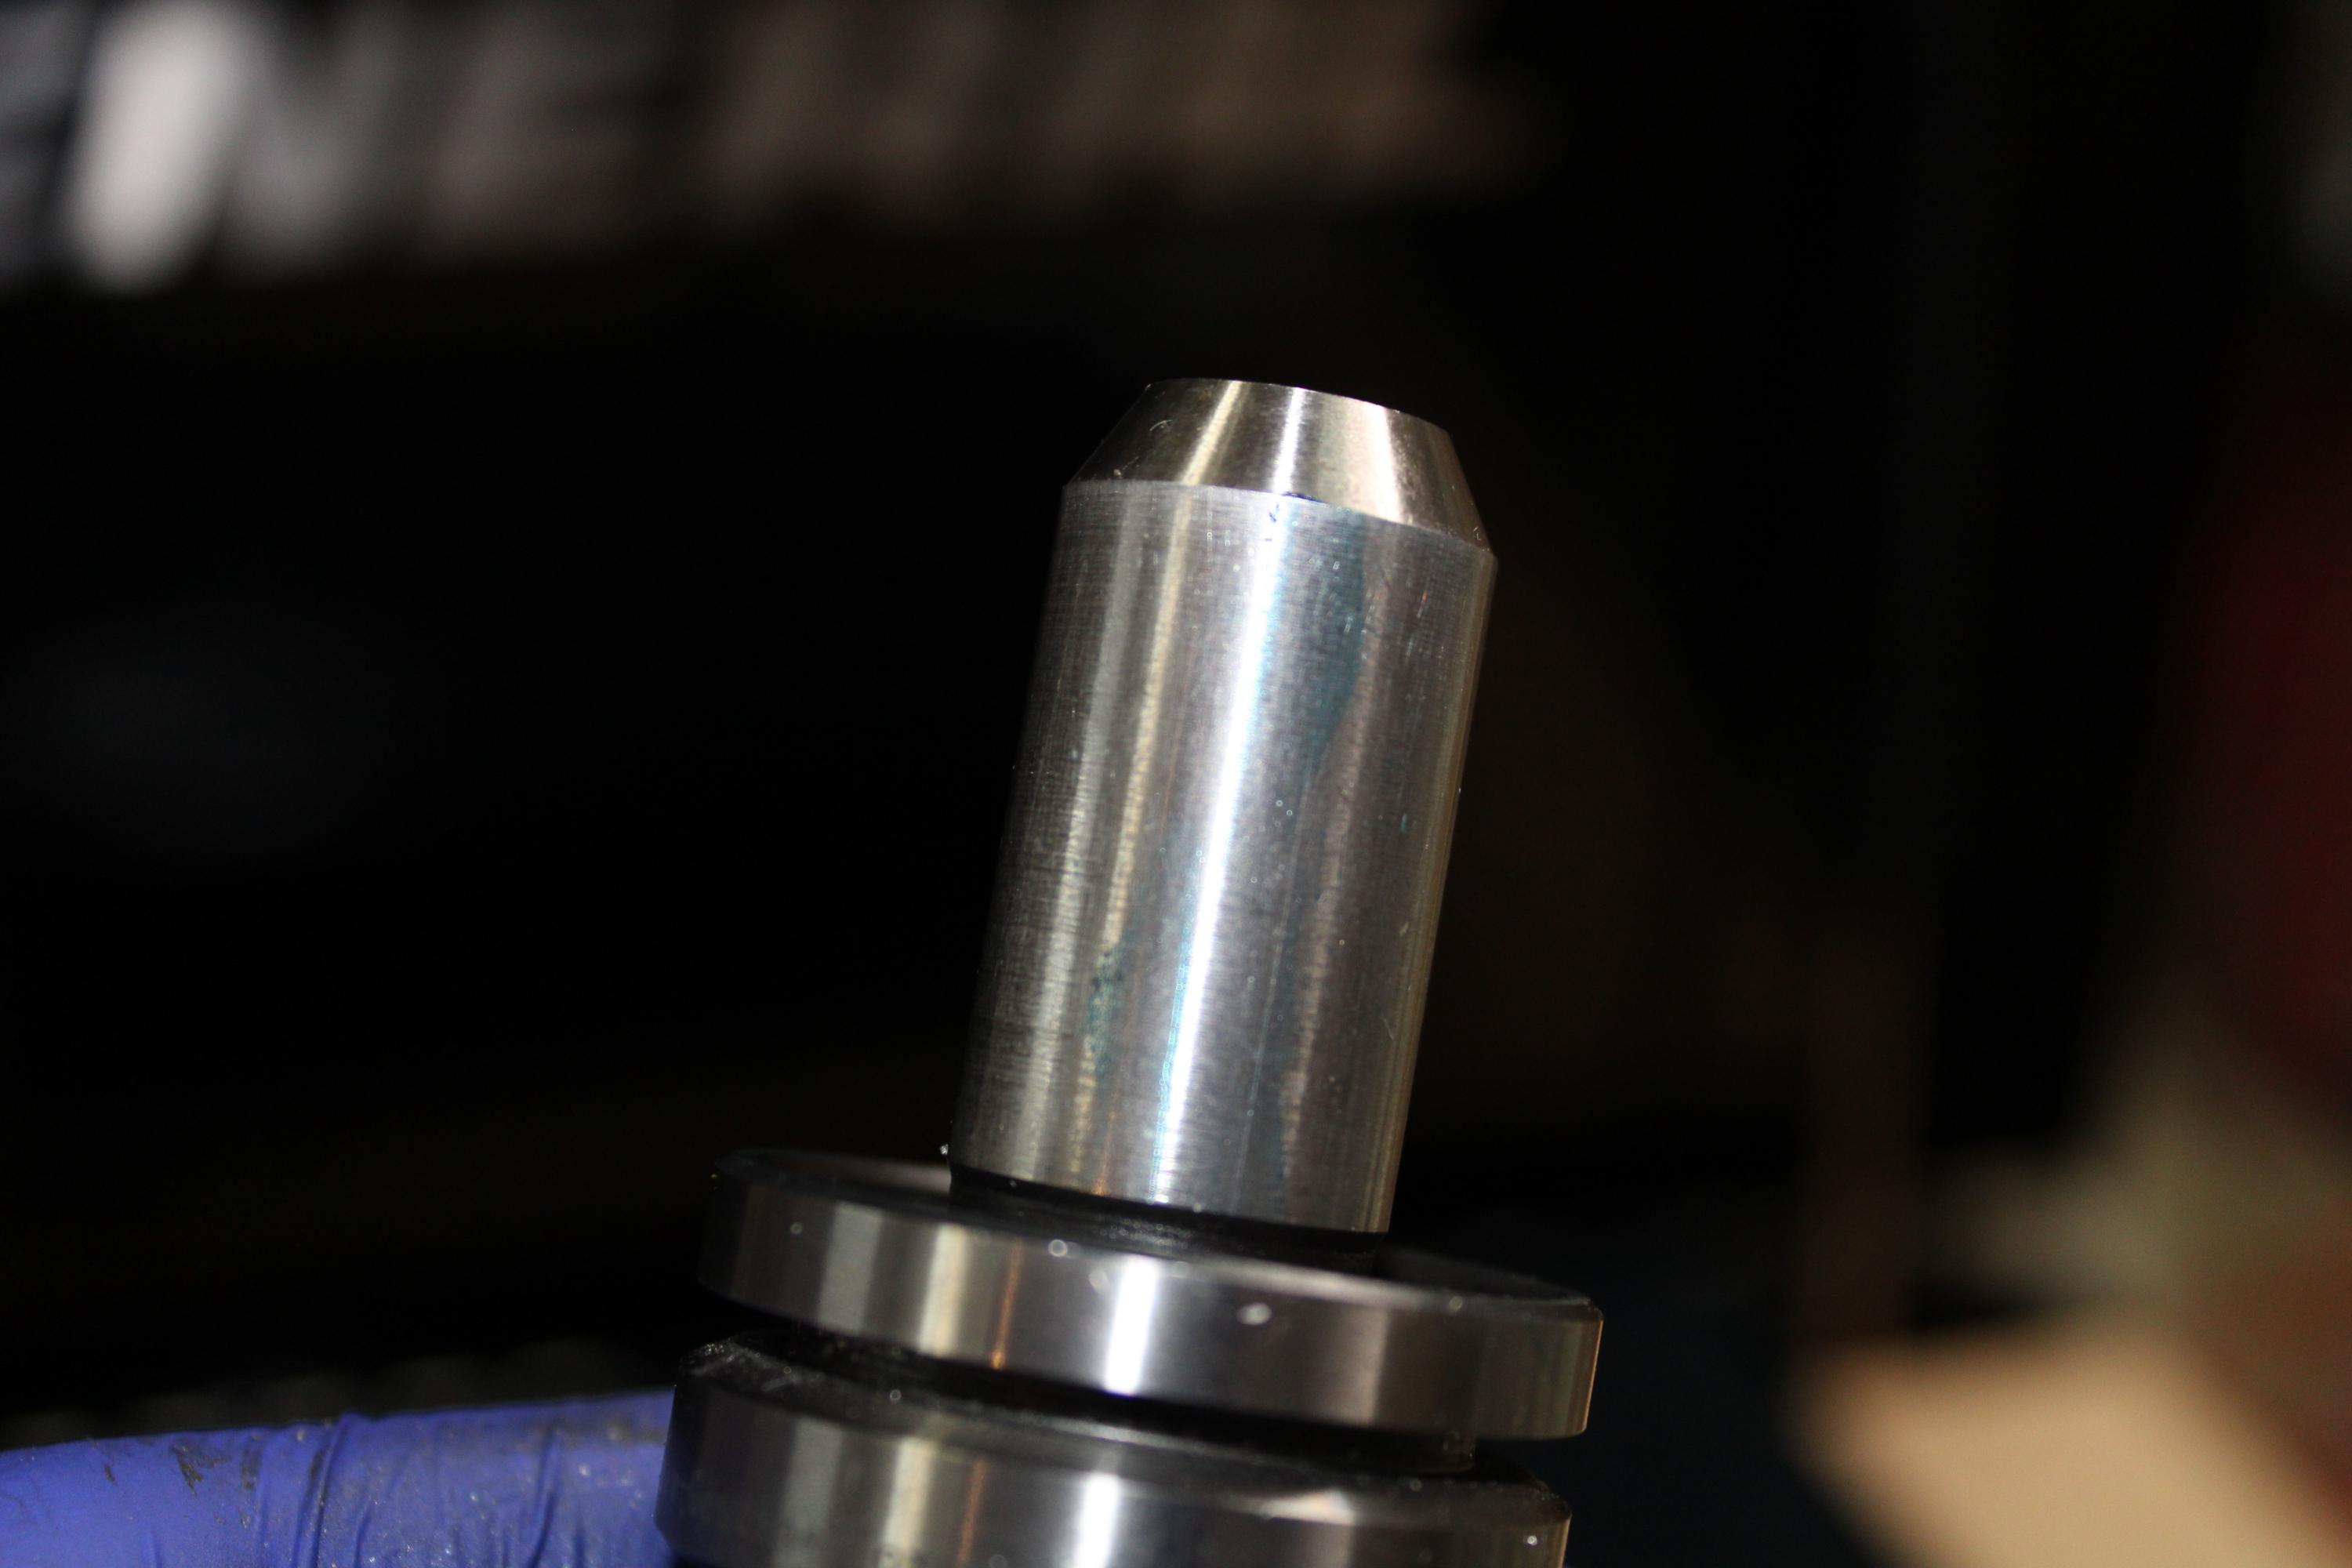
It's been a while since college physics but I think your numbers are correct. 9.8 m/s divided by 2.2 Kg/Lb = 4.45. I doubt the disc thickness would be any issue since the forces are well aligned tangentially. I am pretty sure without doing any math that the tangential forces of cutting could exceed 20 lbs and would likely be in the range of 2000 lbs or more! I think milling generates some serious side loads. Am I off base on this? I am not at all sure that air pressure will hold the axis. I love this project!
Robert

Edit: OK maybe 2000 lbs is a stretch. I was trying to say that the force on the work piece can far exceed the infeed force especially if the tool binds in the work. I am sure we have all had work ripped out of a well tightened milling vise!

I realized one astute point you made above. "any wiggle in the brake could lead to chatter in the cut." The bike brakes do have some slop in the axis of rotation. They are not designed to resist rotational forces that alternate like you might see in milling. I think this would be an issue. Your 4th axis brake will need minimal travel to actuate it but a lot of force. Perhaps you could go with more stages and larger pistons? You could also go with small hydraulic piston and then use a converter cylinder with air to achieve any force you want. Basically like power brakes on a car that convert vacuum to hydraulic pressure.
Robert
 
Last edited:
Am I off base on this? I am not at all sure that air pressure will hold the axis. I love this project!

I think you are correct. A test slotting cut I recently did (1/4" 4F roughing endmill, 1/4" deep, 25 in/min, 1.5HP) measured table thrust forces at roughly 500 lbs. This was definitely one of the hardest cuts I have taken but this machine could probably push even harder. My machine is a CNC'd G0704.

EDIT: This number would have included the minor losses from the ballscrew and the substantial losses from the friction in the dovetail ways.

Since you only need small travel, why not place the cylinder at one end of a lever and the brake pad near the lever pivot?
 
Hydraulics are fairly easy to deal with. I would think an air actuated hydraulic cylinder would be fairly simple to construct.

Look at racing go-kart brakes for a high performance relatively low cost solution.

Cheers,

John
 
After seeing someone by the name of CNC4XR getting some new C5 ground ballscrews for his machine, I have followed suit and ordered ground ballscrews. The cost was very reasonable and the quality looks good in the pictures I have seen. Lead time is supposed to be about 2 weeks.

Besides the potential slight increase in accuracy over my current C7 screws, I am hoping they will rotate more smoothly than the rolled screws I am using, and ideally they will be straighter. I also hope to get slightly better backlash with the new screws. I also upsized the Z to 20mm. I think it is overkill, but that will let me use larger bearings in the end blocks which should improve rigidity a bit.

If other people have considered doing the same, here is the price info:
C5 ground ballscrew - 16mm - 5mm lead - 750mm length - BK12 end machining - Double nut - $172.08
C5 ground ballscrew - 16mm - 5mm lead - 350mm length - BK12 end machining - Double nut - $112.56
C5 ground ballscrew - 20mm - 5mm lead - 600mm length - BK15 end machining - Double nut - $148.96
Shipping and fees - $98.00
Import tax (Estimated) - $19.50
Total: $551.10

I will be sure to update when they arrive.
 
Be interested to hear how these turn out. Mine are from Roton and are very sub-par. I have wanted to buy import ground screws, but heard too many bad stories of bent screws and off axis machining to feel like it was worth it.
 
New ballscrews arrived!!! I have to say, the difference between this set of screws and the first one I got is like carbon black and the surface of the sun. Ok that might be a bit of an exaggeration, but this time I am happy with what I got while last time I was disappointed.

The company I ordered from delivered everything as promised and everything was correct. I was quoted a 15 day lead time from the time of payment, and I received my screws 16 days from payment (close enough for me). All 3 screws were the correct length, correct pitch, correct nuts, and correct end machining. I measured all 3 screws bearing and coupler diameters, and checked runout on the Y axis. I got the following numbers: (all measured using a 1" micrometer that in theory measures to .0001")

X Axis:
Bearing Journal Diameter - .4718" (.0006" undersize)
Coupler Diameter - .3935" (.0002" undersize)

Y Axis:
Bearing Journal Diameter - .4718" (.0006" undersize)
Coupler Diameter - .3934" (.0003" undersize)
Bearing Journal Runout - Barely above .0005"
Coupler Runout - Slightly above .0015"
Front Nut Runout - Slightly below .001"
Rear Nut Runout - .0015"

Z Axis
Bearing Journal Diameter = .5890" (.0015" undersize)
Coupler Diameter - .4709" (.0015" undersize)

I really can't find anything to complain about there. Screws seem straight as far as I can measure, end machining is well centered, fit with the ballnuts is excellent, finish is shiny, rotation is smooth and silent, what more could I ask for?

Have a few pictures!

They were shipped in a sturdy cardboard box and suspended using foam inserts. They were well supported and seemed like they could take a solid beating without any damage to the screws. Much better than the flimsy box and bubble wrap the first ones were sent in. The screws were nicely oiled, had protectors covering the threads, and were wrapped in plastic bags that were taped at the ends.
E8NF6bv.jpg


Those ground threads are just pretty to look at. And they look thicker than my rolled screws of the same diameter.
EtlS4Qk.jpg


In case you were wondering how I measured the runout, here is how. I used v blocks to hold the screw while using a dial test indicator to measure the movement as I rotated the screw. The v blocks are sitting on my surface plate. The indicator base is sitting on the counter top, which I know isn't ideal, but I think it is good enough.
3EyEZO9.jpg


Comparison between the new and old screws. You can see the nut on the ground screw is longer than the rolled screw. I also like the look of the ground screw much more.
P7OgS6V.jpg


The only thing I don't like is that the screws have no preload. Initially I thought the manufacturer messed up, but I think this one was my fault. The invoice had "P0" in the product number for each screw which I should have clarified before purchasing. I am pretty sure I specified no preload because of this. As you can see, the spacer is only touching one of the nuts, and this is the case for all 3 of them.
hIUQfMn.jpg


All in all, I am happy. Total cost was $531.60. I thought there would be an import tax, but as it turns out, you don't need to pay an import tax on goods for personal use worth less than $2500. So no tariff! I am going to need to add some shims to preload the screws, but at this point I see no reason these won't be a huge improvement.
 
Since I had the mill apart, I decided to test the flatness and contact of some of the bearing surfaces. I had some mixed results, which are far from scientific. The X and Y axes seemed pretty good, but the Z was questionable. Contact on the spindle, collet, and toolholder wasn't good at all. I am not sure how I will deal with that. Probably a new collet to start, then see where I am.

Here is a look at the top of the X axis ways on the saddle. I blued the surface plate and rubbed the ways against them to check for transfer. I see good contact on most of the surface.
vRNUqVt.jpg


0CxJxjK.jpg


The Y axis looked very similar, but I guess I don't have a picture of that.

For the Z axis slide, it looks like I am only getting contact on the outside of the oil slot. I stoned the surface lightly to remove any burrs and there was no improvement. For the record, this one was done first, so it wasn't the result of the prussian blue getting too thin and not transferring. If anything, I had the dye on a little bit thick.
bRBXIIV.jpg


It is a little tough to see, but here is the blue transfer from the spindle. I blued up the spindle taper, then drew the collet up with the drawbar while a tool was in it. I torqued it down well, then loosened the drawbar and tapped it out and removed the collet. The only dye transfer was around the sides of the slots in the collet.
1pCkgzq.jpg


Again tough to see, but I did the same thing with dye on the inside of the collet. The transfer to the tool holder was only around the cut slots.
NOe08Gg.jpg


So its a mixed bag there. I will be looking into how to improve that in the near future.
 
Looks great. Thanks for sharing. I will be needing this for my PM728 conversion!
Robert
 
Back
Top