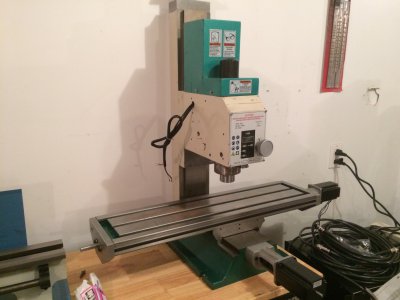
New PM25MV on the way!

i'm still working on the 3d model for the gibs, it's not been easy, they are in such bad shape from the factory, i can't trust the angles on them to be right. i'm having to measure the gap and angle of the dovetails to make this, been a slow process. I am not sure the dovetails have been cut at the right angle either, from my research, they should be 55 degrees, but the angles ont he gibs measure 60 degrees, and the dovetails measure 57, not good.
 
Having traveled in China I can tell you that +\- 3 degrees is not bad when you consider what they are working with in China. I have considerably more tooling, and machinery in my little shop than I saw people working with in China. They are working with facilities and tooling that would have been out of date here in the 40's.
 
Here are the 3d models for the custom enclosure for a Hitachi WJ200-015SF vfd. You will need to make 4 of the standoffs for mounting. there is a cutout for an 80mm fan in the bottom, and an 80mm honeycomb exhaust grill in the back panel for cooling. The enclosure and front panel have 5mm thick plastic walls, and the back panel is 10mm thick. I designed it to use socket head screws for attaching the panels, and flat head screws to attach the standoffs. the standoffs have a counterbored slot for attaching to your mill head/toolbox/etc, the slot is for a small amount of misalignment from drilling.
 

Attachments

  • VFD Enclosure Files.zip
    291 KB · Views: 100
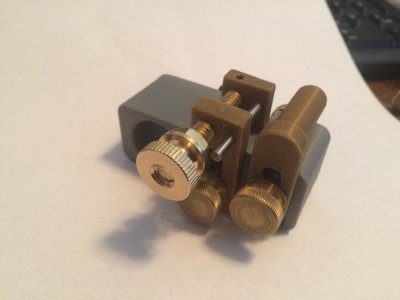
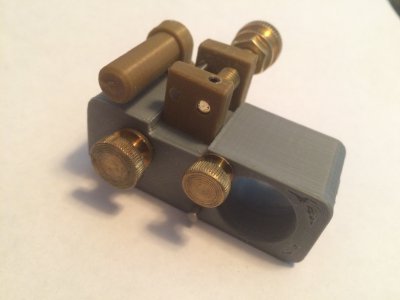
been playing with the 3d printer while waiting on parts for the mill, made 12 of these leather stranding tools.

005.JPG 007.JPG
 
Hey Mark! How goes the battle? Have you made any progress? I am taking the plunge and building a CNC Router with my son. We are wiring up the control box and waiting for parts to start on the table and gantry.
 
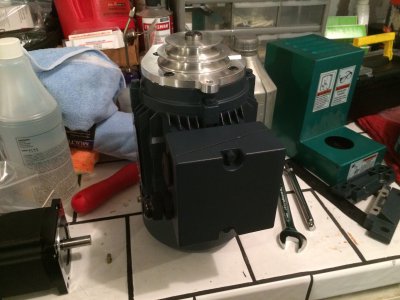
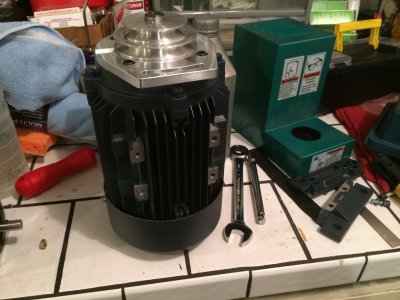
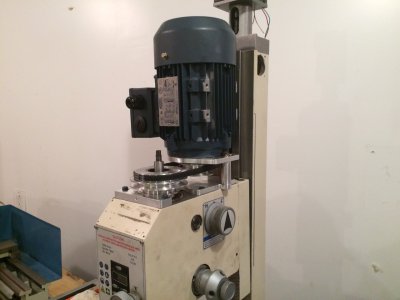
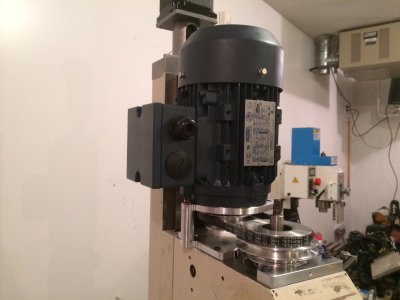
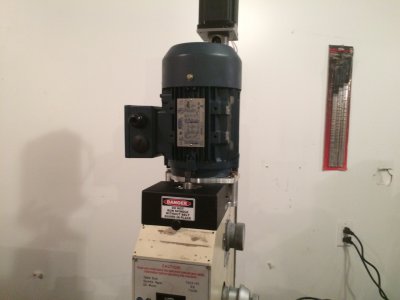
It has been slow going, been running the 3d printer to make a little cash to continue with the cnc project. One thing I can tell you all, if you want to convert to a 3-phase motor, but keep the weight down, I suggest going with a metric motor instead of a nema motor. Leeson has a nice one that has a D80C frame, which has the same bolt pattern as the 1.1kw sangmutan motor. A nema motor will add 40 plus pounds to the head, but this motor is only 34 pounds. Well within the capabilities of the nema 34 970oz stepper, or even the 570 oz nema 23 stepper. It has 1.1kw (1.5hp) of power and is physically smaller than the nema, looks nicer too :grin:. I modified the motor plate for my belt drive kit (it had threaded holes, I just drilled them out for M6 bolts and counterbored it for the socket head screws, and that was all there was to the mechanical mounting. The only other difference is you will need to bore your motor pulley to 19mm and put a keyway in it. the originals are 14mm and they will not fit as is.
 
It has been slow going, been running the 3d printer to make a little cash to continue with the cnc project. One thing I can tell you all, if you want to convert to a 3-phase motor, but keep the weight down, I suggest going with a metric motor instead of a nema motor. Leeson has a nice one that has a D80C frame, which has the same bolt pattern as the 1.1kw sangmutan motor. A nema motor will add 40 plus pounds to the head, but this motor is only 34 pounds. Well within the capabilities of the nema 34 970oz stepper, or even the 570 oz nema 23 stepper. It has 1.1kw (1.5hp) of power and is physically smaller than the nema, looks nicer too :grin:. I modified the motor plate for my belt drive kit (it had threaded holes, I just drilled them out for M6 bolts and counterbored it for the socket head screws, and that was all there was to the mechanical mounting. The only other difference is you will need to bore your motor pulley to 19mm and put a keyway in it. the originals are 14mm and they will not fit as is.

Mark, what's the status of this project?
 
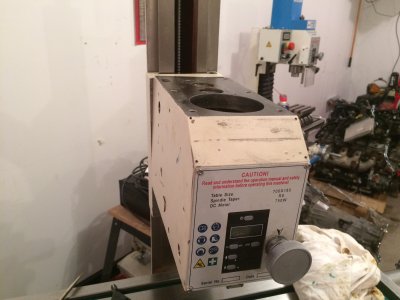
Did a lot of work on the machine today. Got the head tore down to install the new motor and belt drive, and installed the z-axis screw. ran into a couple snags, but got a lot done today.
First snag, was the 34 nema motor would not go in all the way, had to modify the oldham disc to allow the 1/2 inch shaft to go in all the way. Installed the head after installing the z-axis ball screw.
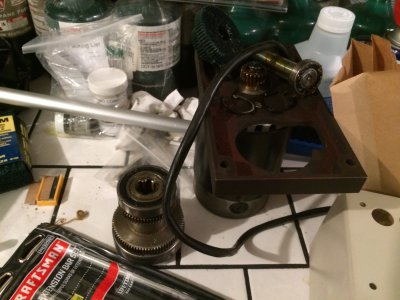
Started stripping down the head for the new motor and belt drive kit. If anyone needs a set of G0704 gears and an original motor, i have them available, not going to reuse them.
Got the head all stripped down, and started prepping the new metric motor.
Removed the feet on the motor, as they will be in the way.

oldham disc modified.jpg head installed.jpg old motor before removal.jpg gears removed.jpg head stripped down.jpg new metric motor.jpg new motor feet removed.jpg
 
I will be experimenting with making new gibs this weekend, i finally got a 3d model of them done that i think will work, just got to print them out with the tribo filament now. Been on hold, my dad restores antique tricycles and he asked me to make a set of pedals for him, took me a while to get the 3d model of them done, lots of small detail on them that took forever, was a 15 hour print for one set when I got them done.
 
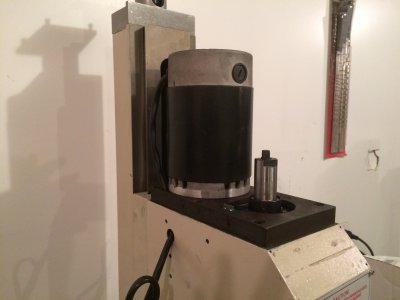
Got the metric motor on, and the belt drive kit done today, so this is what it looks like with a metric 1100kw 3-phase motor. The belt drive kit is the Benchtop Precision Kit, but it had to be modified to work with this motor, the mods were minor, ie, counterbore for the socket head bolts on the motor plate, and boring out the motor pulley, as i discussed in a previous post. Now I have to get it all wired up with the home switches, motor cables, and the vfd.

IMG_0401.JPG IMG_0402.JPG IMG_0403.JPG
 
Back
Top