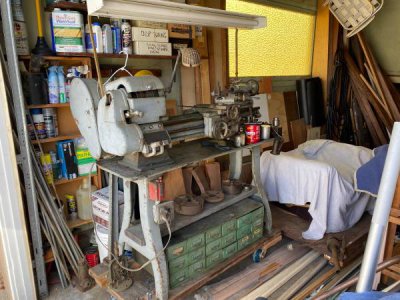
New To Me 11" Logan 920

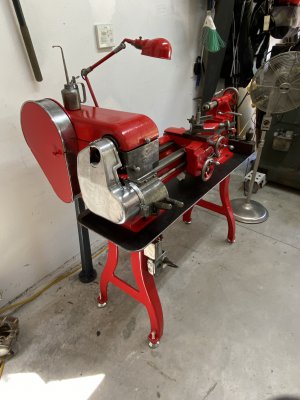
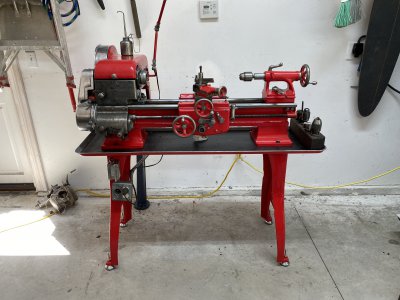
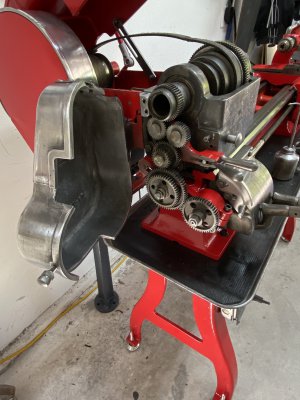
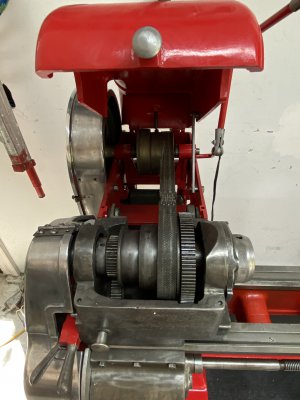
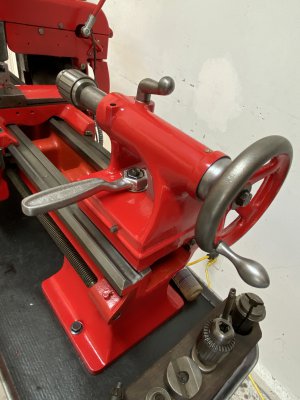
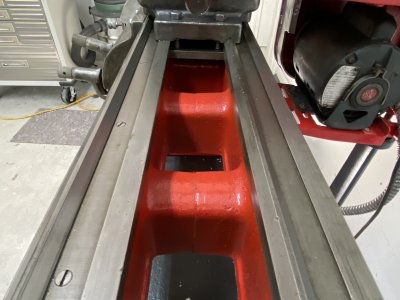
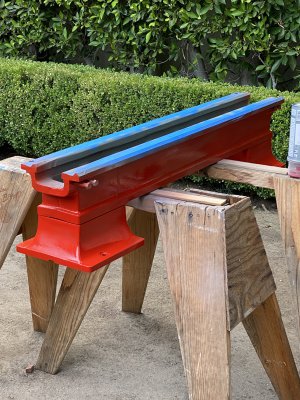
The good news- managed to get a few coats on the bed and the legs today.
The bad news - color came out too orange.
Picture actually makes it look more red - but this was not my target.
Figured since it was small - I would go for it with the paint = red.
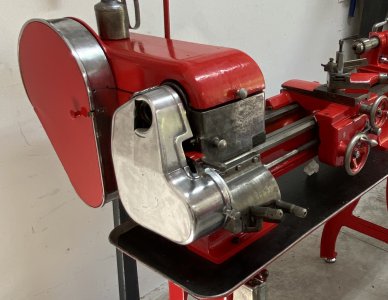
Then polish up the metal work to allow it to stand out against the red.
Stole the idea from some of the 10EE machines I have seen online.
Of course - my little Logan wont be so fancy - but since its small - a bit of pop made sense to me.

Unfortunately, the paint is pre-catalyzed - and had to be used up in a 6-8 hour max window.
This was my trick for getting a tough finish here in Cali.
That means that if I want to change the shade with a top coat - I will have to scuff up the surface.
¯\_(ツ)_/¯

Will probably bite the bullet and see if I can use a chemical scuffing agent of some kind - that allow a top coat to stick.IMG_3405.JPG
 
Not real familiar with paint, had not heard of this type. As an ignorant kid, I worked as a painters assistant, all I cared was that I had a job. We sprayed polyurethane in an unventilated hanger and I had an old tee shirt as a mask. So there is some logic behind not allowing the ignorant to be abused. I born in Santa Monica, grew up in Lawndale, San Jose, and Barstow. Lived in El Monte for a while. Are you right in LA?
 
Woke up this morning and had a look.
Sure enough, It's still just as orange as I remembered it from last night...\
Oh well. Gonna take a bit longer than I had intended.


I am in LA.
Painted outside with a respirator - having done enough abuse to my body through the years.
If you scuff it up - you can touch it up - which was one of my requirements.
I had them supply me in "Spray Max" cans - as I don't have a paint system.

In the mean time:
I continue to tear down and prep some of the other parts.
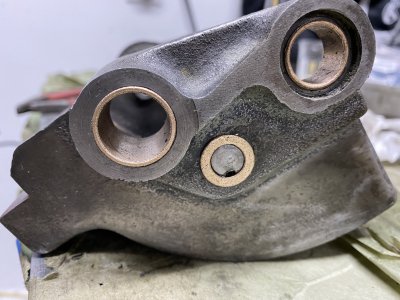
Have found a few more bushings that will need replacement - but no missing gear teeth.

Paint process forces a more careful inspection than I would likely have done otherwise.
Scraping parts has you flipping and turning things, removing knobs, wiping down gears.
Subtle issues of wobble tend to show themselves.

Will feel good to have a clean machine, that I understand the workings of, that is not chewing itself up with swarf and loose bushings.
Have shot pictures - but am sure I will need some help with some of the re-assembly.
Thanks!

-CM
 
Quick update.
Got side tracked - from this side track - to chase down a 10EE Monarch.
(That may or may not fall through - as these things sometimes do - but has kept things interesting.)

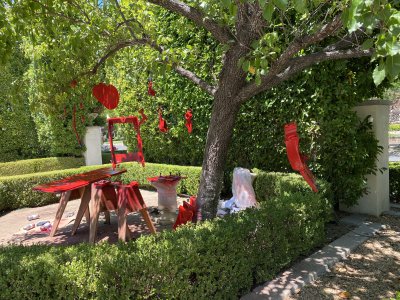
In the mean time - the painting tree is in full Snap-On Red bloom.
Final coats went on this morning and I brought the major components inside to assemble.
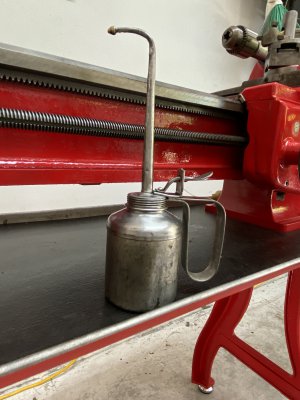
I've taken the approach of leaving the working bits raw - no paint - as I don't want to have to be precious with how I operate the machine.
Additionally - I left some high impact/wear areas without paint as well - lining the bed of the tray with tool box liner.
Should have it close to assembled this weekend.

-CMIMG_3440.JPG
 
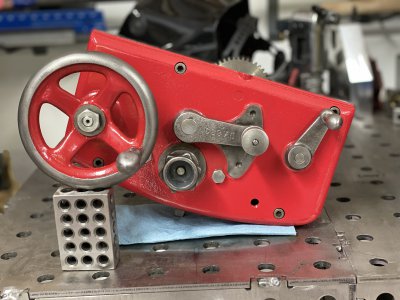
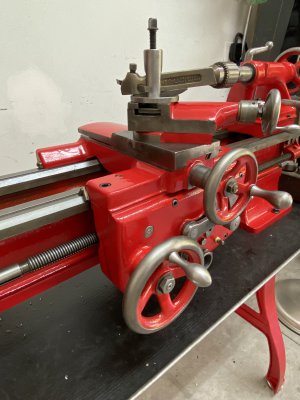
Had a window of time to clean and assemble the apron today.
Lapped and oiled the flat surfaces, polished what I could of any metal to metal.
Was able to tighten up a few clearances with depth of gear or handle on to shaft.
You can see my approach with braided and touched surfaces - which is to just leave it bare.

Would rate it a solid if imperfect job.
(perfect being turning down the shafts and fitting with bushings).
Handles move nicely - far better than prior (some were basically stuck).
Will see how it operates as it comes together.
IMG_3450.jpg
In any event - a bit of machine pin up for your Friday eve.
 
Had a window of time to clean and assemble the apron today.
Lapped and oiled the flat surfaces, polished what I could of any metal to metal.
Was able to tighten up a few clearances with depth of gear or handle on to shaft.
You can see my approach with braided and touched surfaces - which is to just leave it bare.

Would rate it a solid if imperfect job.
(perfect being turning down the shafts and fitting with bushings).
Handles move nicely - far better than prior (some were basically stuck).
Will see how it operates as it comes together.
<snip photo>
In any event - a bit of machine pin up for your Friday eve.

The apron is lookin great.

In your text, I don't understand the use of the word "braided" and I can't think of a close substitution that would identify it as a typo.
Please elucidate.
 
Ha.
*abraded.
Basically - the highest wear parts I just left unpainted.
figured with the amount of oil soaking - rust will not be an issue.
Time will tell...
 
Little update this eve.
Rebushed gear box, and managed to get carriage, lead screw and gear box mounted.
Will need to tune everything in and align - but quick test of carriage is so much smoother and positive in its motions.IMG_3593.JPGIMG_3597.JPG
 
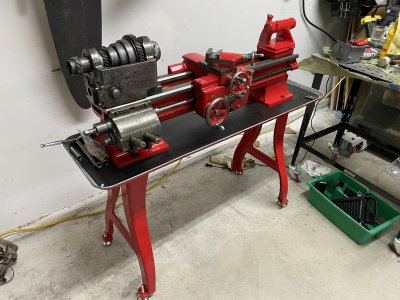
Well - she is buttoned up and running.
I am happy with how it came out.
With that said... Sometime in the middle - when all the parts were spewed out everywhere like I was holding a yard sale - I realized that what I really wanted was...
A 10EE.

That was in part because one came available at a very reasonable price.
Story here - if you want to follow.

I am going to sell this lathe locally on craigslist I think.
I will never get what I put in to it out of it of course - the labor was intensive.
I have the carriage working really nicely.
Same for the gear box.
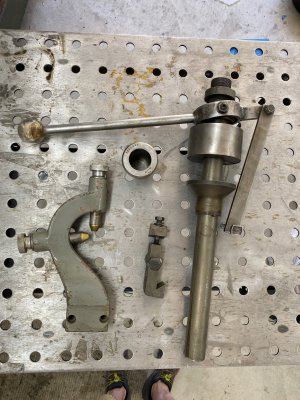
New bushing - and most of a 5 C collet closer.

Below some pics for your entertainment.

Before
IMG_3690.JPG
After
IMG_3666.JPGIMG_3658.JPGIMG_3665.jpgIMG_3683 2.JPGIMG_3681 2.JPGIMG_3677.JPGIMG_3670.JPGIMG_3678.JPGIMG_3686.JPGIMG_3688.JPG
 
Back
Top