

- Joined
- Jul 9, 2019
- Messages
- 41
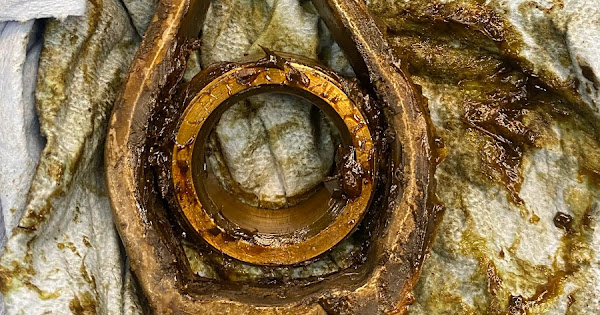
So I finally started taking it apart this week. I didn't actually intend to take the head off but once I got started I couldn't stop. Lol. So, I've taken the entire head off and have removed all of the parts, cleaned them and re-assembled the auto downfeed gears to this point. I'm keeping a Google photos album with all of the raw pictures that I'm taking. Feel free to have a look.
I called Marty today for a recommendation on the grease they use. Like other manufacturers, Mobilux EP2 is what they use. I've actually had a difficult time finding that specifically as it appears to be back-ordered most places atm. I'm sure it's related to the global supply shortages. Hopefully for people reading this in the future that will be a thing of the past.
Hopefully i'll have it back together soon. I may just end up using the #2 grease I have on hand (the Red & Tacky).

