POTD- PROJECT OF THE DAY: What Did You Make In Your Shop Today?

@jwmelvin

Nice job on the grinding.

I'm particularly interested in more details about your squareness checker pictured.
Is the sphere attached to the surface gage base?
if so, how is it attached?
 
I'm particularly interested in more details about your squareness checker pictured.
Is the sphere attached to the surface gage base?

It’s basically the first bits that came together for the desired use. The 1” ball is loose and just fits in the V at the front of the surface gauge. It’s annoying and disassembles itself frequently because I haven’t leveled the surface plate. But the gauge repeats and I frequently check it with a test block to confirm.

The side-dial indicator is also not ideal for the use but it’s my only tenth DTI at the moment.
 
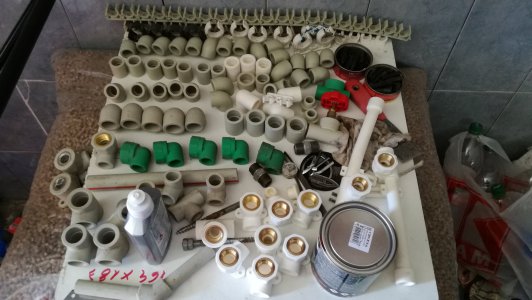
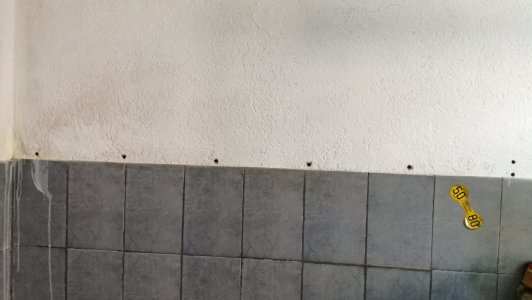
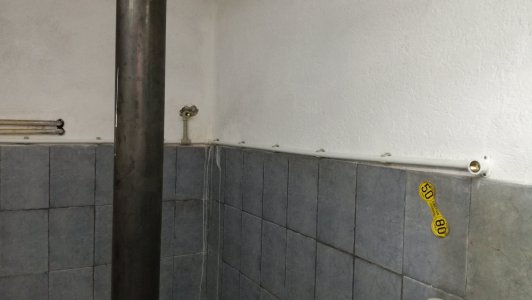
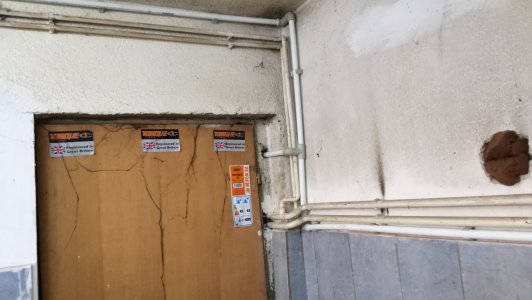
Last few months i've been buying supplies to install PPR piping for compressed air supply thru my entire machine shop and small garage. The piping is rated for 20 bar working pressure, i'm planning to run about 8-10 bar. I've pipe water in couple of houses myself so doing this isn't hard for me. I've used gray and white parts because some of the elbow i had in stock. In few hours i mounted half my machine shop and enter the garage. The other copper piping is for heating, it's getting crowded in some spots.
IMG_20220710_122134.jpgIMG_20220710_122148.jpgIMG_20220710_130958.jpgIMG_20220710_161154.jpgIMG_20220710_161212.jpg
 
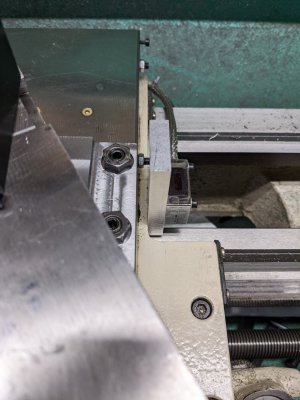
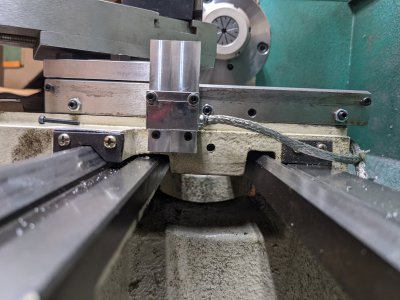
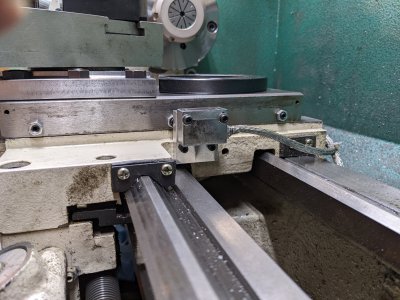
It doesn't seem like much, but I replaced the cross-slide DRO mount on my lathe. The original mount was rather precarious, using nylon spacers, a piece of aluminum and four M3 screws. Removing and replacing it was like a three ring circus because of all the loose parts. I designed a simple block with an angle cut on the end. The angle cut compensates for the casting relief, which measured close to 4 degrees. The read head was not flat relative to the mag tape. Can't believe it took the better part of a day making a little piece that was only 30 x 37 x 9.5 mm. But it is done, including the shortening the gib set screws to clear the plate.

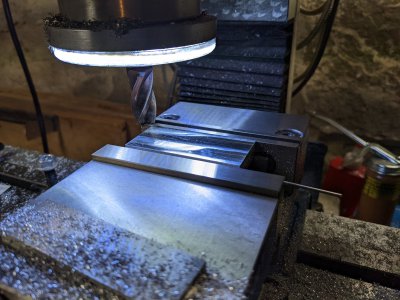
Since I didn't have any 3/8" aluminum, I had to cut off a slice of a scrap bar of 7075. I'm finishing the thickness in this picture.
PXL_20220717_153947187.jpg
Using a 4 degree angle block, I cut the taper. Then drilled clearance holes for the M3 screws. Here is a test fit on the lathe. I haven't cut the piece to length yet. The mounting surface for the reader is almost vertical, before it was tilted towards the cross-slide. You can see the gib set screw is too long. I had to cut them all down so they would clear.
PXL_20220717_185546809.jpg
Next picture is the "way-view". Once I was pretty happy with the setup, I used a scribe to indicate where to cut the aluminum piece.
PXL_20220717_185730139.jpg
Here it is after I sawed off the top and milled it below the read head.
PXL_20220717_200626569.jpg
After that, just had to reinstall the mag strip tape and chip shield. Mount for the head is much better now. Thanks for looking.
 
I need .250 collets to use US made router bits an European Makita routers, (8 mm router shanks) Made two or three from O1 steel. I'm going to try them without hardening, to avoid warping. Will see how they work and report back in three or four weeks time.
 
I need .250 collets to use US made router bits an European Makita routers, (8 mm router shanks) Made two or three from O1 steel. I'm going to try them without hardening, to avoid warping. Will see how they work and report back in three or four weeks time.
PICS????? Where are the pics.. It's not nice to tease us with out PICS?
 
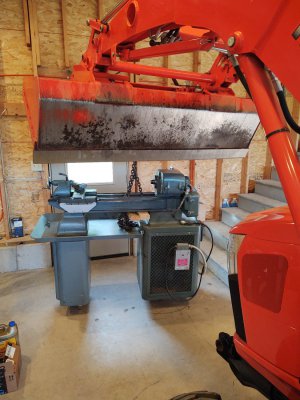
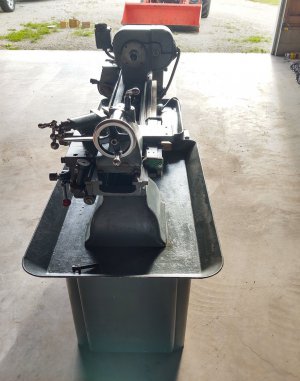
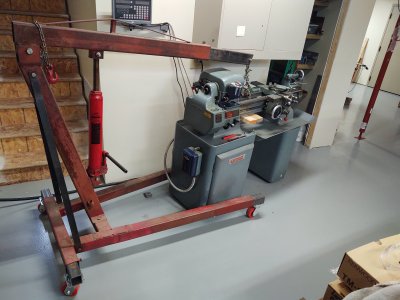
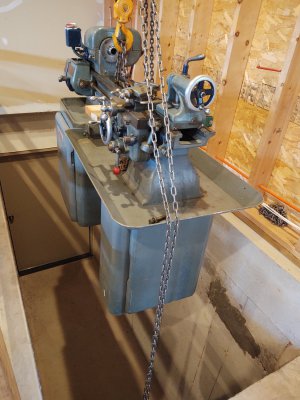
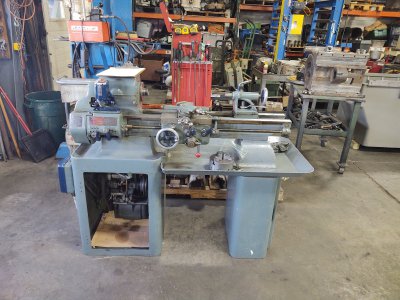
So, more than just one day. The Sheldon lathe is going in to be redone, mechanically at least. The paint may or may not get done. Managed to work it out of the basement into the garage, then into the other garage, and into the back of the truck. Saturday was 12 hours (6 there, 6 back) on the road to run it to A&D Machine Tool Rebuilding.

As usual the process requires a lot of different equipment. Fortunately the lathe is light enough to be moved with an engine hoist, a chain fall, a tractor, another chain fall, a truck, then a gantry crane. (Yeah, Some of these pictures are no big deal, but I know I like to see how other people move stuff around...)
FlyingSheldon0.jpg FlyingSheldon1.jpgFlyingSheldon2.jpg FlyingSheldon3.jpg

As of Saturday at noon local time it made it safely to the shop to be redone...
SheldonReadyForWork.jpg

It was a tough call deciding on the cost of rebuild vs. looking for something new. Everything functions on this machine. I really do like this lathe. After spending a little time talking to Rick, I think rebuilding this old iron was the right choice. It gets used often, but quite lightly. Someday someone will inherit/purchase a very solid lathe when I'm done with it!

Now the hardest part. Trying to figure out how to survive in the shop with no lathe...
 
Back
Top