POTD- PROJECT OF THE DAY: What Did You Make In Your Shop Today?

I didn't want to disappoint @Eyerelief, so I got a little more done on project what the hell is he making?

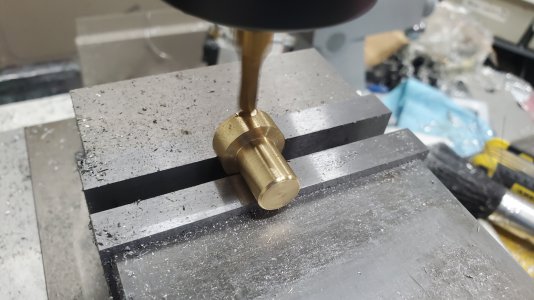
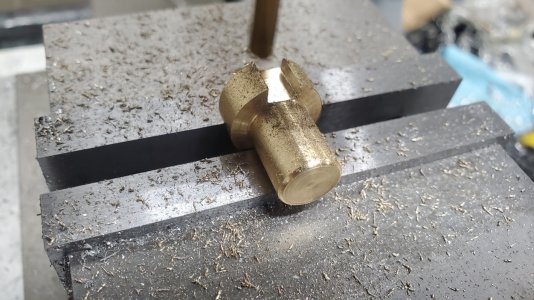
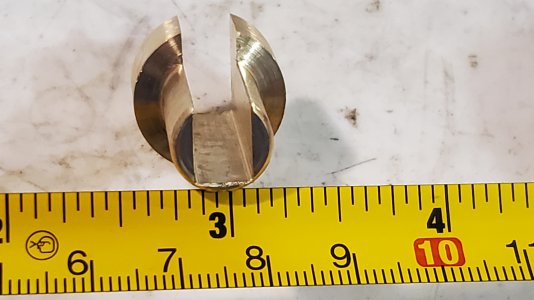
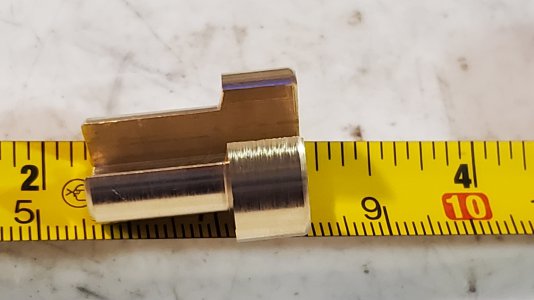
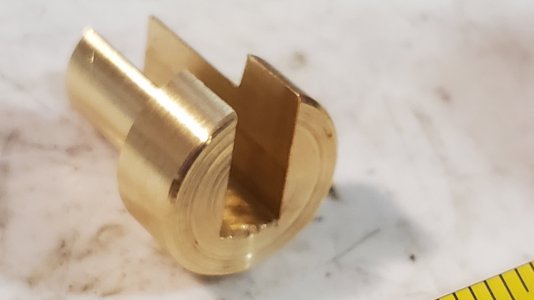
I needed to make an expanding nut with a tight fit, so I drilled and tapped a piece of 12L14 for 1/4-20 and slit it on the mill.
PXL_20230617_211500795.jpg


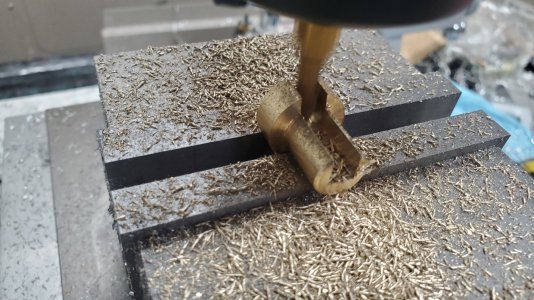
Then I cut a relief...

PXL_20230617_213139593.jpg

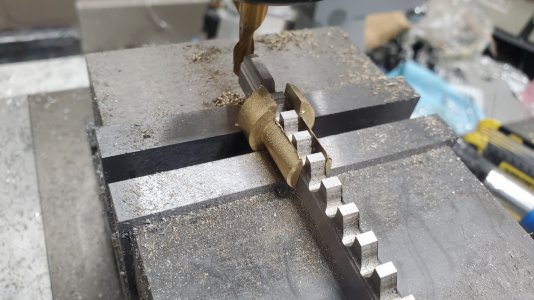
And mashed the ends together in the vise!
PXL_20230617_213349386.jpg

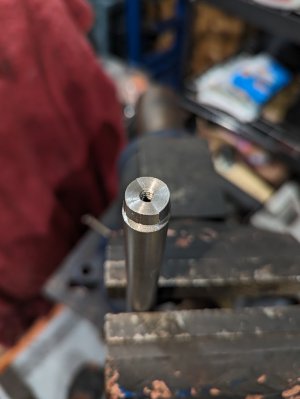
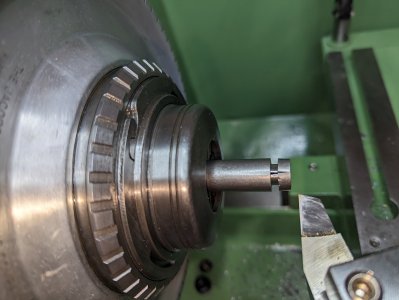
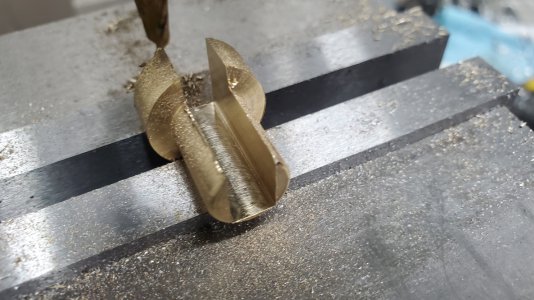
Then I turned parallel and to dimension:
PXL_20230617_213600374.jpg

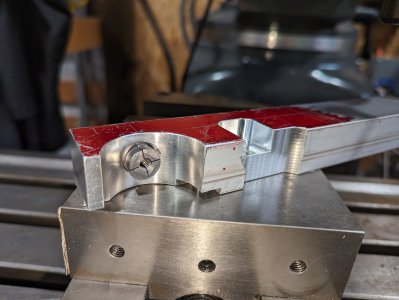
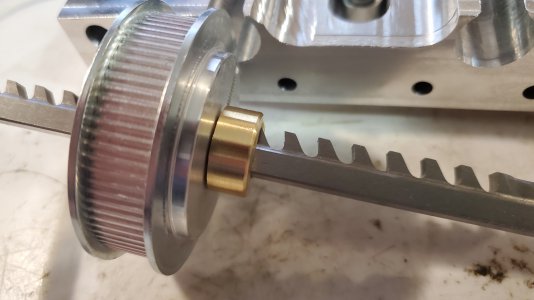
Parted off, it's a good fit! The part I saw in the block of 7075 is coming to form. Still a bit more to do on this little project.
PXL_20230617_220741281.jpg
 
A couple days ago I got the broach for the X-axis stepper conversion on my combo machine.
I needed a 4mm keyway to match the original shaft.
Dang, this broach is beefier than I thought. I expected something about 75% of the size.
Because the shaft is only 12mm, I don't have a ton of room in the bore for the broach guide.
The broach is also a stupid size. It's 0.255" (6.48mm) wide at the shaft and 4mm at the cutter. I need 4mm.
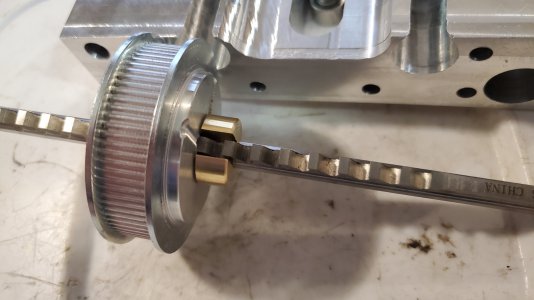
As you will see in the photo below, I barely had room for the broach in the guide.
I, of course, didn't have a .255 mill bit. I probably have a .250 somewhere but I had a 6mm handy so I figured I'd use that.
I cut the center trench in 1mm depths. Didn't count the passes. Then I moved the X .26mm each way and took 4mm deep passes as a cleanup.
I ended up having 6.52mm wide trench. Perfect fit for the broach. I did cut the groove a tiny bit too deep but I'm not worried. I have the spacer that came with the broach. I can Mickey Mouse another if needed.

20230617_221633.jpg
20230617_221901.jpg
20230617_222553.jpg
20230617_223732.jpg

20230617_223740.jpg
20230617_225529.jpg
20230617_225503.jpg
20230617_225543.jpg
20230617_224702.jpg
20230617_224652.jpg
 
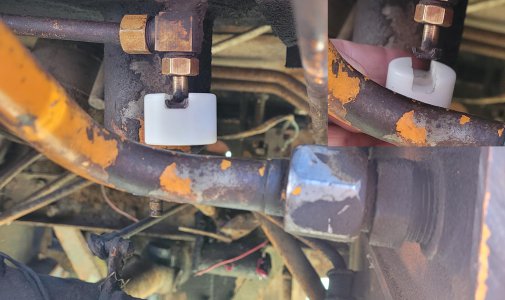
POTD was a little proactive tool work for our Case 580 backhoe. I've vowed to do a better job of preventative maintenance on the Case. Changing fuel filters requires shutting off the petcock valve on the bottom of the tank. It's a royal PITA to get to; poor hand clearance around a hydraulic and other lines from the topside, or a real high reach if coming at it from below ground. Plus, it's not the easiest screw to turn and is tough on the fingers. So, POTD to make an adapter to get at it with a ratchet.

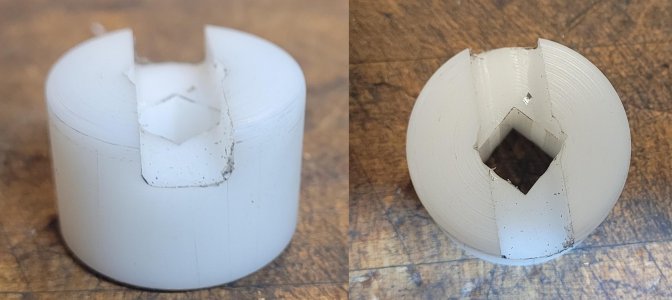
The petcock "wingnut" is about 1 1/4" long with a center area ~0.450" in diameter and wings ~0.400" wide. I figured on a trough in the Delrin about 1/4" deep would capture the valve.

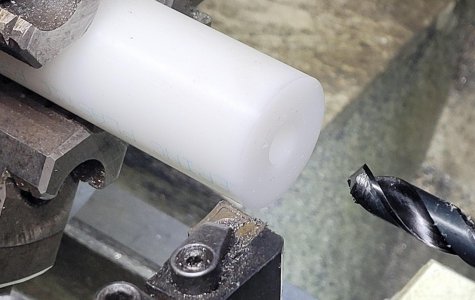
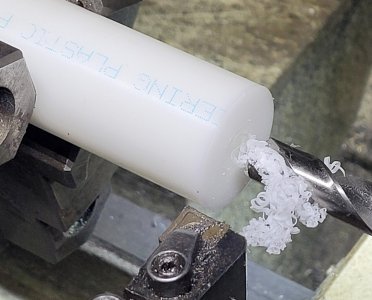
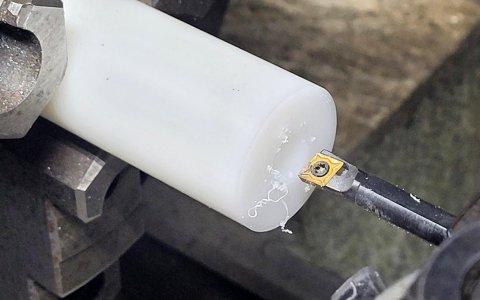
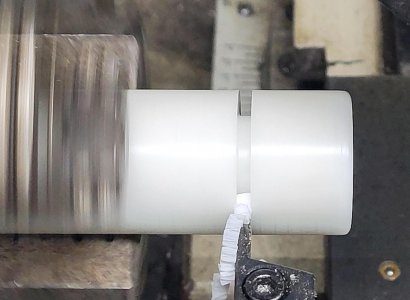
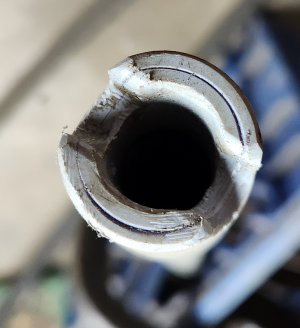
I chucked up piece of 1 1/4" Delrin, faced, and drilled a 25/64" pilot hole for a 3/8" broach. Then drilled a 29/64" hole (little bigger than 0.450") about 1/8" deep. Bored the hole to 0.460" at 0.25" deep and parted off.


Drilling the 25/64" hole for the 3/8" square broach; plan to dump a 3/8" extension in for tightening/loosening the valve
20230618_104231.jpg

Shallow 29/64" hole to clear the center of the petcock valve
20230618_104334.jpg

Boring the clearance hole for the center of the petcock
20230618_104453.jpg

Parted off
20230618_104633.jpg


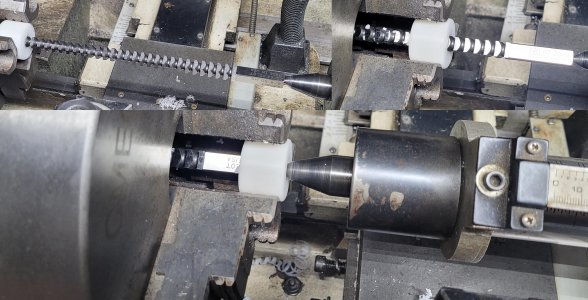
Chucked the parted off piece back in the lathe and broached it there. I'd usually use my hydraulic press, but the Delrin is soft and it's a lot easier to advance a 10" long broach on the lathe than having to fiddle with the hydraulic press and its 5" of travel.


Broached the 3/8" square hole on the lathe. Goes a lot quicker than using my 20-ton press with 5" of travel (have to adjust the table)
20230618_105110.jpg


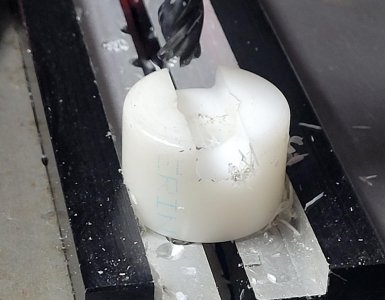
Then to the Bridgeport to cut a 0.400" wide dado for the petcock wings. Quick threw it on the Case, looks like it'll work out great!


20230618_105723.jpg

20230618_110233.jpg

I'll crawl under the backhoe with a cordless driver and extension to open/close the petcock.
20230618_110417.jpg


Thanks for looking, Bruce
 
POTD was a little proactive tool work for our Case 580 backhoe. I've vowed to do a better job of preventative maintenance on the Case. Changing fuel filters requires shutting off the petcock valve on the bottom of the tank. It's a royal PITA to get to; poor hand clearance around a hydraulic and other lines from the topside, or a real high reach if coming at it from below ground. Plus, it's not the easiest screw to turn and is tough on the fingers. So, POTD to make an adapter to get at it with a ratchet.

The petcock "wingnut" is about 1 1/4" long with a center area ~0.450" in diameter and wings ~0.400" wide. I figured on a trough in the Delrin about 1/4" deep would capture the valve.

I chucked up piece of 1 1/4" Delrin, faced, and drilled a 25/64" pilot hole for a 3/8" broach. Then drilled a 29/64" hole (little bigger than 0.450") about 1/8" deep. Bored the hole to 0.460" at 0.25" deep and parted off.


Drilling the 25/64" hole for the 3/8" square broach; plan to dump a 3/8" extension in for tightening/loosening the valve
View attachment 451250

Shallow 29/64" hole to clear the center of the petcock valve
View attachment 451251

Boring the clearance hole for the center of the petcock
View attachment 451252

Parted off
View attachment 451253


Chucked the parted off piece back in the lathe and broached it there. I'd usually use my hydraulic press, but the Delrin is soft and it's a lot easier to advance a 10" long broach on the lathe than having to fiddle with the hydraulic press and its 5" of travel.


Broached the 3/8" square hole on the lathe. Goes a lot quicker than using my 20-ton press with 5" of travel (have to adjust the table)
View attachment 451254


Then to the Bridgeport to cut a 0.400" wide dado for the petcock wings. Quick threw it on the Case, looks like it'll work out great!


View attachment 451255

View attachment 451256

I'll crawl under the backhoe with a cordless driver and extension to open/close the petcock.
View attachment 451257


Thanks for looking, Bruce
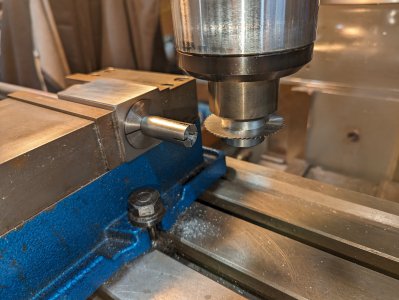
Far more precise that my version. I took a piece of 1/2" PVC conduit and glued a chunk of it into the bell end of a two foot section. Then I slotted it with a 3/8" end mill and used a file to break the corners. Manual operation, but not needed that often.

Be careful with your power driver. The stamped handle separates from the petcock shaft easily.
20230618_131152.jpg
20230618_131210.jpg
 
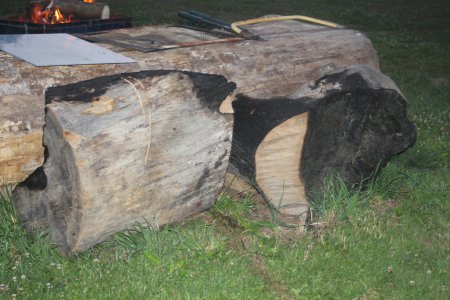
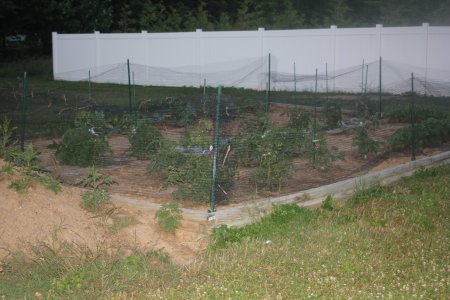
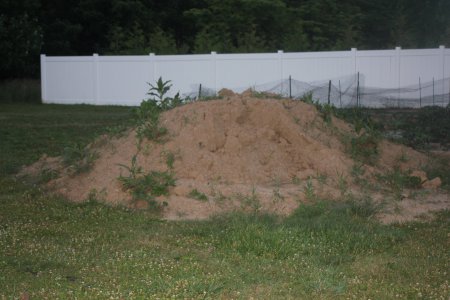
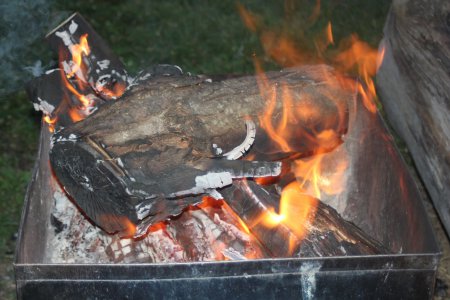
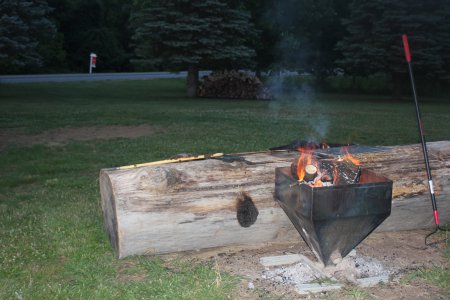
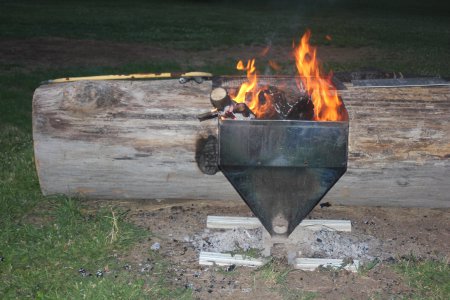
Been in the back yard for over 2 years now . Down to one log . Sat night had my last fire for awhile . ( until another tree falls ) Now it's onto the garden which is looking good so far .
 

Attachments

  • IMG_9744.JPG
    IMG_9744.JPG
    465.4 KB · Views: 27
  • IMG_9743.JPG
    IMG_9743.JPG
    440.7 KB · Views: 24
  • IMG_9742.JPG
    IMG_9742.JPG
    630.7 KB · Views: 23
  • IMG_9741.JPG
    IMG_9741.JPG
    585.5 KB · Views: 22
  • IMG_9740.JPG
    IMG_9740.JPG
    441 KB · Views: 22
  • IMG_9739.JPG
    IMG_9739.JPG
    475.4 KB · Views: 22
  • IMG_9738.JPG
    IMG_9738.JPG
    517.1 KB · Views: 23
POTD was a little proactive tool work for our Case 580 backhoe. I've vowed to do a better job of preventative maintenance on the Case. Changing fuel filters requires shutting off the petcock valve on the bottom of the tank. It's a royal PITA to get to; poor hand clearance around a hydraulic and other lines from the topside, or a real high reach if coming at it from below ground. Plus, it's not the easiest screw to turn and is tough on the fingers. So, POTD to make an adapter to get at it with a ratchet.

The petcock "wingnut" is about 1 1/4" long with a center area ~0.450" in diameter and wings ~0.400" wide. I figured on a trough in the Delrin about 1/4" deep would capture the valve.

I chucked up piece of 1 1/4" Delrin, faced, and drilled a 25/64" pilot hole for a 3/8" broach. Then drilled a 29/64" hole (little bigger than 0.450") about 1/8" deep. Bored the hole to 0.460" at 0.25" deep and parted off.


Drilling the 25/64" hole for the 3/8" square broach; plan to dump a 3/8" extension in for tightening/loosening the valve
View attachment 451250

Shallow 29/64" hole to clear the center of the petcock valve
View attachment 451251

Boring the clearance hole for the center of the petcock
View attachment 451252

Parted off
View attachment 451253


Chucked the parted off piece back in the lathe and broached it there. I'd usually use my hydraulic press, but the Delrin is soft and it's a lot easier to advance a 10" long broach on the lathe than having to fiddle with the hydraulic press and its 5" of travel.


Broached the 3/8" square hole on the lathe. Goes a lot quicker than using my 20-ton press with 5" of travel (have to adjust the table)
View attachment 451254


Then to the Bridgeport to cut a 0.400" wide dado for the petcock wings. Quick threw it on the Case, looks like it'll work out great!


View attachment 451255

View attachment 451256

I'll crawl under the backhoe with a cordless driver and extension to open/close the petcock.
View attachment 451257


Thanks for looking, Bruce
Nice job, Bruce. I have that same backhoe. Nice piece of equipment.

Regards
 
Be careful with your power driver. The stamped handle separates from the petcock shaft easily.
Thanks for the tip. I planned on just a nut driver to get the feel for starters. I recall back when I was a development engineer on instrument panels that our cheesy torque spec of "FDSNS (fully driven seated not stripped)" when using a screwdriver handle resulted in about 1 Nm of torque.
Bruce
 
Lots of amazing projects and work being done. Hope to contribute at that level sometime in the future :D
For now it's mechanical work
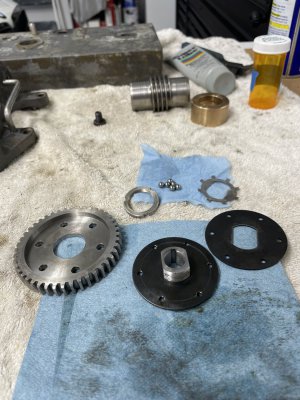
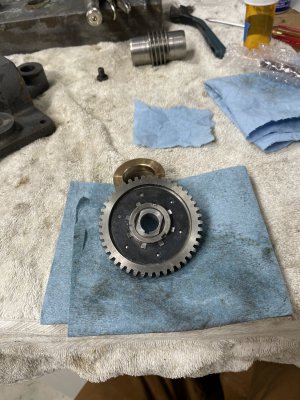
cross feed clutch going back together
10975EEA-8FCD-46A6-98CF-42DC296AF9FB.jpeg

52184090-2E73-41C0-8028-E244B53260E8.jpeg

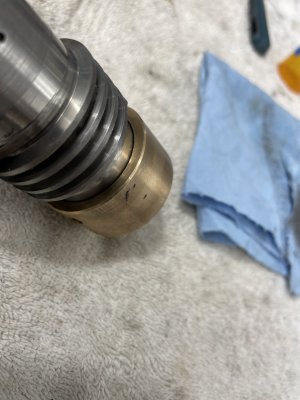
Worm gear to bushing fit was not enhanced by years of plugged oil lines and being lubed with a slurry of oil and ground metal.

9CAC50FF-FDBC-48F1-8E6F-B48BAA6B56AF.jpeg
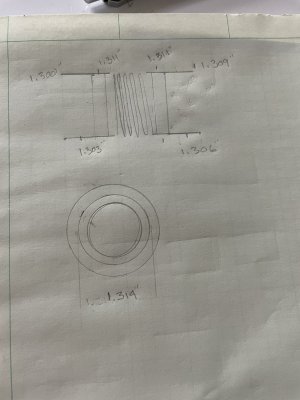
.012 thousands plus clearance oddly enough the worm gear shaft is worn more than the bushing.
Shaft was originally 1.311 so bushing was somewhere in that area
As it sits right now

D9F44CBF-737C-4018-A74A-A57981B911F9.jpeg
Will see if Clausing has the parts but not a lot hope on that front.

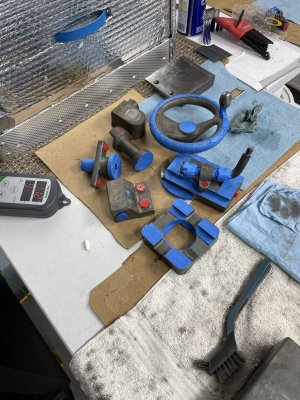
Put a fire under the paint oven and finished some prep work.
In at 95 degrees to get things warm for primer
51222B6D-DC85-4CE5-AB8F-AB30CC1A7EE4.jpeg
 
Back
Top