- Joined
- Dec 20, 2021
- Messages
- 872
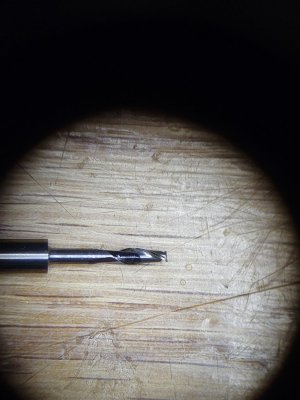
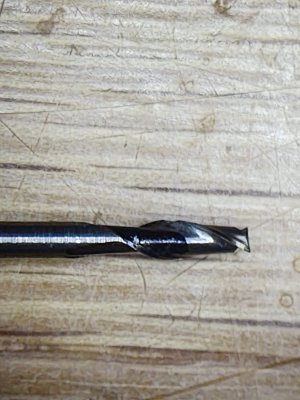
1/16". I didn't have a 1mm, or I might have tried one.What diameter end mill?
I threw it under the microscope to see the clearance grind. Clearly I need a finer diamond!

1/16". I didn't have a 1mm, or I might have tried one.What diameter end mill?


best way to assure a straight drill is to go from both sides and meet in the middle when you can.I had my longest set up time on drilling a hole in wood in my life. I've been slowly progressing on some machinist chests out of reclaimed walnut (these have taken a few years to get to this point). It was time to drill the holes for the front panel latch (parallel to the top front panel, or I'd drill through the side of the board, and I definitely didn't want that at this point in the game). Drill press table was trammed in to 0.002". Then I could use the 12" long, 1/4" bore drill bits in stages (needed to go 4", my drill press only goes 3").
View attachment 464272
View attachment 464273
Then I could manually drill the two ends for the caps.
View attachment 464274
One hour per hole to make sure it was exactly as it needed to be. I am now a little overanxious after doing the drilling, but it went just fine. Now I can install the last few panels inside, sand the carcasses, and put some polyurethane on them. I am dreading making so many drawers.
Never heard of a Portalign before. Now I might "need" one. A search for that and I am now thinking I could have used a doweling jig I have with a custom guide.best way to assure a straight drill is to go from both sides and meet in the middle when you can.
I put a piece of wood on the drill press, drill a hole in the piece of wood.
I put the piece I want to drill up on the piece of wood with an angle plate, drill to center. I flip the piece , but I put a dowel in the plate on the press, and mount the piece on the dowel in the hole I just drilled. That way I line up.
In your case that won't work because you are already glued up. I also have a craftsman port align, it has guide bars that I can use to center on a piece, and could easily drill deep using it.
Very important is to keep clearing chips to prevent build up and walking off or pushing off.


.jpeg")
.jpeg")

Thanks extropic!