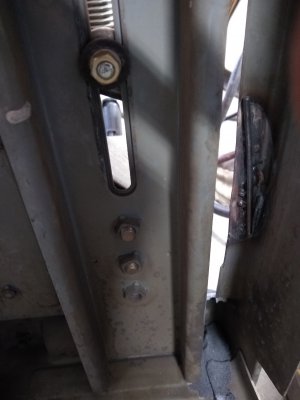
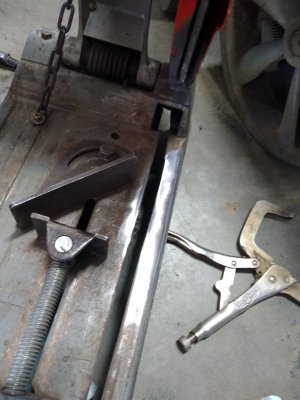
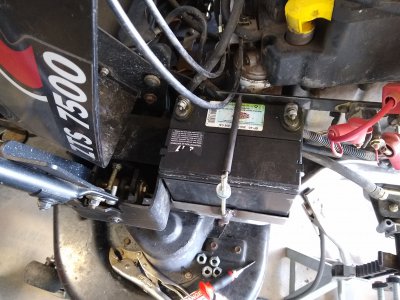
Been working on my $500 zero turn mower. Had a new 20hp Kohler motor installed the year before I bought it and all three blade shaft and bearing assembly's replaced, so I figured it was worth a little effort to get the rest of it up to snuff. It had 5 cracks in the pressed steel frame, so time for a little welding. Stripped all the paint with a flap disc, drilled the ends of all the cracks and welded them up. Was supposed to be 11 gauge steel, but the forming process made it considerably thinner in some areas. Once I had the cracks welded up, I took some 5/16" rod, and formed it to fit the area where it flares out at the lower part of the frame and welded it in top and bottom. Now we all know how one thing leads to another, and while the welds were okay, I decided to do some build up and blend it all in like I do on motorcycle frames, but it is a lawn mower, so not quite to that degree of finish. Have a short list of other things to fix and upgrade on it, but pretty happy that this part is done. Mike
View attachment 322450View attachment 322451View attachment 322452
View attachment 322466View attachment 322452View attachment 322459View attachment 322460View attachment 322463View attachment 322465View attachment 322466