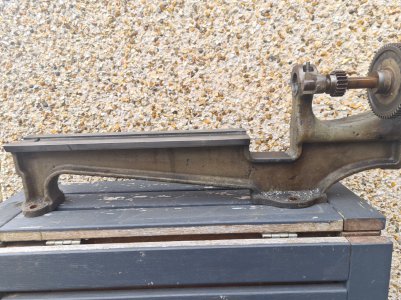
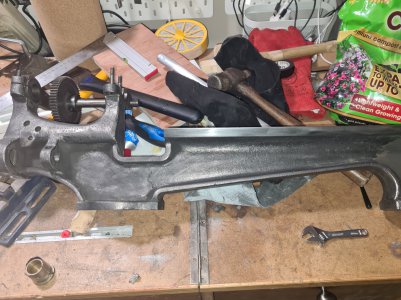
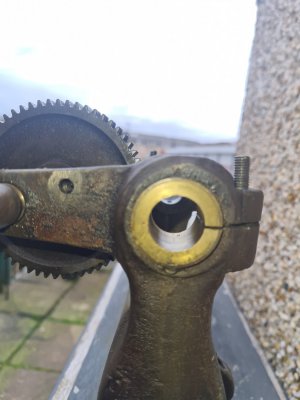
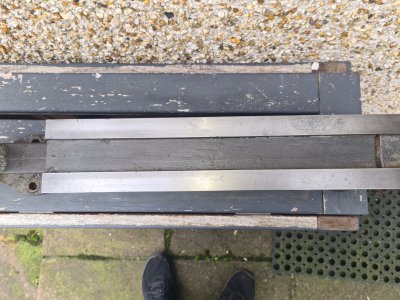
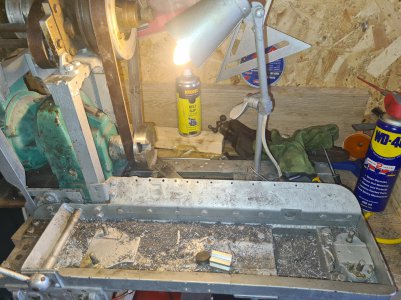
Randa (Portass S) restoration.

Yeah I'm sorry , I get carried away . Yes 30W engine oil , I would use it on the ways too . Back in the day we could get single weight engine oil but now it's almost all multi grade so I'm using 10W-40 in the spindle and on the ways .

I have some compressor oil at 40W it has no cleaning agents included, like hydraulic fluid.
One thing I noticed about your machine , It seems to be missing the compound slide portion of the cross slide
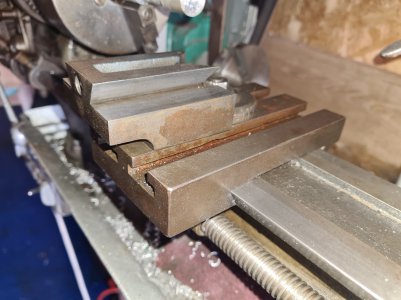
1679412181152.jpeg

Yes, I see what you mean. I suspect it was not included as std. Seems you just use the T-slots on the carriage. I don't think it's missing.

What is the swing on the Portass ? Forgive me if you already know , swing is the distance from the center of the chuck to the bottom of the ways (doubled).

In old money, the swing is 6inch, (3*2')
Also what is the distance from the spindle (no chuck) to the tail stock ram fully retracted ?

Again in old money just under 14 inch

PS What kind of motor bikes ?
1679412880391.jpeg

An old GP bike from the late 1980s and a modern Peugeot Scooter for daily commuting.
 
Right nothing is missing I just didn't see/understand it .
Thanks , Mark .
 
Last edited:
<iframe width="1519" height="553" src="
" title="Portass lathe.wmv" frameborder="0" allow="accelerometer; autoplay; clipboard-write; encrypted-media; gyroscope; picture-in-picture; web-share" allowfullscreen></iframe>
 
Last edited:
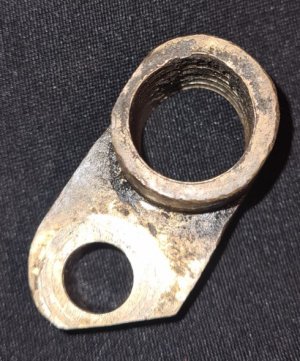
I managed to solve the excessive lash in the lead screw today!.. Or to put it another way, the last remaining thread in the lead screw nut gave way :apologize:.

So there is a job that needs sorting, a new lead screw nut. Unfortunately I need to work out what the leadscrew is (in old money) and see if I can either buy a nut or possibly more likely find an imperial acme tap in the UK.
Guess the new plan might as well be a strip down of the lathe. I can't turn much on it now
 
worn lead screw nut.jpg
I think I can see the problem here!

I think I have a plan for the lead screw nut. At least to get me back up and running. I have some acetal plastic somewhere, a couple of fairly decent sized chunks. I think I will try and make a nut with that. I have used this plastic on trapezoidal machines in the past.

I did look for bronze, but it's pretty pricey and I have heard good things in the past about acetal.

Not sure if i should invest in an acme tap for this or try to melt the thread in. I will possibly CNC the shape though it might be quicker to just make it with hand tools.

20230322_205625.jpg
The threads are a bit worn on the lead screw too, so I wont be eliminating lash altogether, but if I make a longer nut I will hopefully get it to acceptable. Might experiment with anti-backlash nuts in the future.
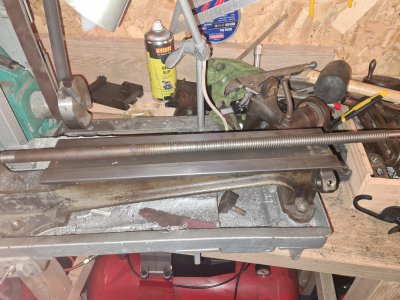
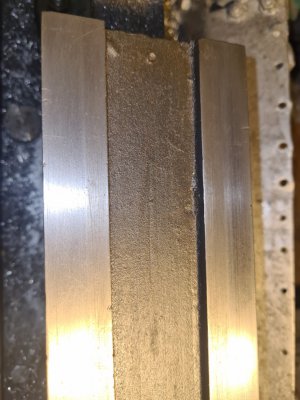
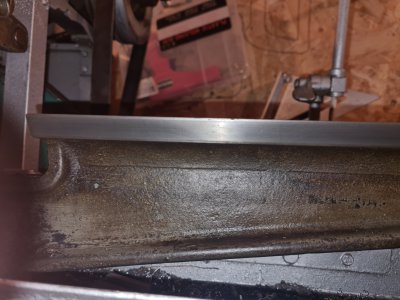
In other news. The lays are pretty clean with some minor damage near the chuck no doubt caused by a loose tool. I could leave it alone, but I might try and flatten it a little to knock off a couple of high points.

20230322_210158.jpg

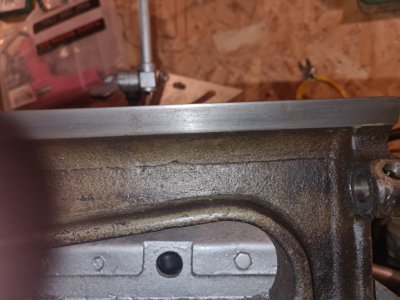
The sides are in better nick, there is some grime buildup, but scotchbrite pads and brake cleaner are cleaning them up
20230322_210211.jpg
20230322_210214.jpg
 
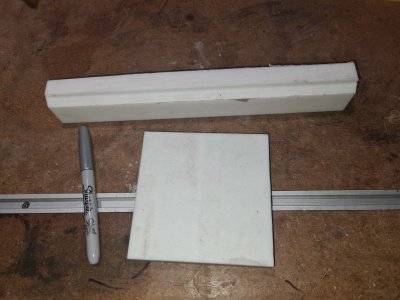
Ok. I didn't feel like setting up the CNC for this job, So i went for some hand tool therapy. Acetal plastic is soo easy to manipulate.

I had a few chunks of the stuff that I was gifted by a client from their workshop scrap bin many years ago.

20230323_221338.jpg

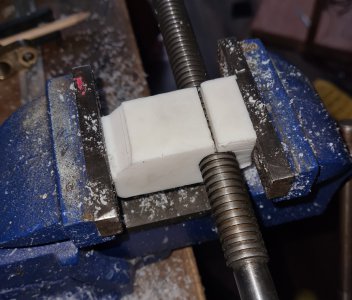
I found a pull saw to be excellent for forming the rough shape and then course files made very quick if not beautiful work of the more intricate shape. Basically I got to about here:
20230324_164224.jpg

Then it all got a bit melty melty with a hot air gun and some <cough> gentle pressure from a vise.

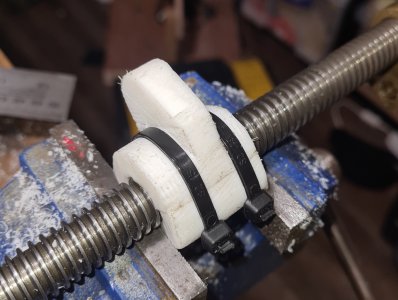
Then some more rough shaping and some engineering grade fittings were added!


20230324_223950.jpg

Obviously still missing a mounting hole. But I will get that done soon as well as no doubt some final dialing in on the shape and a general smoothing all round.

Just manipulating the new lead screw nut by hand there is no backlash evident at all, even with just tie wraps. The screw turns smoothly, though with a little resistance. But I think it will be useable. *Edit - After playing around a little, there is a tiny bit of backlash where the leadscrew tooth is at its thinnest. It will be interesting to see what that means to the lathe operation. Before there was at least a full turn of backlash, so nothing has gotten worse I reckon

This was only meant to be a temporary repair, but you know what we call temporary repairs that work.... repairs!
 
Last edited:
I don't have a lot to update, but I didn't what anyone to think they had just given up on the project. Truth is, I've shattered my shoulder in a comedic, but ultimately stupid ice skating accident.
20230401_154644.jpg


Prior to this I had started disassembling the LATHE. And had giving it a serious going over with a wire feel attached to an angle grinder. The angle grinder was good at getting rid of a lot of the old oil, detritus, and paint. It was however quite a crude tool, so the lathe is not quite ready for paint yet.


20230401_201015.jpg
I also was unable to remove the back gears, and I left them on for the angle grinding clearance. At the time the plan was remove them after indoors. The weather at this point was not great and so I intended to make the best use of the sunny day I had.


20230401_154703.jpg
Since then I'm not really able to do much, do I have done some left-handed paint removal using a drill and wire brushes, progress is painfully slow... Literally!

20230401_154624.jpg


20230401_160109.jpg
 
My experience growing up in the North was that any accident involving ice skates was pretty much guaranteed to be comedic! ;)

-frank
 
My experience growing up in the North was that any accident involving ice skates was pretty much guaranteed to be comedic! ;)

-frank
I'm not laughing about it so much now. Broken shoulder, 1 clean break and a fracture through the ball. Fractured ribs too. Going to be very limited and grumpy few months ahead.
 
Back
Top