Randa (Portass S) restoration.

Sorry to hear about your shoulder . Get well soon ! Lathe is looking good .
Mark .
It's frustrating, I am trying to remove the back gear but can't because a tapered pin is stuck in place. I'm drilling it out now, but it's a job I find difficult to do wrong handed.

I have a pillar drill, but it's to heavy for me to set up.
 
I really shouldn't be doing anything with it, but I have been doing nothing now for weeks and it's irritating me.

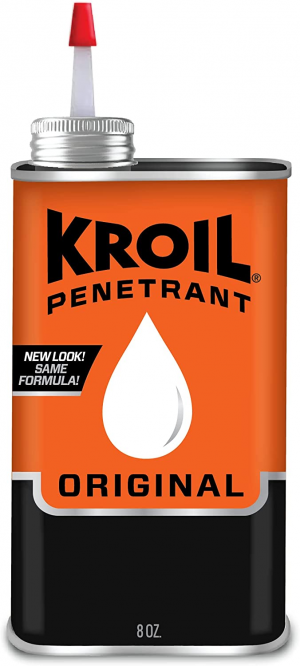
We can get kroil in the UK, but it is very expensive compared to other similar products.

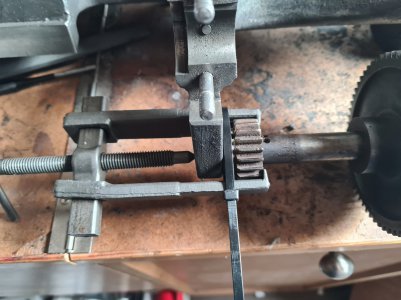
I ordered a gear puller that might do the job.
 
20230423_163957.jpg

I should have bought a gear puller long before now. It was a little tricky to set up one handed, but zip tie magic prevailed and I am step closer to paint.
Did some work on the tailstock and a rusty four jaw chuck. but I will update on them later.
 
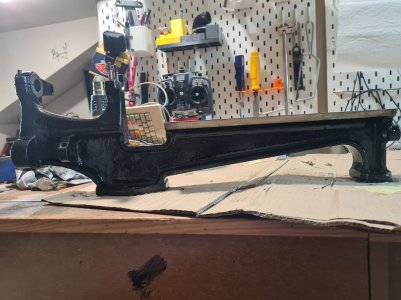
So I managed to put a coat of paint on, wrong handed. What I found was masking was near impossible with my motion so limited, so I used a 1/4' brush and was just super careful.

20230426_194357.jpg
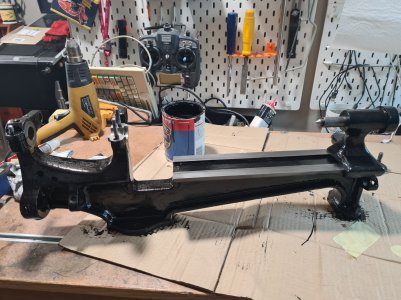
I am using a black brush on enamel, I managed to keep between the lines mostly, but found some brake cleaner on a cloth cleaned away any over-runs. I will go back in with a razor and wire wool after the second coat to pick up any missed paint.

20230426_194531.jpg

Couldn't resist trying the tail stock (now painted and cured) for fun.

Off for a gin and tonic now!
 
Well now I'm sad , I looked it up and it's fruit . It's all good though , I swore off G&T's 30 years ago .
Have you seen this one ? The lead screw "nut" is much different from yours .
<iframe width="900" height="506" src="
" title="1940&#39;s Vintage Portass Lathe Restoration" frameborder="0" allow="accelerometer; autoplay; clipboard-write; encrypted-media; gyroscope; picture-in-picture; web-share" allowfullscreen></iframe>
I think that is a Portas Model X. The foot shape is more angular, the bed has a hollow center and as you point out the lead screw nut is different.
I think the nut in that video is also a replacement. The seemed to favour more round shaped nuts in advertising pics i have seen. That one looks more agricultural
 
OK. So despite time and physical limitations, I got started on the small parts.

In my previous restorations of motorbikes etc. I have always replaced small parts with stainless or stripped and cold blued parts.
For the iron parts I considered doing the same. But, I have always had a hankering for trying metal plating, and though there was no evidence that plating has been used on this lathe originally, nickel plating was certainly being used extensively at its time of birth in the UK. So I thought I would begin my experiment with the tail stock.
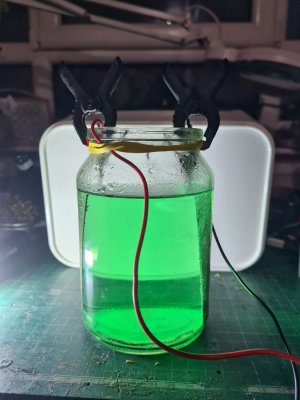
First things first was to make some solution:

20230429_000709.jpg

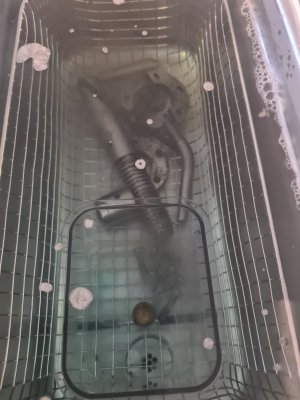
Then after a wire wheel and degrease, the parts went into the ultrasonic:

20230502_200527.jpg

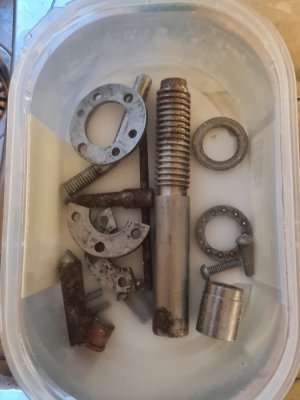
Then citric acid:

20230502_205347.jpg

Then back in the ultrasonic (overkill). And then finally into the electrolysis.
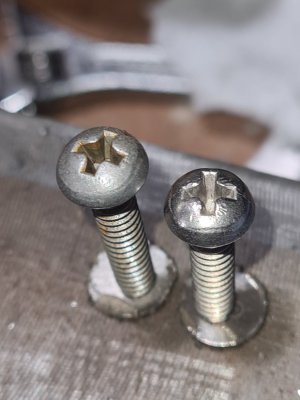
so far only tried a couple of parts... Screws (NOS from ebay)

20230502_230344.jpg

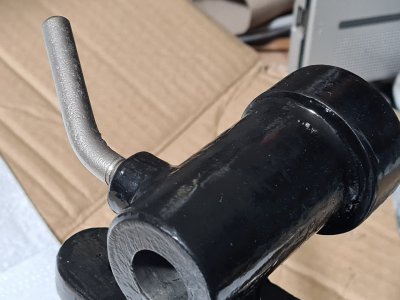
And a fairly well pitted tail stock locking lever!

20230502_233432.jpg

Not too bad for a first go. What's obvious is that the smoothness of the part matters, so my tailstock lever for instance has been munched by the rust monster through its life. It would take substantial sanding and filing to get a mirror finish.
What's there is good though. Feels nicer to touch than raw steel and will hopefully keep it's appearence.
 
Back
Top