Rat Rod Ricipe

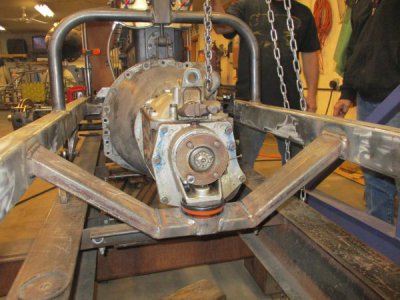
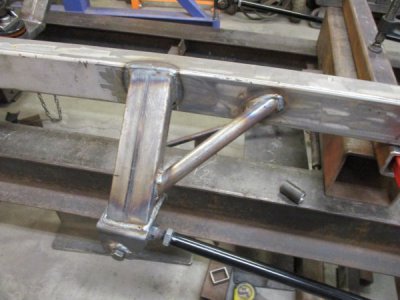
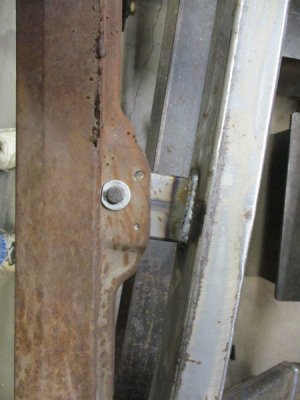
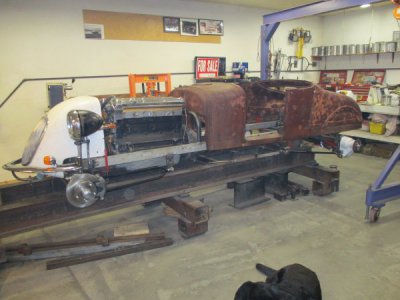
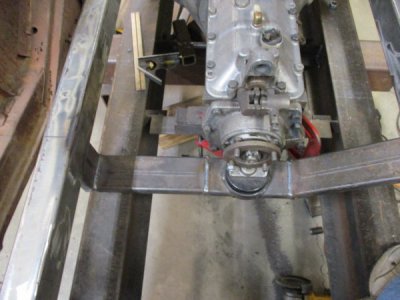
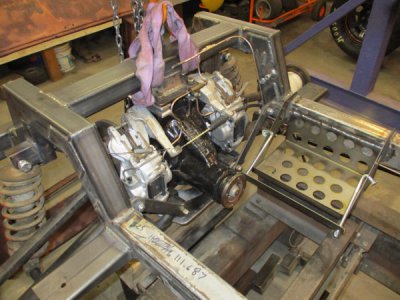
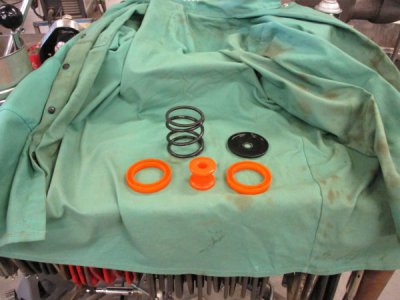
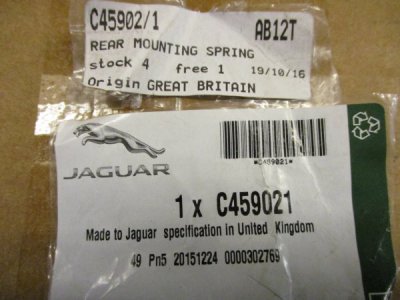
Here's the parts kit I have to work with and here are some labels from the parts bag, one says "Origin Great Britain" and the other says "Made in UK". I'm a bit confused and want to be politically correct. What do our cousins across the Atlantic call themselves; Great British or United Kingdomites ? Bill showed me a picture of the transmission mount in one of his Jaguar books, for the spring holder I cut through three sides of a piece of 1" X 3" rectangular tubing, a piece of 3"pipe, sized to accept the part will drop in the opening and contain everything, the pin that connects the transmission to the chassis sets the pre-load on the spring and the orange bushing prevents over travel, the whole assembly is retained with one of the hood pins from our racecar. Did you know that racecar spelled backwards is racecar? Bryan fitted and installed the tubing gusset on the rear radius rod mounts. Two pieces of material from my "small pieces of steel bucket" yielded two body mounts so I only needed to make four more, now that the body is on we can begin mounting the steering and brakes.
mount 001.JPG

mount 003.JPG

mount 004.JPG

mount 005.JPG

mount 006.JPG

mount 008.JPG

mount 011.JPG
 
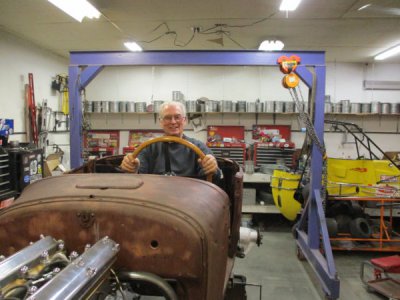
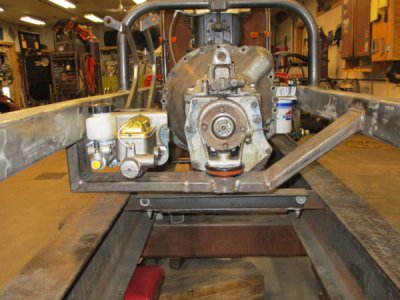
Bill, first time behind the wheel, look at that grin, "Boy, what a view of that engine!" Big revision on the transmission mount, I was thinking swing pedals and Bill and Bryan were thinking under floor pedals. It dosn't look as clean, but I like the way it protect the master cylinders.
mount2 001.JPG

mount2 003.JPG

mount2 004.JPG

mount2 006.JPG
 
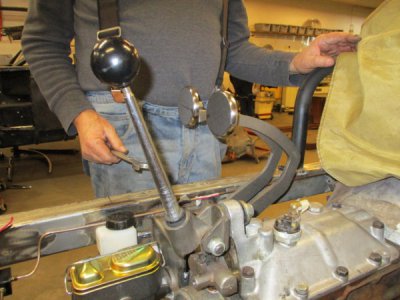
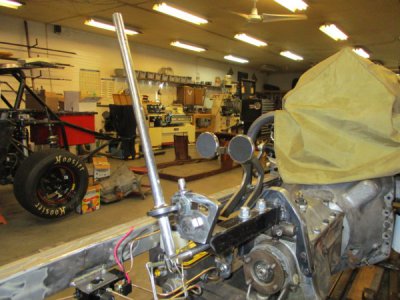
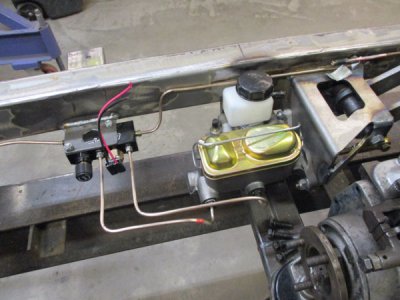
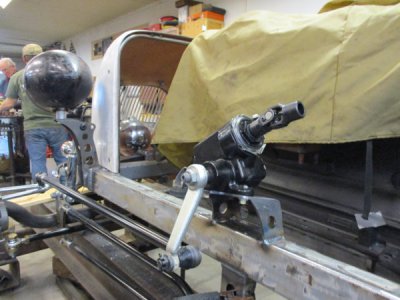
Since the beginning of this project Bill has expressed concern for the position on the gear shift lever in relation to the seat, you can see that it sits about even with the pedals. To remedy this he has been working on a device to move the shifter back, copying a similar device on a Volvo transmission. Both transmissions are rail shifters but that's where the similarity ends, the Volvo only has one rail, and the Jag has three. In the first iteration he used a spherical bearing for the X (fore and aft) and Y (right to left) motion, it worked for the X but didn't give enough roll to the Y. The photo is of the second iteration, He's still using the bearing but has built a guide for the Y motion, and it works! It's a little stiff but with a some fine tuning should perform to his expectations. Bill also rebuilt and installed the rear brake calipers and Bryan is working on the plumbing, after installing the battery box and the steering, which uses a reversed Corvair steering box. I didn't build the steering box mount, if you look at all the crazy angles on that thing you'll understand why.

brakes 005.JPG

brakes 006.JPG

brakes 007.JPG

brakes 008.JPG

brakes 004.JPG
 
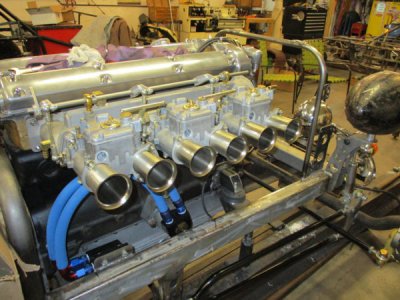
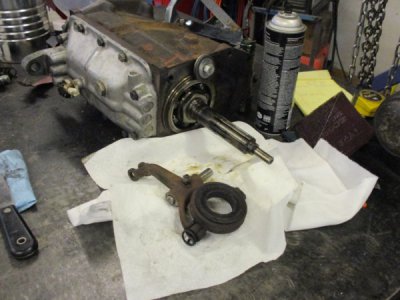
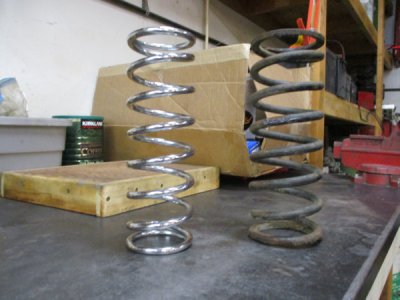
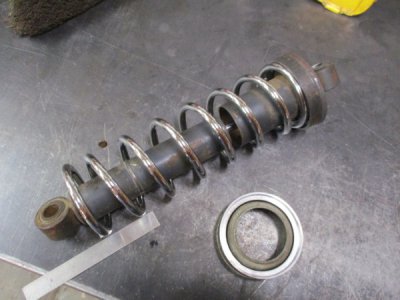
Having nothing better to do Bill and I fitted up the carbs, it's an aftermarket part and the bolt holes need to be massaged with a file, one of the carbs was stuck shut but with a heat gun, some wd40 and gentle persuasion we were able to get it freed up. I think something got spilled into it, soda pop or maybe snoose juice. The carbs are made in Spain. The seals for the transmission showed up, the bell housing holds the front seal and is attached to the transmission with 8 bolts, a little over-kill I think, You have to be careful and not let let the input shaft slip out of the housing, if you do , there are a dozen or so roller bearings that will fall out and the tranny will need dis assembled, hence the bolt and washers. Here's the new spring on the left and stock spring on the right, the new spring is and inch shorter and dosen't fit the spring cups on the shock so I had to make some adapters out of 3" schedule 80 pipe, the next challenge is figuring out how to safely compress the spring enough to mount it on the shock.

carbs 003.JPG

carbs 005.JPG

carbs 006.JPG

carbs 008.JPG
 
Excellent work on the Jag special, I used to race them on grass circuits in the uk, using mainly 3.4 and 3.8 engines, and the rear end you are using. I always called the rear transmission housing "the cage" as well! If you are familiar with jags you will probably already know this, but just in case you don't, leave yourself a loose access panel in the rear to get to the top of the rear disc brake assembly, as changing the handbrake pads is a bugger!
Phil, Yorkshire, UK
 
Thanks for the advice, Bill is the Jag expert, I just build 'em.
 
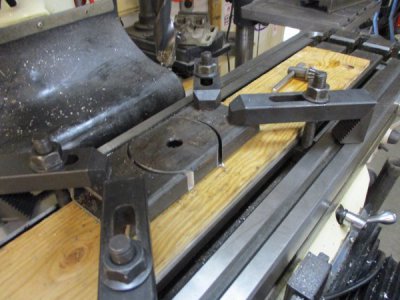
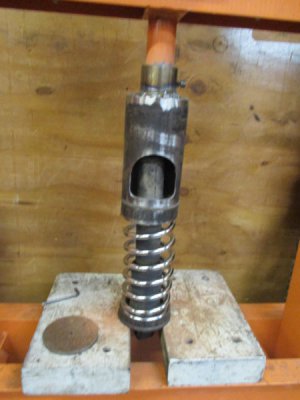
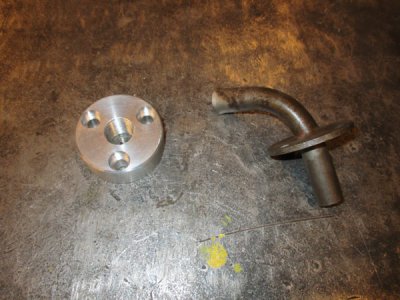
Here's the fixture I built to compress the springs far enough to install the retaining rings. The disc on the left will replace the part on the right, and along with some other things, will eliminate the most common cause of oil leaks on the inline 6 cylinder Jags, the Oil Pump Pressure Relief Valve Line to Pan. Bill wants me to build 2 more for his other cars.

springs 001.JPG

carbs 001.JPG

springs 002.JPG
 
I really like what you've done!
I'm in England, home of the jag,
There's old jags sitting on driveways or abandoned in "car graveyards" not quite a scrap yard, a lot of people here seem to collect old cars, store them on a bit of land and then they just sit there and rot. So it's nice to see something different being done with a lovely old bit of British motor!!
 
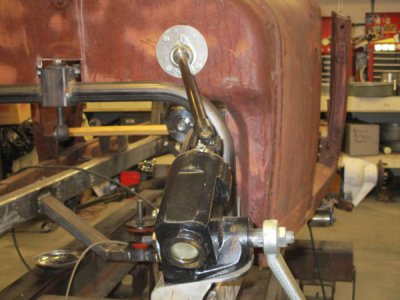
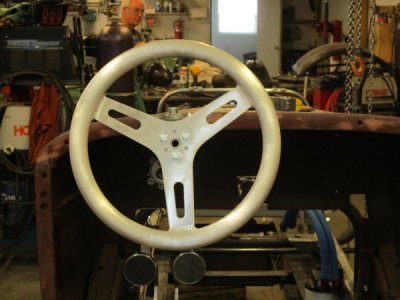
I'm really glad you UK guys have noticed this thread, I was sure you would like it. As to the old cars, it's the same here; people lose interest in a car and just let it set, but they won't sell it either, the only benefit is to the mice. Bill and Bryan finished up the steering, the big plate for the flange bearing is so we can remove the body, and we discovered that we need to add some reinforcement of the cowl. One of the cool things about this build is it allows an absolutely flat floor, even so it's going to be tight for two seats.

steering 002.JPG

steering 001.JPG
 
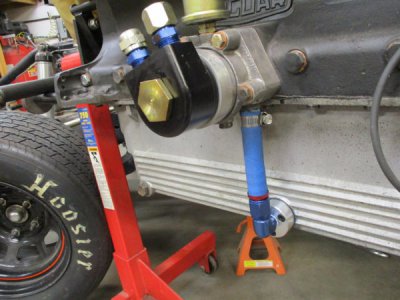
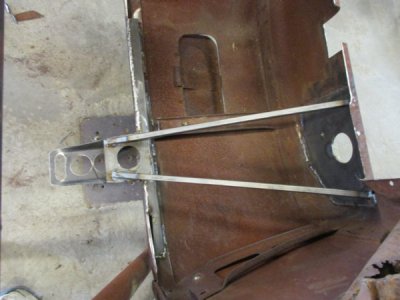
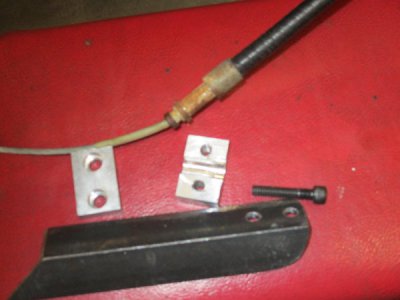
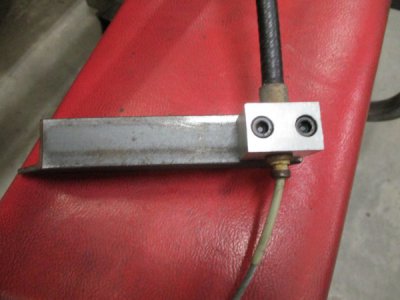
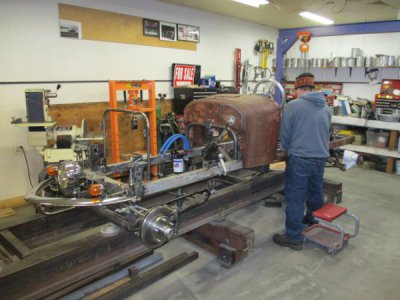
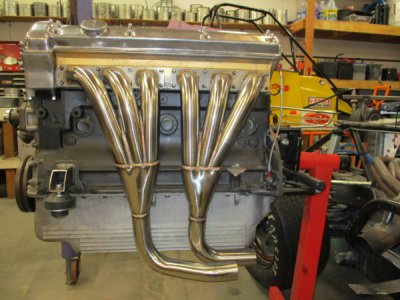
Here's how Bryan decided to reinforce the cowl using square tubing and 16 Ga. sheet, funny how this old rusty metal smells like urine when you weld on it. We needed a clamp to attach the parking brake cable to the chassis, so I made one. Bryan is contemplating the instillation of the parking brake lever, sure looks empty without the nose and tht big 'ol 6 cylinder sitting there, you can see the remote oil filter and it's hoses, when we got the engine set in the chassis where we wanted it, the oil filter on the block hit the frame. Bill can change his oil and the filter and not have to move the drain pan. Bill's headers came in, all stainless steel and shiny, he wanted to build a lakes pipe but steering box was in the way, besides, they gave him 10% off.

headers 002.JPG

headers 003.JPG

headers 004.JPG

headers 006.JPG

headers 005.JPG
 
Back
Top