Rat Rod Ricipe

Thanks brino, our bender is made by Pro Tools, https://pro-tools.com. When we built our shop we embedded a 12" X 1" steel plate in the floor. Four 1/2" bolts attach the bender and we use shims to level it up. We store the bender in a corner of the shop and plug the bolt holes with set screws when not in use. It only takes about 5 minuits to set it up, but it's heavy and it takes two people . I think using a reciever hitch would work fine but you would need some way to fine tune the level. If you do buy a bender be advised: You will ruin a lot of tubing before you get it entirely figured out. As to the power plants, we are the second largest coal fired generating plants west of the Mississippi, and one of the cleanest.
 
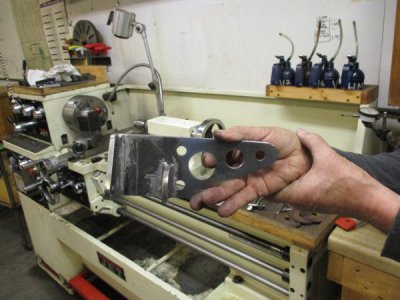
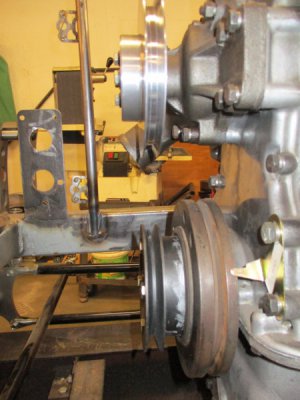
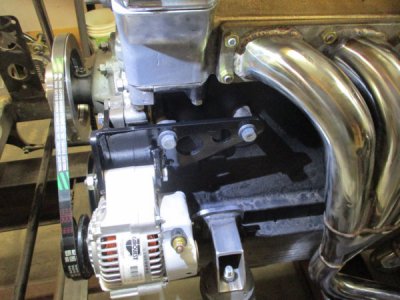
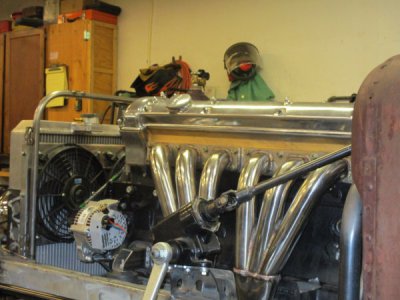
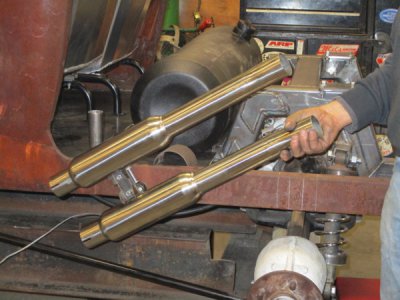
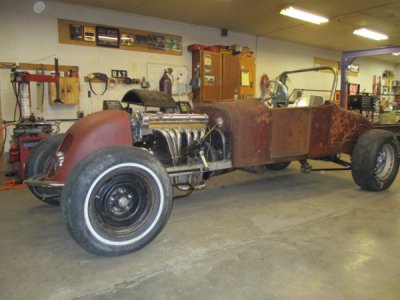
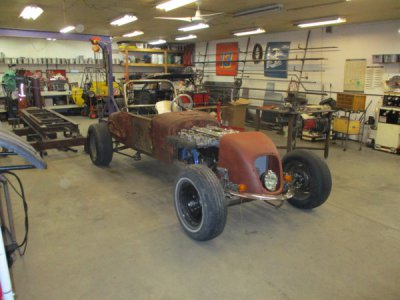
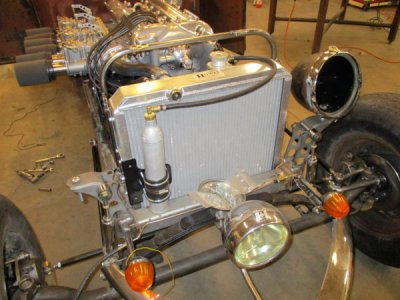
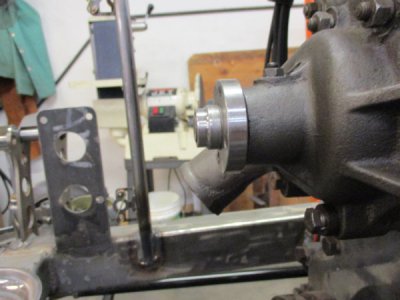
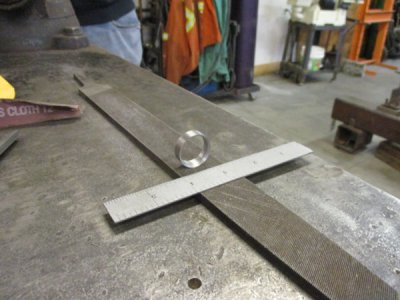
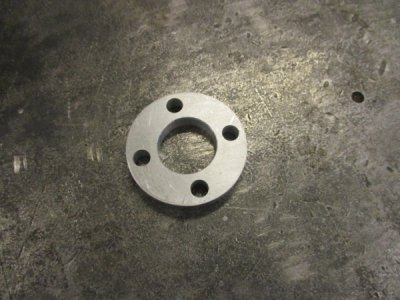
The crankshaft and water pump pulleys finally showed up and now I can begin to work on the alternator mount. The crank pulley is from a 1950s era Jag and the water pump pulley is a much later high performance part for a V 12. Why? Because we need single groove pulleys to match the alternator. Since we are mixing and matching parts the big challenge is the belt alignment, using a SWAG (scientific wild ass guess) I determined that the water pump pulley will need to move forward about 3/8" , but first I have to do something about the water pump shaft. As you can see it has two pilot diameters, one for the pulley and one for the fan, the solution was a simple sleeve that we pressed on and retained with Locktite. We installed the pulley and with much measuring and another SWAG determined the finished thickness of the spacer and got it right the first time!:courage: Now we can build the alternator mount, again, the alignment is the critical thing. After cutting, drilling and welding we mocked up the parts on the engine and as I held the alternator up where it needed to go Bill scribed a line and the rest was welding and finishing. Here's how it looks with the radiator and headers installed, and the last shot is of the mufflers, Bill built the mount out of a used shock absorber rod and some materiel from my small pieces of steel bucket. It's gonna be loud, the glass packs are for an XKE, and they're straight through.
belt 002.JPG

belt 001.JPG

belt 003.JPG

belt 008.JPG

belt 004.JPG

belt 009.JPG

belt 012.JPG

belt 007.JPG
 
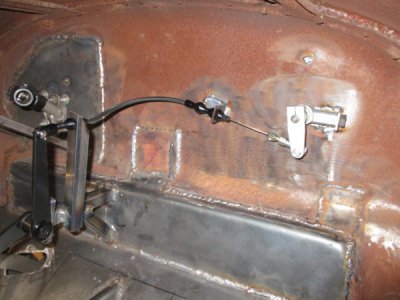
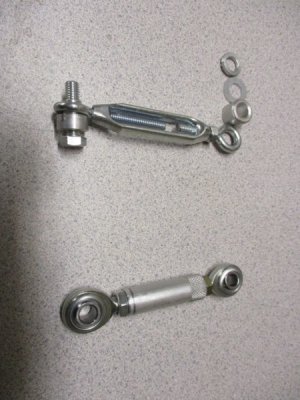
Working on the floor means installing the throttle pedal and linkage. Since the three carbs are actuated from a common shaft Bill decided to extend the shaft through the firewall and connect it ro the throttle cable inside the cabin, I'm wondering what engine torque over is going to do but Bill isn't concerned. Which one of the turn buckles would you want on the alternator belt tension? The one at the top looks more "ratty" but the one on the bottom is what we went with. Building it was an excuse for buying a 5/16" X 24 left hand tap. It was the first time I'd dealt with MSC since the takeover, no complaints here.

002.JPG

001.JPG
 
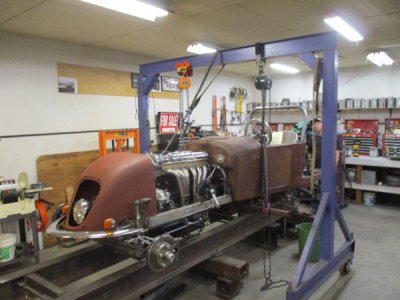
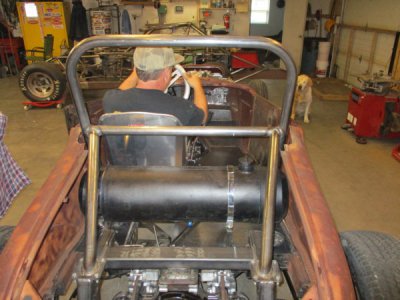
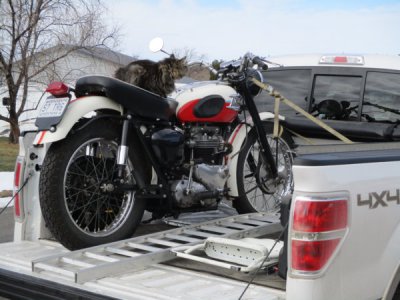
Before a Cat Rod can run, it has to fly. With the floor finished and the roll bar and fuel tank installed there is no reason to keep it on the jig. Bill went to a motorcycle show in Idaho, that's his 1956 650 Triumph in the bed of his truck, and Bryan and I decided to give him a surprise. We still have a lot to do and only three months until Colstrip Days, I've always scoffed at those hot rod shows and their deadlines but now we have one. Will we make it Stay tuned and see.

floor 002.JPG

floor 004.JPG

floor 001.JPG

floor 003.JPG

floor 005.JPG
 
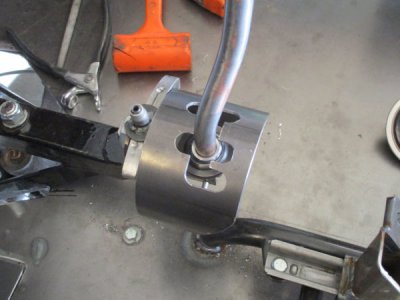
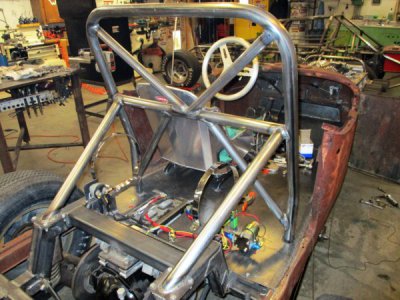
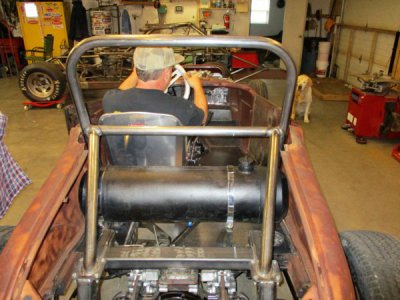
Sorry that I haven't posted for awhile, I had to buy a new computer as the old Windows won't be supported after April sometime, and then I had to figure out how to use it. I suppose I could go into a rant about technology, planned obsolescence, and wasting natural resources, but it won't make any difference, the money is spent, and not on parts, tooling or materials.:confusion: We are at a point in the build where we need to do the small mundane jobs and the milestones are not as big or are reached as often. Bill thought his shifter needed a gate so he built one out of some left over tubing. Bryan and I got the roll bar bracing completed and installed the fuel tank and electric fuel pump, according to Bill this is very similar to the placement of the stock Jaguar components. The last pic is of the coolant recovery bottle, It's made from a Soda Stream CO2 tank. I had to remove the Schrader valve and tap 1/8 NPT, I also had to solder in a siphon tube to reach the bottom of the bottle.
IMG_0150.JPG

IMG_0148.JPG

IMG_0146.JPG

IMG_0149.JPG
 
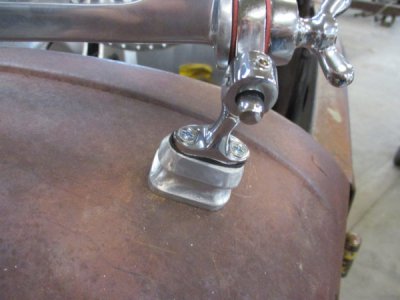
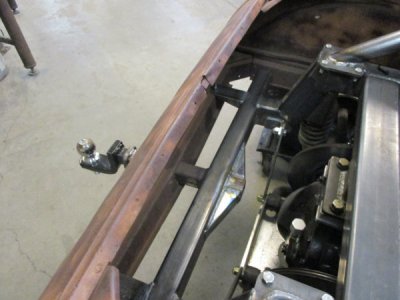
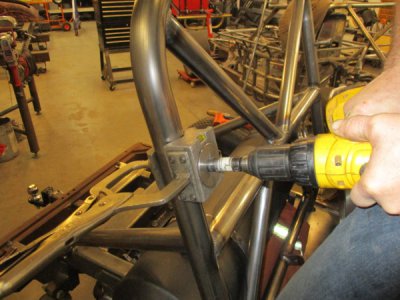
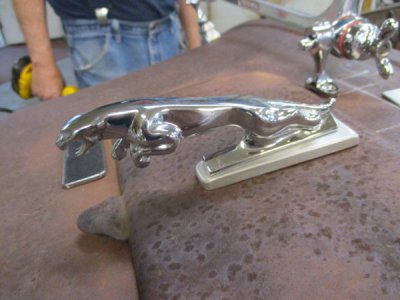
Bill's Brooklands windshields came in, the mounts wouldn't accommodate the tight curve on the Model T cowl so we made a couple of aluminum stand-offs. I drilled them and cut the flutes on the mill, and Bill finished them with with a file. He wanted a trailer hitch so he could tow one of his motorcycles to a show, we only had the rear bar to attach it to and we didn't want to block the view of the rear end, I hope it's adequate. The seat belts were the next item after the seats, this is the tool we use when we need to make a penetration into the tubing, it's mostly used in the fire sprinkler instillation business but works well for us. The Pouncing Jaguar was a Christmas present from Bill's wife, she picked it up at a flea market about 13 years ago, I'll have a picture of the installed windshields next time I post.

IMG_0160.JPG

IMG_0154.JPG

IMG_0151.JPG

IMG_0153.JPG

IMG_0161.JPG
 
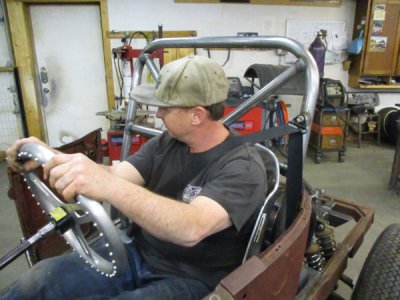
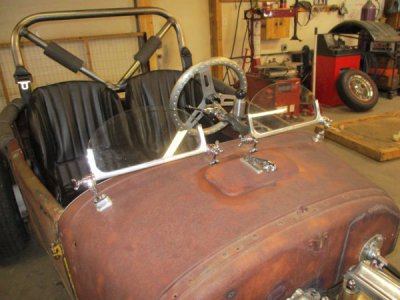
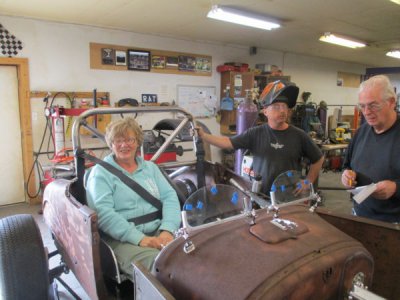
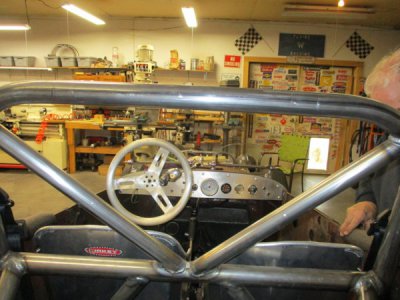
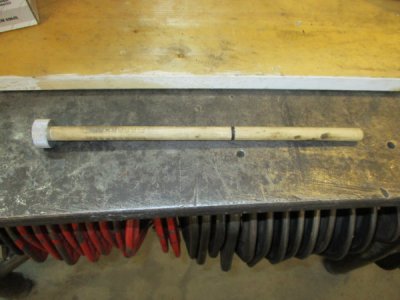
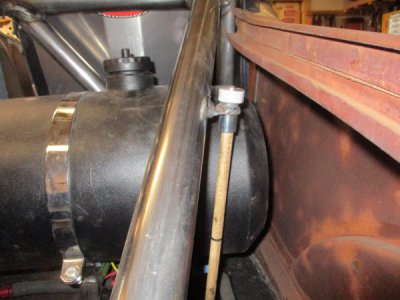
Here's the Brooklands wind screens, not sure how well they'll work, but they sure are snazzy. Bill's wife, Mary, first time sitting in the new ride, I think she must be a very patient woman. Notice the turn signal switch, we had to put it on the right side of the wheel for entry/egress clearance. Bryan cut out the dash panel and I laid out the holes for the instruments, it's installed and the wiring is about 90% finished. I made a dip stick for the gas tank. We put fuel in the gas tank and coolant in the radiator and tried to fire it up today, it wants to run but we discovered a problem with the so-called high performance starter, the shaft is too long and the pinion is fully engaged in the ring gear and won't dis-engage, and it makes one hell of a racket when it runs. We ordered a rebuilt starter but the closest one is in San Diego, 5 days out, but we need to hear it run. Tomorrow I'm going to jack up one of the rear wheels, wrap a rope around it and give it a spin, I watched my dad do that 60 some years ago when his pickup had a dead battery.

IMG_0170.JPG

IMG_0165.JPG

IMG_0166.JPG

IMG_0167.JPG

IMG_0168.JPG
 
Looking great. Could you space the starter out from the block to correct the gear engagement? Mike
 
If you would like your fiberglass track nose to match the rest of the car, here is a great idea: I have a friend in TN that wanted a rusty fiberglass T-bucket, so he mixed iron filings with gray primer and painted the fiberglass with it. He sanded down the result a little to expose the iron, but it didn't rust to his satisfaction until he washed it down with ammonia. Then he got the "perfect" rust he was looking for.

Your project looks great! I love your creative engineering and all of the details you've added.

GG
 
Looking great. Could you space the starter out from the block to correct the gear engagement? Mike
The starter shaft is 5/16" too long, a bit much for spacers I think. I could build a new mounting plate, but the rebuilt stock starter is on the way so it's a moot point. Thanks to GarageGuy for the painting idea, I will pass it along to Bill. I tried my dad's rope trick this afternoon with no success, I guess his old truck had a lot less compression than a freshly rebuilt Jaguar engine does. Bill said my effort was noble and entertaining.
 
Last edited:
Back
Top