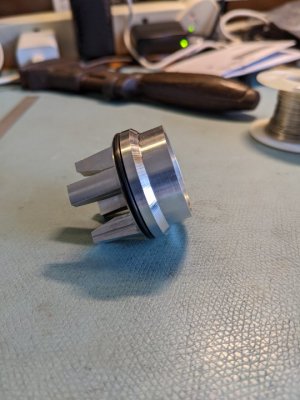
Replacement backflow valve piston

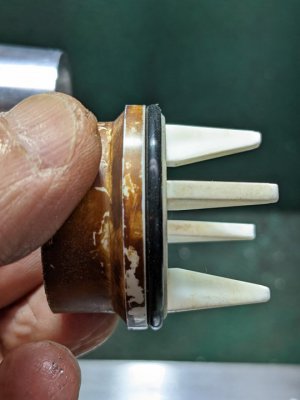
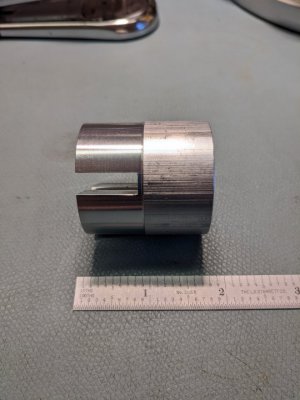
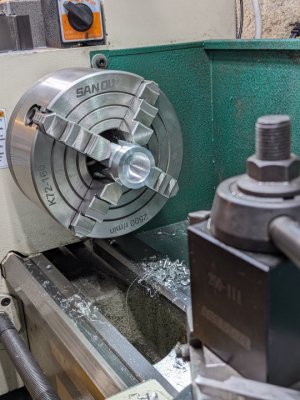
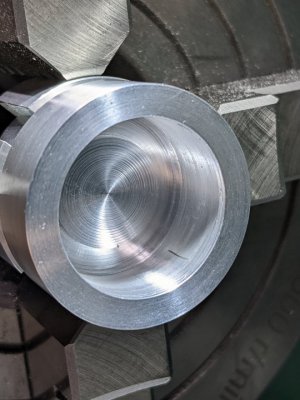
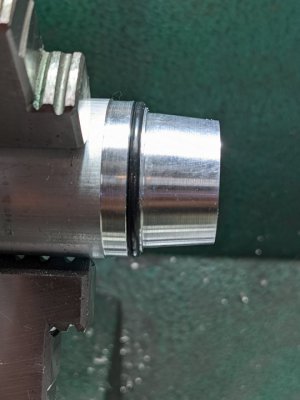
Did the o-ring section. My G0752Z is a bit more rigid than my mini-lathe. No chatter, at least at low speed. Pretty happy with how that section came out.
PXL_20220426_154445254.jpgPXL_20220426_154507429.jpg
New piece fits into the conical section and the o-ring is the only thing that touches it. Think it will be ok.

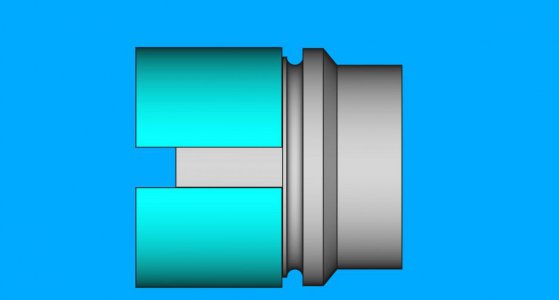
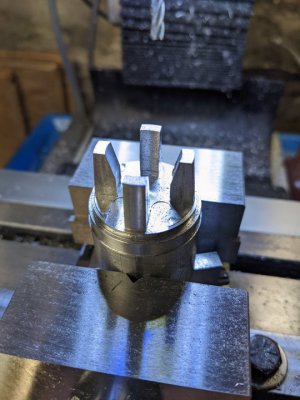
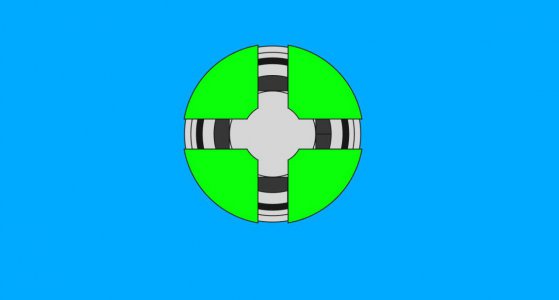
Now I have to make some sort of mandrel to hold the piece after I cut the ears on the mill. I think if I make a thick washer about 17-22mm high and then split the washer into four quadrants, clamping with a four jaw chuck ought to hold the piece.

Something like this:
fourjawmandrel.jpgfourjawmandrelsideview.jpg
The ears would fit in the spaces. As the four jaw chuck moves inward, the ears would be held by the flats of the cut doughnut. Don't know yet how hard this is going to be to realize or use. Seems like I could turn the rod smooth, stick it in the mill, and pass a 1/4" mill vertical and horizontal. Then take the piece back to the lathe and part it off to get four pieces. Well let's see what happens!
 
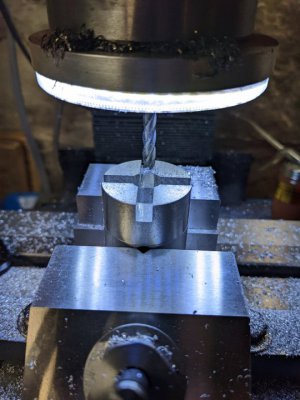
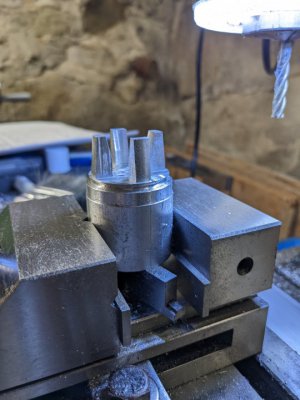
The turning and drilling wasn't that interesting, so no pictures on the lathe. Here is the setup for the slotting. I had finished the horizontal slots and was working on the vertical slots. 1/4" end mill. Due to the thin parallels, there is hardly any support in the horizontal. Had to take 0.25mm cuts to avoid rocking the part. In the y axis, there is vise support, so I took 0.5mm cuts. Took a while, but was nice and easy.
PXL_20220426_215059502.jpg
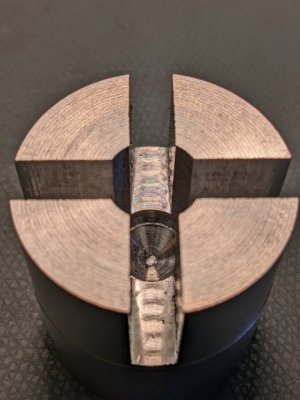
Here is the piece out of the vise, prior to parting and separating. I will be doing the parting at low speed to avoid quadrant missiles. Will be very strange interrupted cuts, but at least it is aluminum.
PXL_20220426_223020563.jpgPXL_20220426_223046592.jpg
Was a good day making chips.

Edit: I will use a slitting saw to cut off the quadrants. Think it will be a lot safer.
 
Last edited:
A little more mill work today. Didn't quite come out as pretty as I would have liked, but it is still functional. Learned a bit along the way, so all is good. Decided to not cut the quadrants until I had finished the ears on the piston.

So put the piston in the mill in a toolmakers vise, and an adjustable parallel to make the round piston not so tippy in the x direction. Setting the adjustable parallel was more or less done blind, since I couldn't reach the screw when the parallel was in place. Measured the fixed parallels and found it to be 0.6250". Adjusted the parallel down in 0.0002" steps until it fit under the piece. Just barely made it in there. Made the round a lot less likely to tip in the x-direction. Apparently I still have a nub from facing, couldn't quite get the adjustable under it, so I had it tilted with respect to the x axis.
PXL_20220428_202458350.jpgPXL_20220428_202515624.jpg
You can see that the y axis milling was lower than the x axis. Apparently my mill dropped a little, even though the z axis and the quill were locked. I don't why this is happening, but it is sure annoying. Fortunately a) this is a practice piece, and b) it won't matter in a real piece either. Since I didn't have a 7/32" end mill, I had to use a 1/4" end mill which won't quite make it through in a simple axis pass. So I had to make 8 passes to make the slots (which formed the ears).

Checking with the quadrants, I find the quadrant slots are slightly narrower than the flats of the ears. This is actually good, it means the quadrants should wedge nicely with the ears and hold the piston tightly. Should find out tomorrow if this quadrant mandrel was a good idea.
 
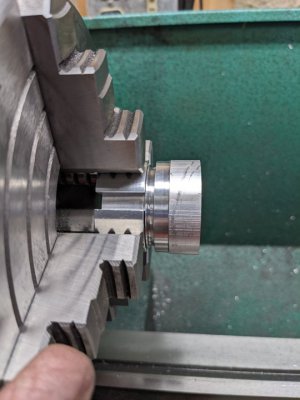
Not too bad, but a little fiddly. Cut the quadrants off and placed them in the four jaw chuck along with the piston. Nearly had it fall out, but was able to save it. Indicated it in to 0.0005" which is fine for this thing. Here is a picture of the piston being held with the quadrant mandrel pieces. Next time I do this, I may leave a very thin back to hold the pieces in place.
PXL_20220429_155248495.jpg
Off camera, I trued up the extruded area and faced the end. Now everything is running true, so I can form the bottom, hollow part of the piston. Think there is a HSS tool bit floating around that I can repurpose.
 
Some more progress. Bored out the hole.
PXL_20220429_214123863.jpg
Used a HSS tool that I made a couple of years ago. Touched up the grind on the CBN wheel and gave it a try. Ran the lathe very slow about 100 RPM and shaved the slot a fraction of a mm at a time. Worked fine and made nice curls like a parting tool. Here is the circular slot at the bottom of the hole, forming the button. I need to grind a slightly different tool so I can get all the way to the outer edge. There is an edge in the ID in the bore that I would like to eliminate, or taper, so the steel guide fingers don't catch on it.
PXL_20220429_222822275.jpg
Somehow need to do a "fit check" while still in the chuck. I'll bring the backflow assembly to it and try to make an assessment if it is ok. Assuming the fit with the guide is ok, the final machining step is to turn down the OD to get closer to the profile of the original. I don't even think turning it down is necessary, except perhaps to reduce the piston weight.

This has been interesting and challenging for me. And I get to do it all over again, next time in brass! Been fun so far. Hoping round two doesn't take so long!
 
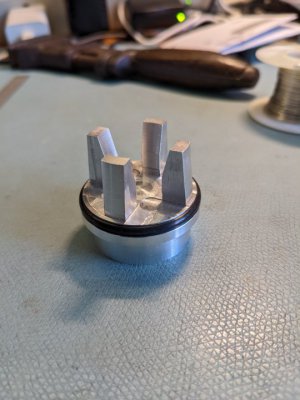
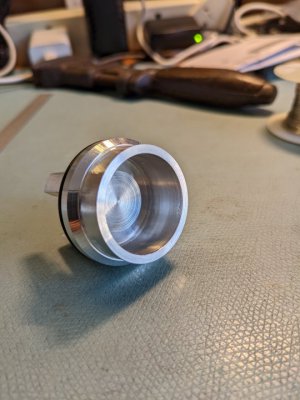
Finished the prototype. Made it 2mm short on the piston side, due to a brain fart yesterday. But, I was able to go through all the necessary steps to make this. More or less looks ok. The fit for the seal, which is the important part, is good.
PXL_20220430_203558197.jpgPXL_20220430_203614418.jpgPXL_20220430_203622703.jpg
So... I tried it out. It seals up nice under water pressure :D:applause 2::grin: No leaks. Woohoo! I had a slow leak from the copper spherical socket joint, but that's a different problem. There was a little bit of corrosion there and I get a drip every minute. I may have to replace the joint, or figure out how to ream it. It wouldn't take much to fix it. Of course, searching for a copper union reamer got me nothing.
Now to start on the real one.
 
If you can use a drill motor to spin some scotchbrite in the union, I bet it would clean up for a seal. Especially with a shaped wood arbor.

Nice work on the piston. :)
 
If you can use a drill motor to spin some scotchbrite in the union, I bet it would clean up for a seal. Especially with a shaped wood arbor.

Nice work on the piston. :)
Good idea on a wood arbor. Be a bit easier to hack out, and wouldn't feel bad about wasting a perfectly good piece of metal. I just looked up what HD wanted for a new 1" copper union. Wow. $27. McMaster has one for $11. Both rated for potable water, sweated joints. If I rebuild the assembly, I'll buy two of them from McMaster. Never thought I'd see the day when McMaster was considered the inexpensive option!

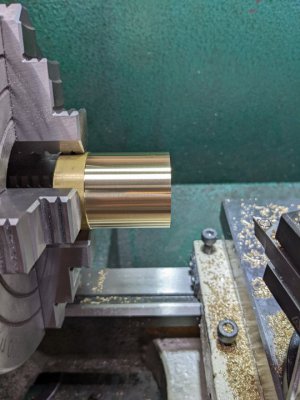
Gosh, thanks. Hope the brass one comes out as nicely. The brass is chucked up already, waiting for me...
 
Didn't get to do much today. It was the nicest day in the past 30 days, so it was hard to stay down in the dungeon shop. It hit 72F today, so spent a bit of time outside. But so as not to disappoint anyone (I'm laughing) I did turn a little bit of the brass in the morning. Wow, with the light on it, it looks like I am turning gold.
PXL_20220502_000548610.jpg
 
Monday was a blah day. Wasn't motivated at all to do much. Tuesday was different!

Finished the top half of the brass piston. Much easier when you have done it before!
PXL_20220503_172004803.jpg
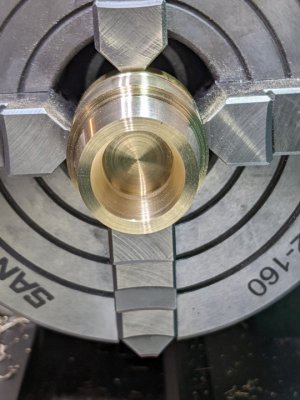
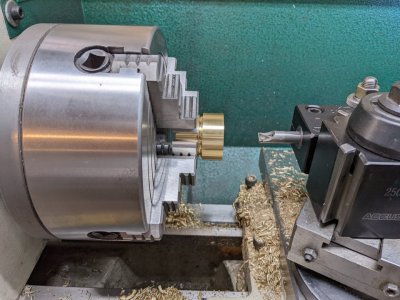
Sorry no pictures on the mill cutting the ears. The brass was a little grabby and actually pulled the piece up from the vise. That was a little exciting, but not a major setback. It happened when the end mill wasn't near the bottom, so you can't tell there ever was a mishap. Then back on the lathe for parting to length and some boring of the bottom side of the piston. I just finished using the 3/8" boring bar, and will switch to the 1/2" bar. Called it a night on this. This will be finished tomorrow, if all goes well. So far, knock on wood, it is coming out ok.
PXL_20220504_013833303.jpg
For tomorrow, finish boring to width and depth. This is a closed end flat bottom hole. Then make a groove in the piston bottom for the steel guides. Finally turn down the OD to give the piston a waist. I'm glad this is nearly done. The weather is due to get warm soon and will need the irrigation to start within the month. This little project has stretched my capabilities which is good. Can't say I'll make another one, but, at this point, I do know how.
 
Back
Top