Rockwell mill lubrication upgrade

Weldingrod1

Registered
Registered
Joined
Oct 14, 2013
Messages
997
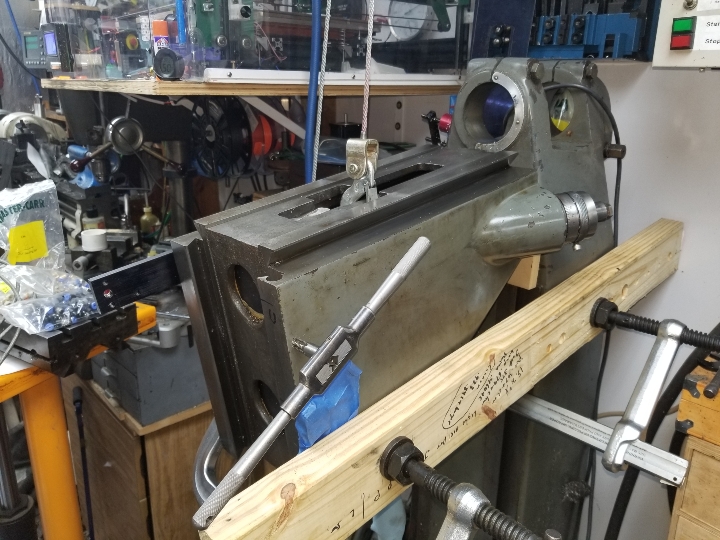
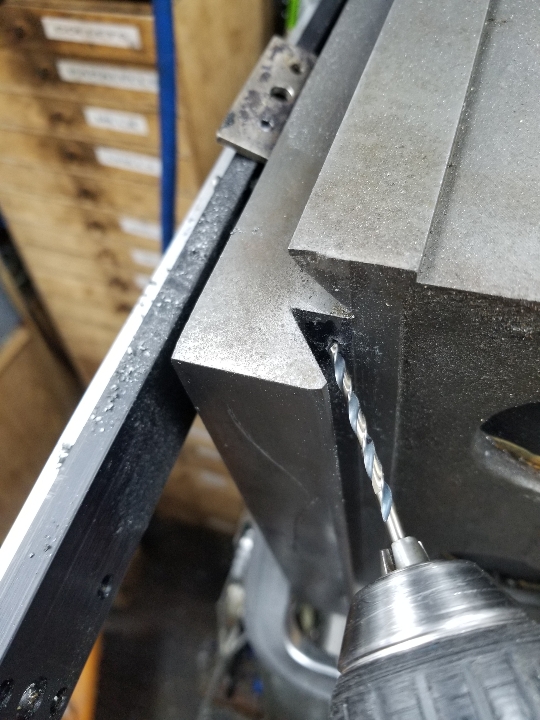
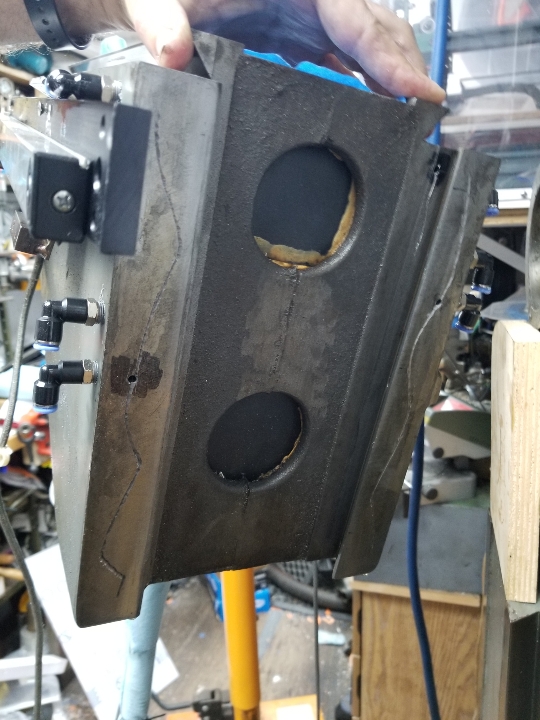
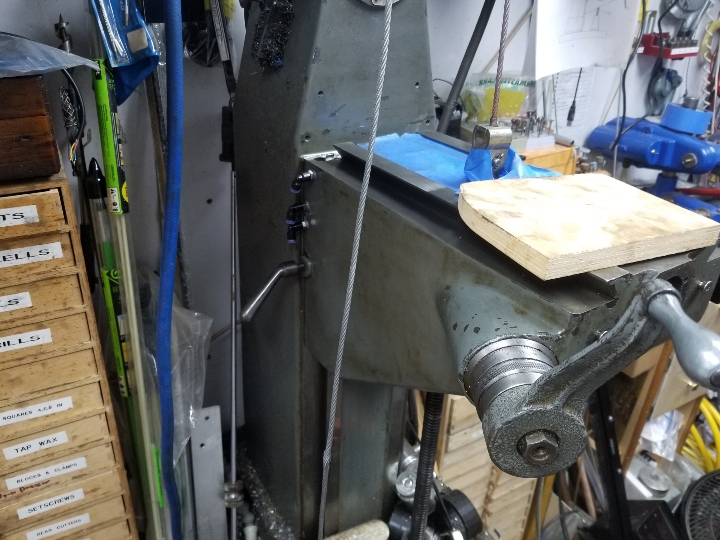
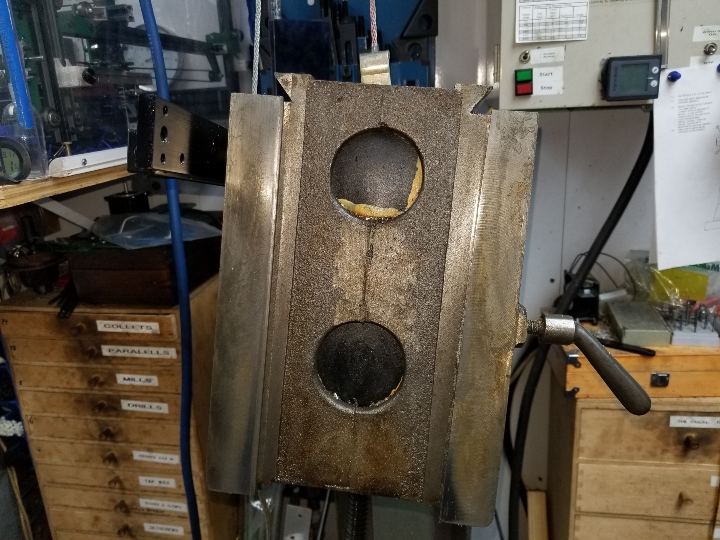
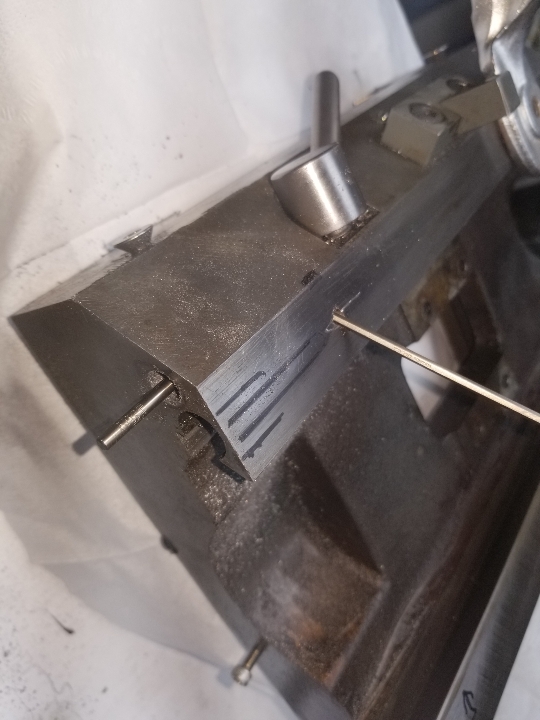
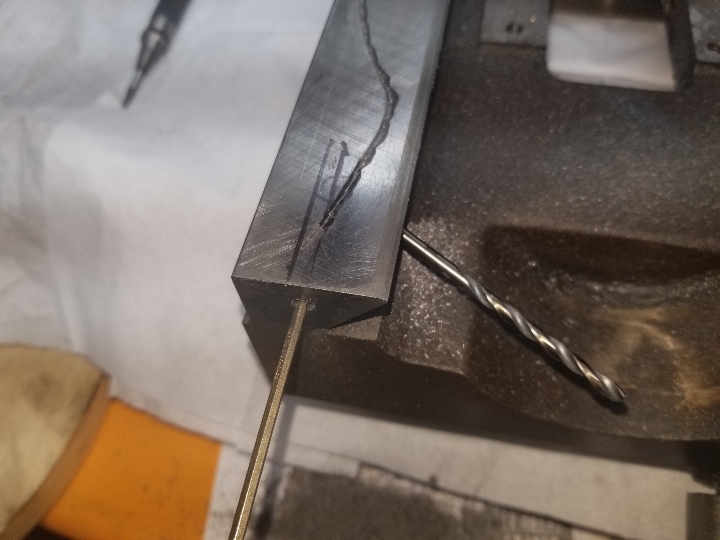
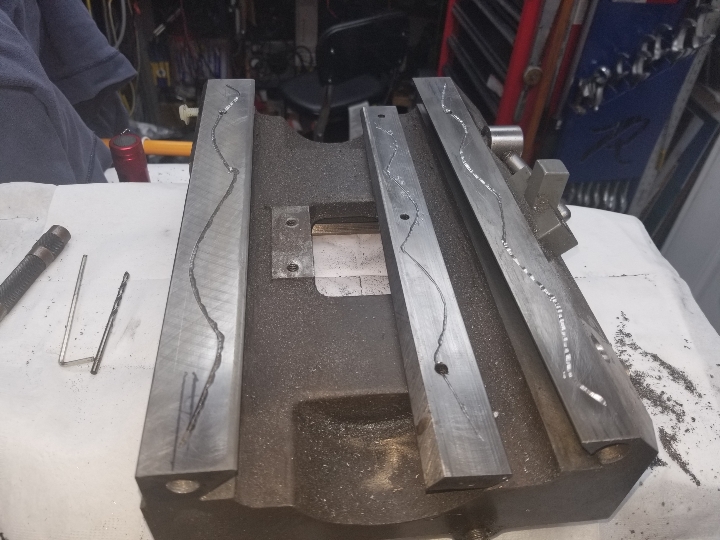
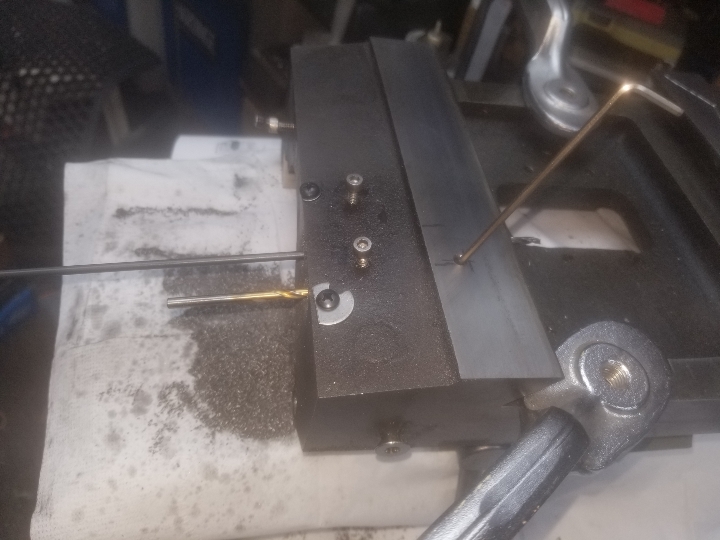
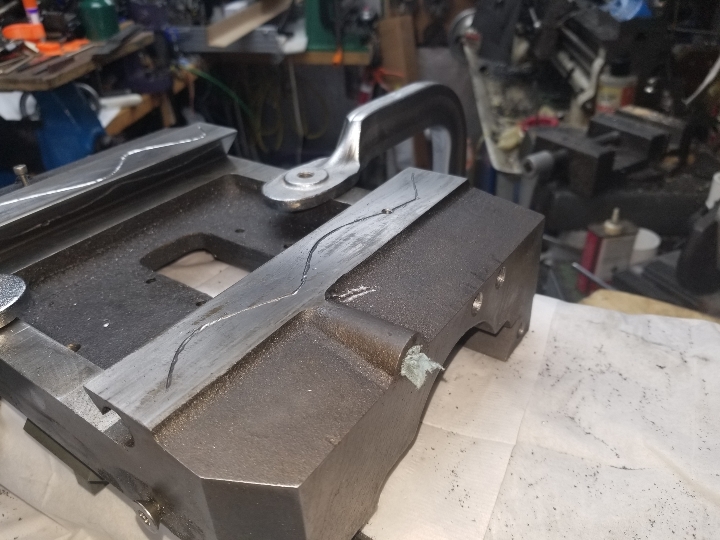
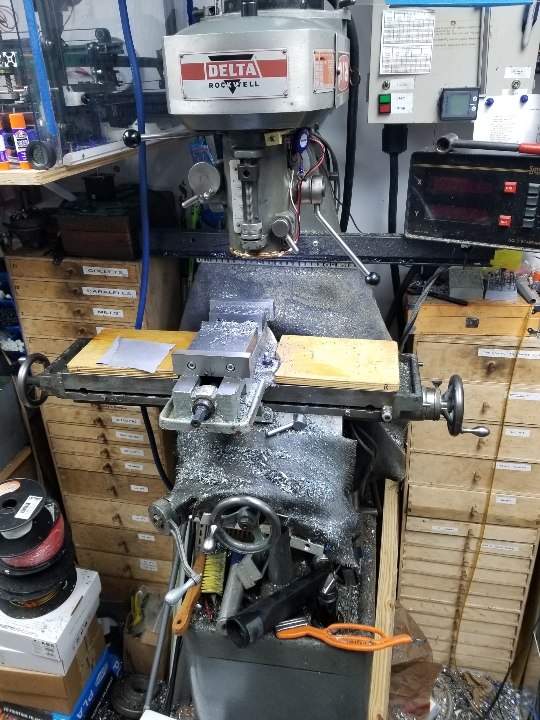
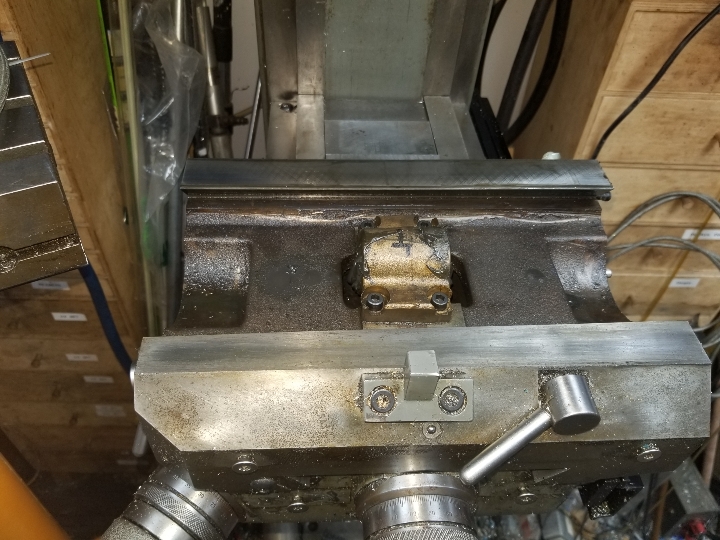
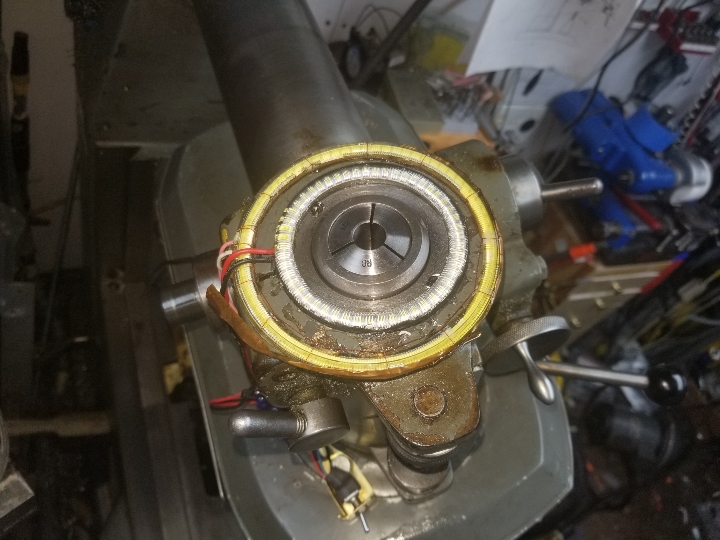
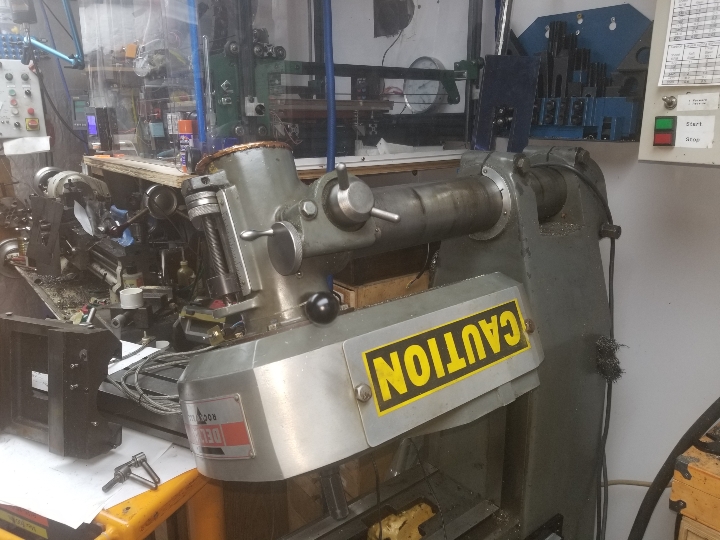
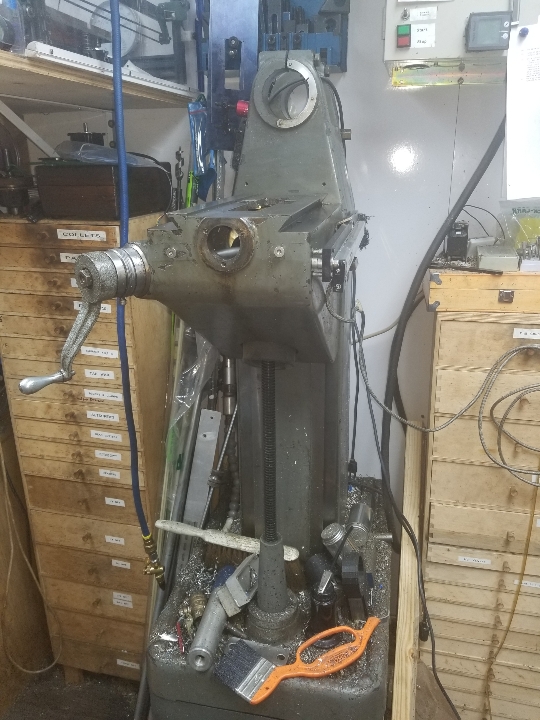
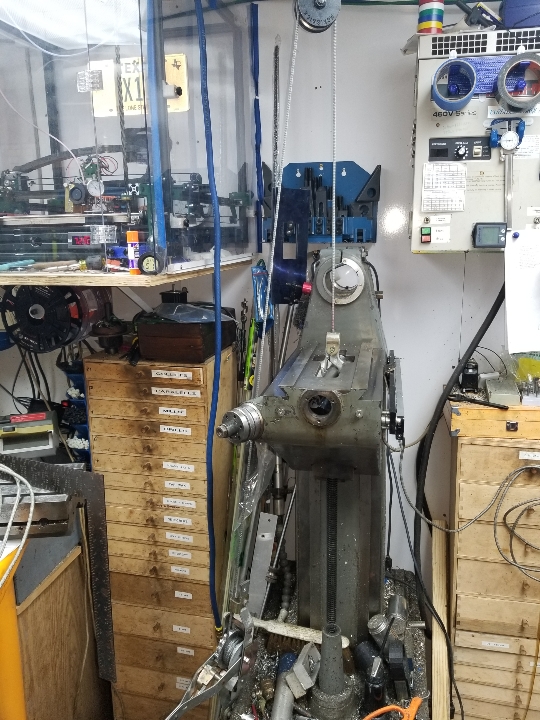
A thread in which I pull my mill apart and make it, hopefully, better.

Goals:
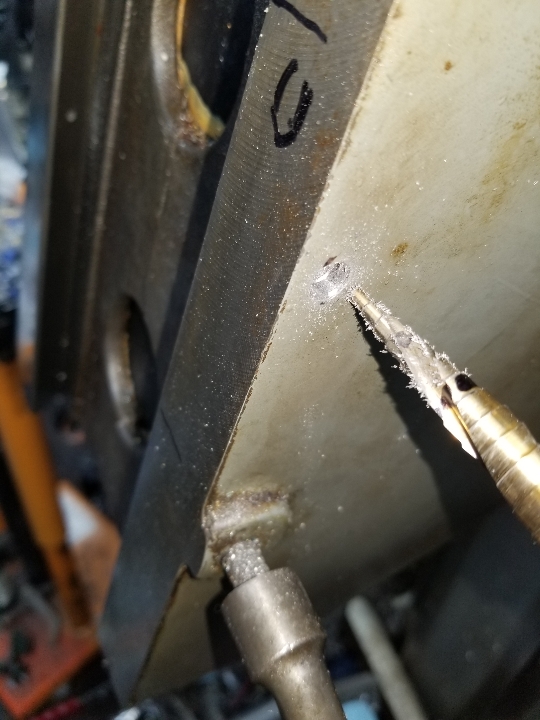
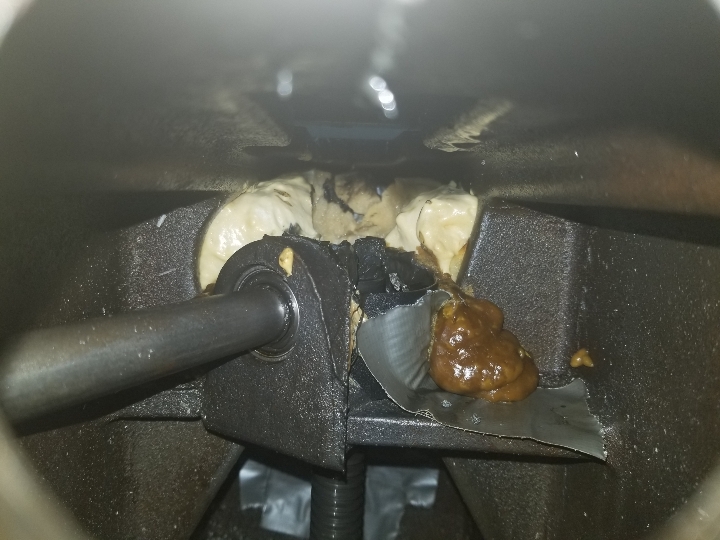
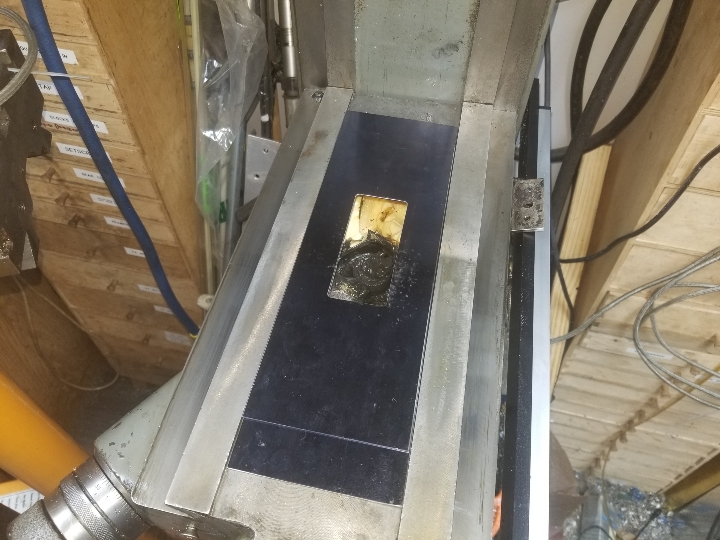
Install new swarf covers
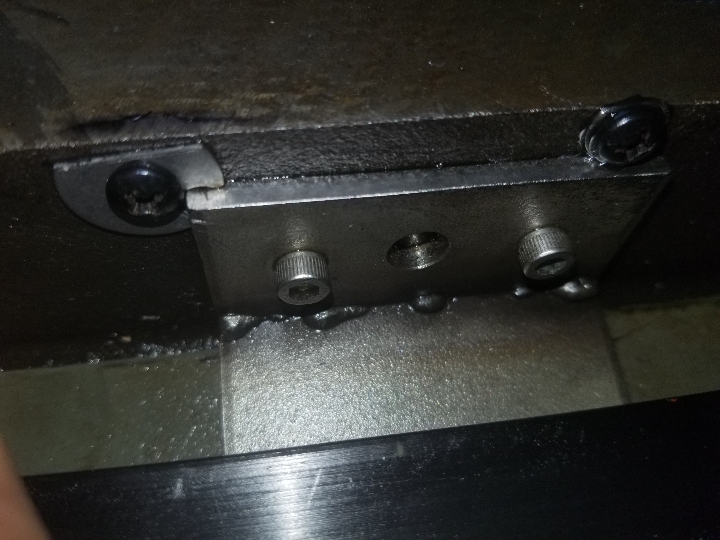
Add pressure lube to everything
Re-do the flexible swarf guards
Install DROs on Z and quill
d941272160e88ad5200958a7eb3ab9f7.jpg
 
Progress! Locked out the glass scales.
You can see where I plugged the hole in the back of the knee.

#%^^ the swarf guard was bent, not broken. Ugh. At least my new ones fit!
Spoiler alert: I discover WHY it got bent later on ;-)
5dcc6d19972df72d35e85fe680f595c6.jpg

c4982e66f066d0053421ba1c0c88854e.jpg
b8732054c7f7a3fd1c7fb8b32b55b09d.jpg
 
Kinematic location for the Y axis DRO, so I can take that bracket off and replace it.

In case you wondered what the bottom of the spindle looks like.

Flip it over, drag it out...
72dfe70e7dfeefe5dd70ce78f21b352c.jpg
7eb66b59efed90d25345fe6a2f2d7c70.jpg
133e34357ca4e0aead99d60553a13076.jpg
 
I'd like better hefting... I added five threaded holes above the mill for future hefting joy. It's really tight quarters for an engine hoist, and mine is a ridiculous PITA to dig out.

c15051ba3bc470cfab57baed5ff6d972.jpg
 
Strapping that sucker down helped :)
Fyi, step drills work really well on cast iron!
A short projection 1/8" not tap is vital for this sort of work.
I drilled a matching (oversized) hole in the gib to let oil through.
I wasn't 100% sure which surface was really sliding, so I went overboard and put in 6 oil ports! I know y'all are not surprised...
10d99ef617e0e72fb33c13d514f3f366.jpg

Yes, the 2x4 is ridiculous ;-)
5fef76b612767f4373163dd53c3eac10.jpg

Fun with fiddly hand drilling...
fc7af23e71283647c3f62a0a6666c7b7.jpg

And... all done!
6ff040472810737afb5169c144d4fbf4.jpg

Since I wasn't 100% sure which surface was contacting, I lubed all six surfaces separately! The gib has a matching hole to let lube through.
 
And the knee is back on! Scary progress! I pumped oil through the holes before I put it on and did it again afterwards. Happy happy! I picked it back up later to put on the knee screw lube collar.
5bba315c122cd0bc095f58d4bbbd5cdd.jpg
 
Oh, and here's the core holes in the back of the knee. If you ever are in a position to see them on -your- mill, plug them! They let chips get on your bevel gears! Bridgeports have the same holes. I had a ton of chips trapped inside my knee, as did the latest Rockwell owner! I used some sheet gasket and liquid nails 20 years ago... I also foamed it to create a pocket to trap grease on the gears.
21241f3a3d2ac07d1a17636a3426451d.jpg
 
Second axis done!!!
Some super deep holes. Unfortunately, the last one needs even deeper ones!
c4346eb0dc3f5b49b49ff5249095a595.jpg

6a6f956ece4421e3cae3299b319ccda2.jpg

5bef45e7e18c4ca7ce1d388db6d67e66.jpg
 
Metal acupuncture? That's all three axies lubed. I've printed a distributor for the knee screw and drilled to run some tubing to the x and y screws. Next up is the big swarf guards.
f14ce2dfa272de5846565e3dbad4b572.jpg

f8e16d6742ab3b3047596f25b3d09fd1.jpg
 
Back
Top