Spindle Runout Issues on PM-728VT

PM markets this machine as "The Highest Level of Quality and Precision in a Bench Top Mill Available Anywhere", and goes on to state "Ultra Precision Ground Spindle, with Triple Bearing Support". I realize that's just marketing speak when it's not backed up by any real error tolerance figures, but what precision *should* one realistically expect from a machine in this "class"?
Ultra High precision translates to more money; however, I have found a hit and miss with all things from the Asian markets, I always expect to buy what looks to be perfect for my application then do some work on ti before I am comfortable using it. I also find this isn't limited to Precision Mathews; however, Having had some issues with my PM Lathe I can attest to their diligence and desire to see the issue to a conclusion which satisfies for all parties involved.
 
Mitutoyo 513-473-10E

I REALLY like my grandfather's and uncle's old Starrett stuff, but anything I buy new is Mitutoyo, and it's never disappointing.
I think, could be proven wrong, that Starrett is now made by Mitutoyo....
 
I am pretty sure most Starrett is made in the US, at least when I looked last, so I do not think, but I could also be wrong, its hard to say anymore. I think they had a rough time for a bit there and brought it back to the US. From what I remember, no facts involved, only memory. I've never had a problem with Starrett anything as far as measuring tools.

I don't think is any question about the measuring tools here, I'd think if that was a problem it would read even less. (I think people were joking around, but just a comment) Even that test bar, unless the straight end was under sized and its kicking off to one side, that is the only thing I didn't see, but probably not. It should be .9495

I can't believe what those test bars cost. If they are an import, I hope they are at least from Europe or from Taiwan at that price. Seems like with the right equipment there's nothing to making one of those.

Don't worry about what I said earlier about yelling, I just meant in general, nobody here actually gets yelled at. We will just get to the root of the problem and get it handled.

We will get it resolved ASAP and as easy as possible for you. Too much playing around already with changing out 2 spindles now with the same issue. Talked to them in Taiwan, they were off for their Labor Day, that was why the guys here did not hear back yet from last week, but they will get back to me soon now, I believe that is over.

Hey I have a new master gage for a Renishaw problem on a brand new $200K machining center (Literally just got up and running a week ago) that needs to run under .0001 and it should do that with no problem. But its running .0007 no matter what I do, so if it helps, I am in the same situation!
 
I dunno man, that ruby tipped tenths indicator might need quarterly calibration due to seasonal variances in the earth's magnetic field and proximities with other planets. And NIST considers a room to be temperature controlled only if it maintains 25 centigrade +/- 1 degree at all times. This casts serious doubt on your reported results, you know. There goes your legal defense.
I think there were related solar flares to add on top of all those other inaccuracies!
 
I am pretty sure most Starrett is made in the US, at least when I looked last, so I do not think, but I could also be wrong, its hard to say anymore. I think they had a rough time for a bit there and brought it back to the US. From what I remember, no facts involved, only memory. I've never had a problem with Starrett anything as far as measuring tools.

I don't think is any question about the measuring tools here, I'd think if that was a problem it would read even less. (I think people were joking around, but just a comment) Even that test bar, unless the straight end was under sized and its kicking off to one side, that is the only thing I didn't see, but probably not. It should be .9495

I can't believe what those test bars cost. If they are an import, I hope they are at least from Europe or from Taiwan at that price. Seems like with the right equipment there's nothing to making one of those.

Don't worry about what I said earlier about yelling, I just meant in general, nobody here actually gets yelled at. We will just get to the root of the problem and get it handled.

We will get it resolved ASAP and as easy as possible for you. Too much playing around already with changing out 2 spindles now with the same issue. Talked to them in Taiwan, they were off for their Labor Day, that was why the guys here did not hear back yet from last week, but they will get back to me soon now, I believe that is over.

Hey I have a new master gage for a Renishaw problem on a brand new $200K machining center (Literally just got up and running a week ago) that needs to run under .0001 and it should do that with no problem. But its running .0007 no matter what I do, so if it helps, I am in the same situation!
My comment about Mitutoyo and Starrett wasn't an insult, I find both to be excelent.
 
We will get it resolved ASAP and as easy as possible for you. Too much playing around already with changing out 2 spindles now with the same issue. Talked to them in Taiwan, they were off for their Labor Day, that was why the guys here did not hear back yet from last week, but they will get back to me soon now, I believe that is over.

Hey I have a new master gage for a Renishaw problem on a brand new $200K machining center (Literally just got up and running a week ago) that needs to run under .0001 and it should do that with no problem. But its running .0007 no matter what I do, so if it helps, I am in the same situation!

Thx, and hope you get your issue sorted as well. 7x is a big difference!
 
Every one of these mills IS certainly tested, I will get that information for you once I get your serial number and dig that up (I have a guess but still not certain who you are, I will get that from the tech people)

Any luck in getting what the recorded #'s were from the time of manufacture, or what they (factory?) define the max TIR to be at some distance from spindle nose?
 
Yes. It measured less than .01mm right at the spindle, and was .02mm (.0008) 150mm down from the spindle (Max there is .03mm). That is within spec.

They assured me that these are measured by:
1. Spindle manufacture
2. During assembly and testing
3. A last time they are measured for the tolerance test.

So 3 times. (This isn't a low class place trying to pass things through, I trust them 100%, they have many standards to meet and procedures followed)

They made some excellent points too about how that is being measured with the test bar - It is not the runout, it is the bore size at the top of the R8 they believe is causing the issue. What is the top diameter of that test bar? Because there is some tolerance up there. An R8 is .950 at the top. The tolerance of the R8 top bore on this particular spindle is


If that test bar has any room in the top of the spindle bore, its going to move off to one side.


Direct comment from the people at the factory posted below in italics


R8 Picture.jpg


From the above, the tolerance problem of R8 Arbor between Taiwan and China as shown the green arrows, because the size of the Arbor is not uniform, according to our experience, the Arbor of China is generally made larger. In order to match the Arbor of China; therefore, our spindle tolerance has increased by 0.02 MM after year 2011 as shown in the figure.

From the original 24.11~24.12 to 24.125~24.145.

We guess that the size of the user's test rod should be 24.11, which is an international standard, so if you get the spindle of 24.145, there will be a tolerance of 0.03 MM, which may also affect his level measurement results.
 
The plot thickens. I no longer trust the TIR numbers I took with the R8 test bar, at all.

Buckle up, this is a bit of a long read.

One thing that really bothered me during testing initially was that the numbers were not initially repeating when I would unseat the test bar, re-insert, and re-test. I assumed that maybe the upper straight bore in the spindle wasn't quite concentric, and the torque I was applying at the drawbar was causing the test bar to bend slightly, making the measurements dependent on the torque applied. When using a torque wrench on the drawbar, the numbers all started repeating within a reasonable margin of error, so I kept going.

I ASSUMED the taper was still fully seating, because I'd still have to give a little whack on the drawbar with a mallet after backing off a few turns to unseat the taper.

I noticed when I was putting the test bar back in it's storage case last night that it was starting to develop a "polished ring" around where it was contacting the nose of both spindles, with zero markings anywhere else on it's taper.

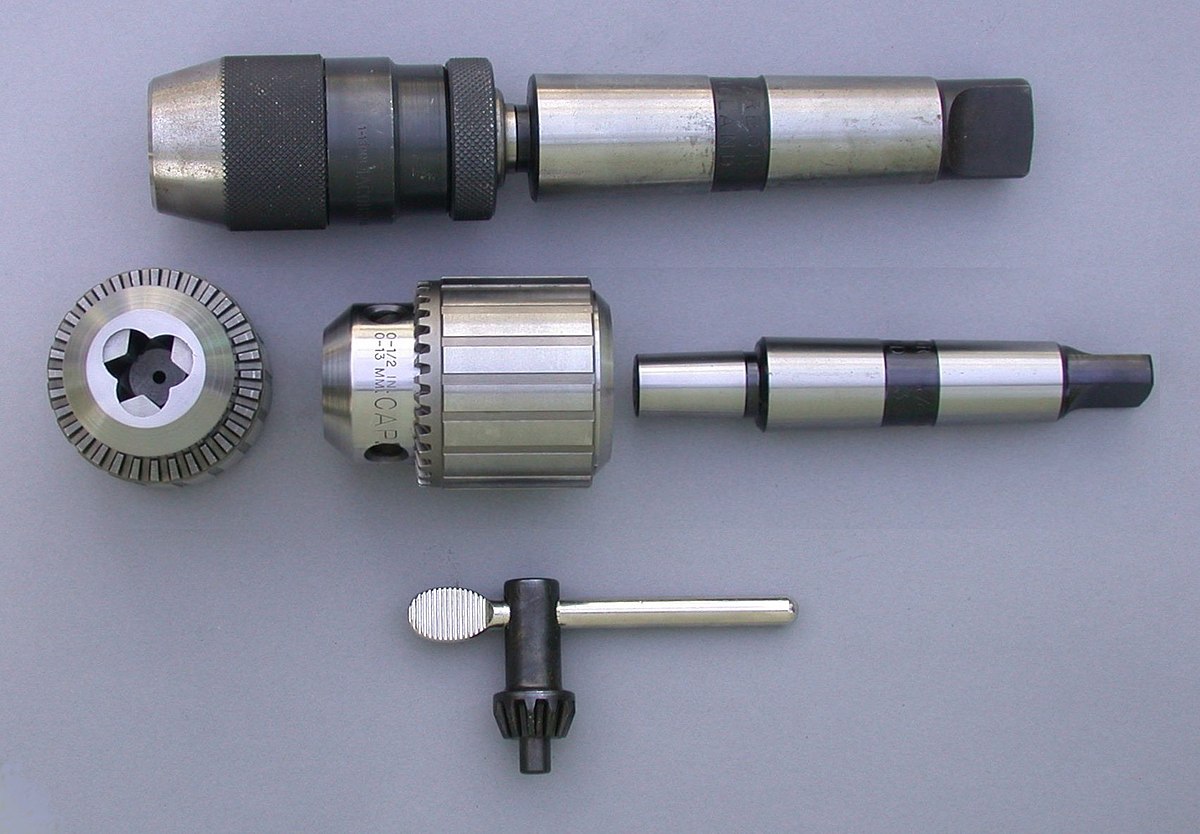
I blued the taper on both spindles, checked each with the test bar, and sure enough, only seating ~1-2mm in a ring, at the nose. I grabbed every other piece of solid taper R8 tooling I have (2 chucks, a boring head, and an endmill holder) and NONE of them seated more than the same 1-2mm down near the nose.

Clearly, I'm not going to be able to measure TIR accurately regardless of how "true" the test bar is if it's not seating in the spindle taper.

I looked up the specs for an R8 taper, and while there's a bit of conflicting information, with many sites (and even books) having incorrectly represented minutes/second as decimal degrees, or not representing as in included angle, it's generally agreed that an R8 taper is 16 degrees and 51 minutes (16.85 degrees in decimal). I initially saw many people listing 3.5" per foot, but I don't believe this is accurate. For reference, 3.5" per foot would be 16.59 degrees in decimal. These figures are all represented as "included angle", meaning the angle of the sides of the taper relative to each other, NOT relative to the center line.

Locations that define R8 as 16 degrees and 51 minutes (16.85 degrees in decimal):

I spent some time thinking about how I could measure the taper on the spindles and the test bar, and came up with the idea that I could place the item to be measured in v-blocks on the milling table of the 728 and use the axis to move the table relative to a dial test indicator that measures the rise or fall of the taper a pre-determined amount, than look at the DRO to see how far I moved the axis to reach that amt.

Here's the measurements:

For spindle #1, I moved the axis 557 tenths to achieve 80 tenths in 'rise' on the spindle taper.
For spindle #2, I moved the axis 561 tenths to achieve 80 tenths in 'rise' on the spindle taper.
For the R8 test bar, I moved the axis 548 tenths to achieve 80 tenths in 'rise' on the spindle taper.

Drawing those out in CAD, I get:

spindle #1: 16.34 degrees
spindle #2: 16.23 degrees
R8 test bar: 16.61 degrees

The first spindle did test better on TIR than the 2nd, likely just due to a little more of the taper seating since they're closer, and not an actual difference in runout.

Without the test bar seating in the taper correctly, we can't tell if we're 'measuring' runout, or the runout is a result of the test bar or tooling not seating in the taper.

This likely matters less with collets, since they can 'crush' down some to accommodate for part of the gap, but any solid-taper tooling is not going to run true at all . . and none of mine does. What initially led me on this chase was what I thought was two defective PM keyless R8 chucks. "Runout" was terrible on both. Way outside of spec. I replaced those with a completely different brand R8 keyless check from another reputable US vendor. It was no better! Same thing on my endmill holder, but hey, it's a cheap import so I just figured it was the holder.

After getting the test bar and measuring ~3 thou of runout at 5" down, I thought this was case closed. I was wrong. I honestly have no idea how true the taper is to the bearing journals on either spindle. Could be damn near perfect.

What I do still know is that nothing with a solid R8 taper is going to run true in either of these spindles. Not even close. Even if it 'appeared to', it won't under load, because it can flex till the top part of the tapers touch.

I have no idea if it's standard practice to intentionally grind a spindle taper to the wrong angle to accommodate for 'fit' in either direction, but even if we assume some amt. of error in how I measured, I'm still showing a difference of .62 degrees in what the spindle measures and what the R8 spec calls for.

Anyone with a 728 following that can trying bluing the contact between their solid taper tooling and spindle? How about on some other mills?

Thanks for reading.
 
Yes. It measured less than .01mm right at the spindle, and was .02mm (.0008) 150mm down from the spindle (Max there is .03mm). That is within spec.

They assured me that these are measured by:
1. Spindle manufacture
2. During assembly and testing
3. A last time they are measured for the tolerance test.

So 3 times. (This isn't a low class place trying to pass things through, I trust them 100%, they have many standards to meet and procedures followed)

They made some excellent points too about how that is being measured with the test bar - It is not the runout, it is the bore size at the top of the R8 they believe is causing the issue. What is the top diameter of that test bar? Because there is some tolerance up there. An R8 is .950 at the top. The tolerance of the R8 top bore on this particular spindle is


If that test bar has any room in the top of the spindle bore, its going to move off to one side.


Direct comment from the people at the factory posted below in italics


View attachment 446900

From the above, the tolerance problem of R8 Arbor between Taiwan and China as shown the green arrows, because the size of the Arbor is not uniform, according to our experience, the Arbor of China is generally made larger. In order to match the Arbor of China; therefore, our spindle tolerance has increased by 0.02 MM after year 2011 as shown in the figure.

From the original 24.11~24.12 to 24.125~24.145.

We guess that the size of the user's test rod should be 24.11, which is an international standard, so if you get the spindle of 24.145, there will be a tolerance of 0.03 MM, which may also affect his level measurement results.
Looks like we were both posting at the same time. Checkout my follow-up looking at the taper angle, and I'll measure the diameter of the top of the test bar for you.
 
Back
Top