- Joined
- Nov 28, 2016
- Messages
- 2,344
I've read several times on here where it's mentioned how difficult it is to tram a vise on a milling machine, so I decided to do a quick write up in hopes that it may help make this easier...
First, get the vise on the mill table and install the hold down bolts... do not tighten them, just snug them...
Set an indicator up in the quill... or however you would normally use your indicator... zero the indicator on the left corner of the fixed vise jaw, then lock the saddle (to eliminate error from any saddle backlash)...
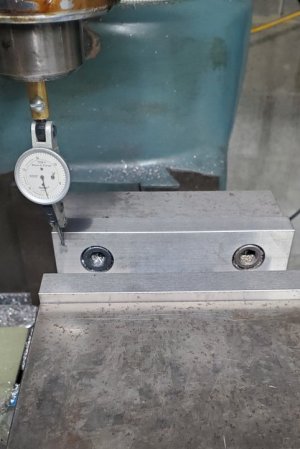
Then move the table until the indicator is on the right corner and note how far it is out of parallel...
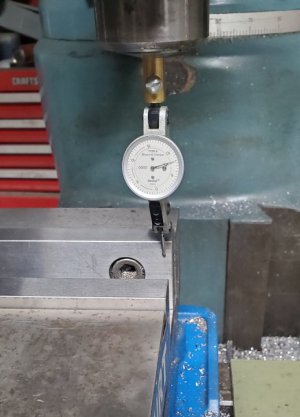
Now it is on the right side of the vise, so you want to loosen the hold down bolt on the right side and bump the vise until the indicator is back at zero...
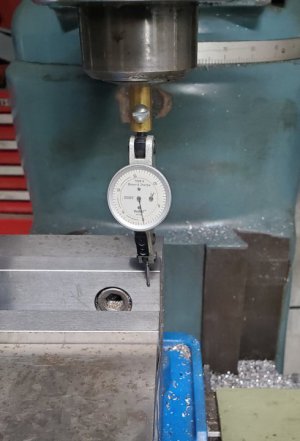
Now snug (not tighten) the right hand bolt.
Move the table until the indicator is back on the left corner...
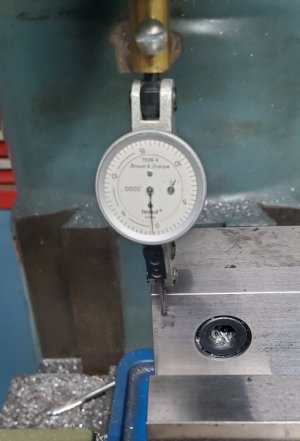
the vise will probably still not be perfectly square, so loosen the left bolt and tap the vise until the indicator is back on zero. Snug the left bolt.
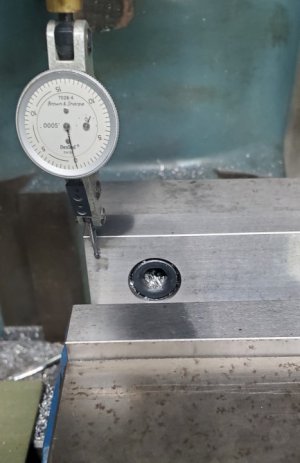
Now move the table until the indicator is back on the right corner...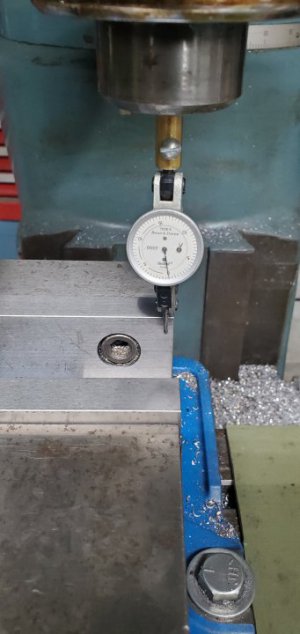
Keep repeating this sequence until the vise is as accurate as you want it... don't forget to tighten the bolts good when finished, and always double check the tram after tightening the bolts... in case the vise moves while you are torquing them.
I can usually have the vise within 0.0002" or 0.0003" the second time I move to the right corner... the entire process should not take more than 3 minutes... 5 at the most. It's quick, easy, and painless...
I hope this helps someone...
-Bear
First, get the vise on the mill table and install the hold down bolts... do not tighten them, just snug them...
Set an indicator up in the quill... or however you would normally use your indicator... zero the indicator on the left corner of the fixed vise jaw, then lock the saddle (to eliminate error from any saddle backlash)...

Then move the table until the indicator is on the right corner and note how far it is out of parallel...

Now it is on the right side of the vise, so you want to loosen the hold down bolt on the right side and bump the vise until the indicator is back at zero...

Now snug (not tighten) the right hand bolt.
Move the table until the indicator is back on the left corner...

the vise will probably still not be perfectly square, so loosen the left bolt and tap the vise until the indicator is back on zero. Snug the left bolt.

Now move the table until the indicator is back on the right corner...

Keep repeating this sequence until the vise is as accurate as you want it... don't forget to tighten the bolts good when finished, and always double check the tram after tightening the bolts... in case the vise moves while you are torquing them.
I can usually have the vise within 0.0002" or 0.0003" the second time I move to the right corner... the entire process should not take more than 3 minutes... 5 at the most. It's quick, easy, and painless...
I hope this helps someone...
-Bear

