Tube Polisher....

Here is an example of over engineering and still getting it wrong.

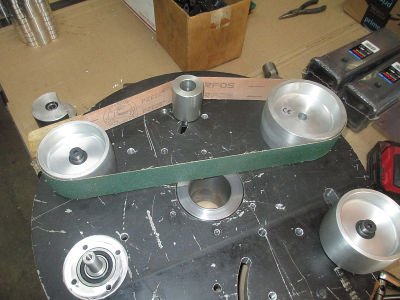
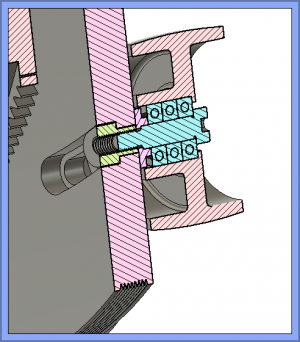
The goal is to be able to lock the position of the 4'' idler roller to adjust the sanding belt gap for different size parts. The machine is designed to be adjustable for about 3/8'' to 2 1/4'' tubes. The adjuster is a T-nut that rides in a T slot in the disk. Loosen the screw, slide to position and tighten to lock in place.
1663608532935.png

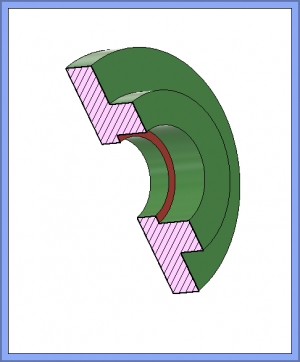
I designed the aluminum spacer to act both as a clamp to lock against the main disk and provide running clearance for the roll bearings. I started to assemble that part and realised that I was going to be putting a lot of pressure on a very narrow flange inside the spacer. (the red area inside the spacer) This would have lasted about 5 minutes if it worked at all. Not to mention this was a bit hard to build and hold tolerance.
1663608580375.png

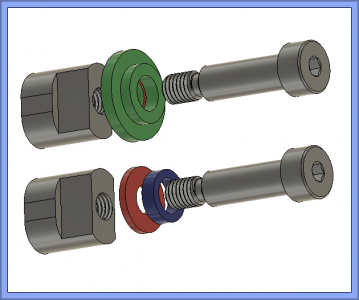
Wrong material, too soft, and would not transfer the clamping force to the disk. So a quick trip to the hardware store and pick up a extra thick hardened (RC-43) washer. It turns out that the 5/16 washer (red) is a perfect fit for the 10mm threads on the shoulder screw, a tight slip fit. Then turn a spacer (blue) as shown in the bottom illustration. Now I have something that will actually work and is a lot easier to build. Sometimes the simple solutions are the best.
1663608435248.png

Next item:

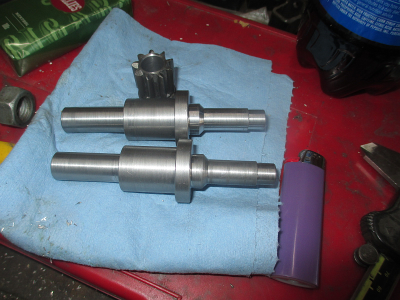
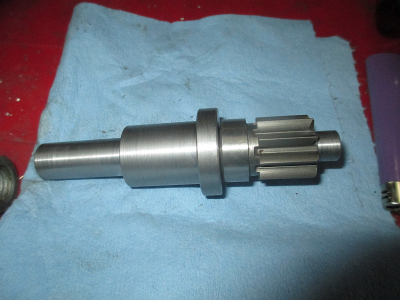
How to attach the pinion gears to the the shafts? TIG welding was my first thought, but I really didn't like the idea of welding on the shaft. It really doesn't take much to hold them so I decided to glue them together. I had a tube of LocTite 660 and primer from another project and it seems to be quite robust in this type of application.


1663609299127.png

1663609337454.png

We'll see how this works out. If they come loose, I can always TIG weld them later.

I pretty much have the parts for the disk made and assembled, so maybe today I will get the main frame welded together. Then it's just a matter of mounting the motor and testing it. I think I'll put the forklift between me and the rotating parts just in case it all goes horribly wrong. :cautious: :eek: :chemist:

More pictures later.
 
Quick question looking at the CAD assembly drawing (first picture). What in that assembly holds the roller on? Are the bearings press fit into the roller?
 
why do you need that lip for the screw to bottom out against at all? The compression needed to hold the roller in position is between the screw and the nut in the t-slot, everything else (bearing inner races, spacer, tube polisher body) are all squished together.
 
Quick question looking at the CAD assembly drawing (first picture). What in that assembly holds the roller on? Are the bearings press fit into the roller?
Not shown is the snap ring on the inboard side holding the 3 bearings in place..


why do you need that lip for the screw to bottom out against at all? The compression needed to hold the roller in position is between the screw and the nut in the t-slot, everything else (bearing inner races, spacer, tube polisher body) are all squished together.

The screw does not squish the bearings, in fact by design, there is around 0.005'' axial clearance in the bearing/screw assembly. Axial loading the bearings would destroy them in short order. The only squish is between the washer and the T-nut/main disk. The roller assembly floats on the shoulder screw.
 
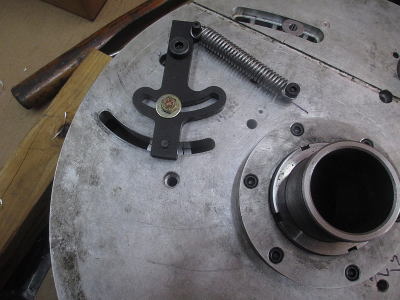
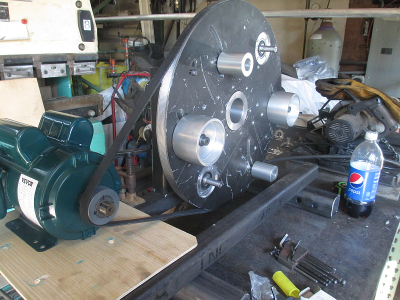
I installed the belt tensioner springs yesterday. Works quite well and feels like the right amount of tension.
1663637372035.png

The hex head screw is not for holding tension on the belt, it is only used for locking the tension arm in the loose position when replacing the belt. In normal operation it will be loose to allow the arm to travel freely.
1663637587531.png

Then over to the welding table to start the frame assembly. The square tubing is 2''x2''x1/4'' wall

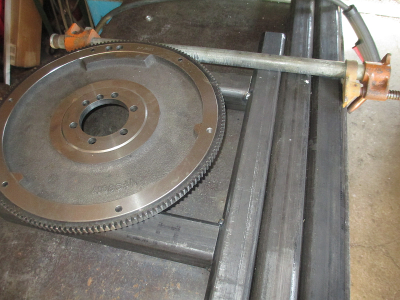
The uprights that the flywheel bolts to being welded to the frame support.

1663638026661.png

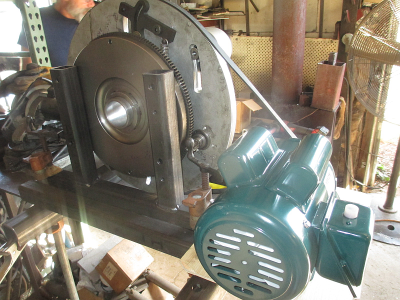
And assembled in the working position to figure out where the motor is going to go. As you can see the motor base has no bolt slots, and is not a standard 145T base. So that is going to slow me down a bit, back to the drawing board to make the needed modifications to the frame so I can adjust the motor and actually tighten the belt. :faint: Hey, it was a cheap motor. :grin:

1663638215918.png

And the back side.
1663638516617.png

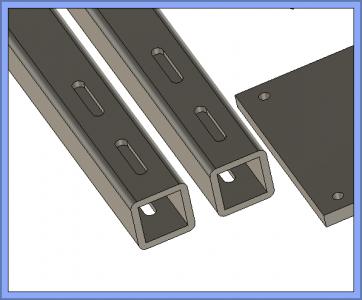
The frame rails will be slotted something like this and the outer rail (left in the picture) will move to the left a bit. I'll build some strap nuts to slide inside the tube. Strap nuts are in this case are piece of 3/8'' x 1'' bar stock, drilled and tapped at the correct hole spacing for the motor mount bolt holes.

1663639069309.png

More later....
 
Why would it axially load the bearings to squish the inner races together?
Deep groove ball bearings are not designed to take much axial load. If the outer races are thicker than the inner races, then you could get into trouble. It would work OK if you put shims between the inner races so the outer races could still float. In this case, it would also require widening the snap ring groove to allow more clearance between the outer races. But without removing the bearings from the roller and measuring the inner and outer race thickness, you would never really know if you could get away with just tightening a screw down.

There are bearings that are designed to assemble that way with a screw, but the inner races are purposely made thicker than the outer race.

This of course does not apply to angular contact bearings, which are designed to run with an axial preload.
 
Are you saying because of tolerances on the individual races, the outer races may be thicker? Or that their nominal thicknesses are larger than the inner races?
 
Back
Top