2014 POTD Thread Archive

Good work on the Arbor Press. New ones can be had at Harbor Freight for about $40 if I recall.

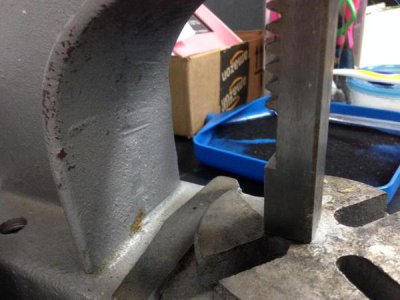
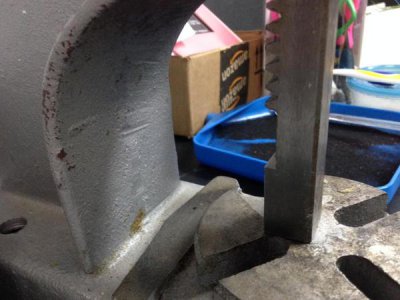
One trick with those is to mill off 3 teeth at the bottom most part of the ram. You would never use these teeth to press because they only engage at the very top of wide open. BUT what it allows you to do is raise the ram and at the top adjust the drive arm to your desired angle for pushing down because wit those teeth milled off it allows the gear to free wheel around with the ram all the way up, still not able to pull out with the rest of the ram still intact. Sometimes you are pressing something and the angle of the arm to push is not ideal for a good press down on.

For example look at the pics of that nice Dake. If your part happened to be where the push arm was oriented like it is in those pics vertical it is harder to push down for a nice press but if you could see that and then lift the ram up, spin the arm 90 degrees and have it horizontal it would be nice and easy.
IMG_0985.jpg

IMG_0985.jpg
 
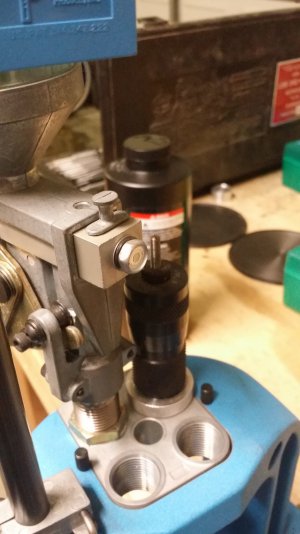
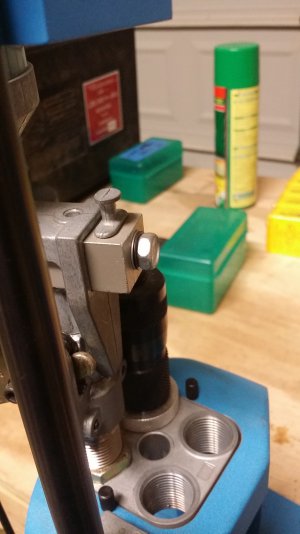
I've got a Dillon 550B reloading press. To adjust how much powder drops into each case, you twist this hex bolt and it moves a plunger inside the powder measure. It's a pain to make small adjustments with this bolt.

old screw.jpgold screw 2.jpg

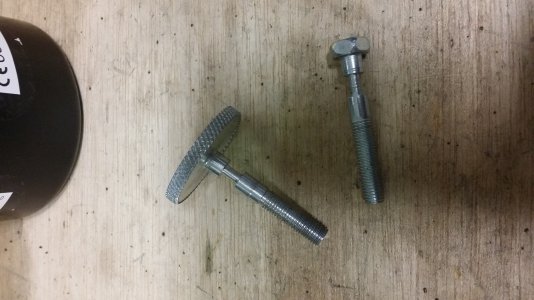
I figured I could make a new bolt with a different head that would be easier to twist. I have some 1.5" aluminum stock. Here's a picture of the old bolt and the new bolt that I made:

screws.jpg

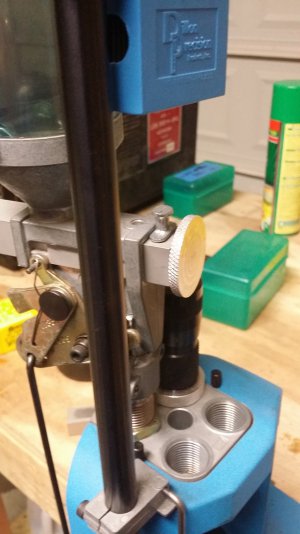
Here's the finished product:

new screw.jpg
Darren

new screw.jpg old screw 2.jpg old screw.jpg screws.jpg
 
CadillacSTS....... That's a great idea. It took me a minute to grasp what you were telling me, but I understand where you're coming from. Thanks for that tip.
 
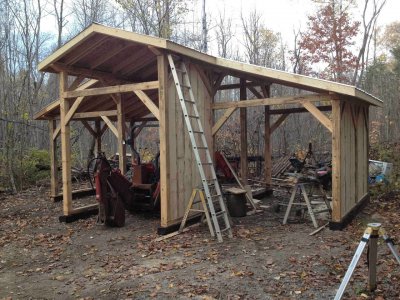
The shed is progressing, the weather is co operating. The roof has steel on it now and started the sheeting.

IMG_1451.jpg

Greg

IMG_1451.jpg
 
Helped a buddy move his new to him Bridgeport. An interesting way to lift 2200lbs. More vids once I edit them, I might start a thread on this move.

[video=youtube_share;ywTyDOgKiQY]http://youtu.be/ywTyDOgKiQY[/video]
 
CadillacSTS....... That's a great idea. It took me a minute to grasp what you were telling me, but I understand where you're coming from. Thanks for that tip.
Another way to say it is when the arbor press is stock it will roll all the way up and the handle stays same orientation all the time, at the top it just stops. If you mill off the bottom two to three useless teeth the handle goes wherever you want it to go when it is at the top most range.Next question might be: Would I mill off the teeth on that nice old Dake? Heck yes I would. Makes it more functional an would look like it has always been like that. I'd mill off one then two teeth first to see if it works like that, third if needed.Edit. Last word on this. For the old Dake it might be helpful to open the gearbox and move the handle horizontal when the ram is down so there is a better chance of good angle to press. Looks like now handle is set wrong.
 
Last edited:
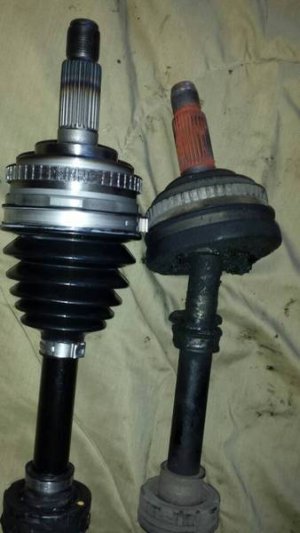
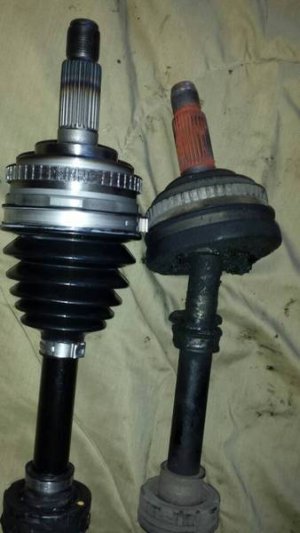
Last week I replaced the driveshafts on my car. They had a little wear on them.

d66e68e90081e0e8befdd19ddc51a1b7.jpg

d66e68e90081e0e8befdd19ddc51a1b7.jpg
 
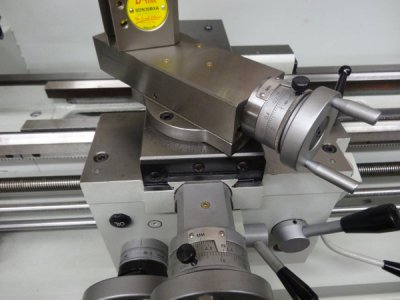
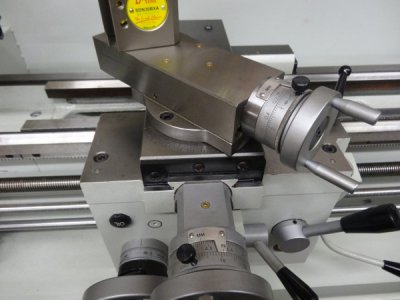
A big thank you to George Wilson who lit a fire under my a$$ to do this mod to my lathe that I have wanted to do for a while, every since I used a Hardinge lathe many years ago. I don't care for the "friction" style of dials on most lathes but love the knurled thumbscrew style of the Hardinge.

I put more detailed pictures on my PM1340GT Arrival and setup thread if interested.

Here is what I did last night while waiting for a guy to pick up his truck from being repaired.
20ab8f4.jpg

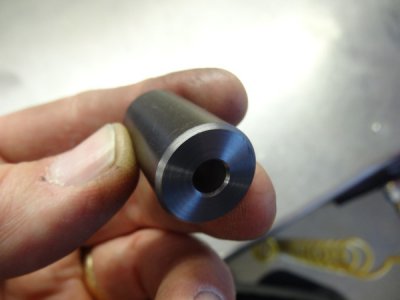
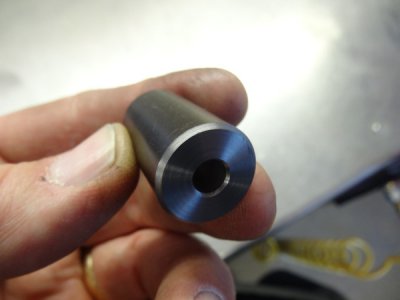
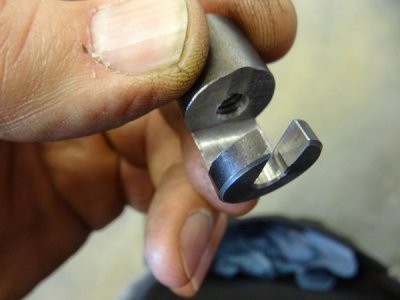
I then went ahead and started to machine a holder which will hold small screws when using the belt/disc sander. This should work better than using a pair of pliers and definitely better than using your bare hands on these small screws.

Drilled and tapped a 5/16-18 hole in a piece of .750" diameter 1144 I had.
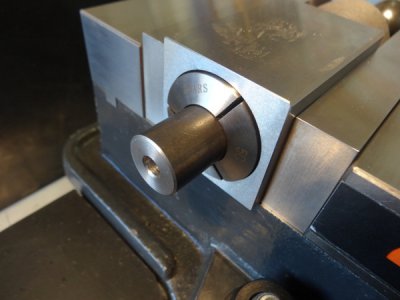
11udj81.jpg

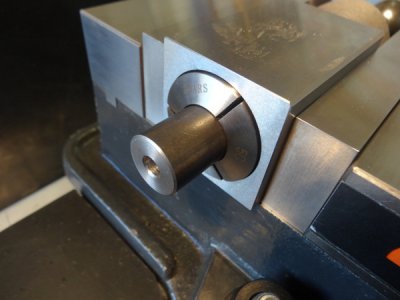
Chucked it up in a collet block on the mill.
2m7hljk.jpg

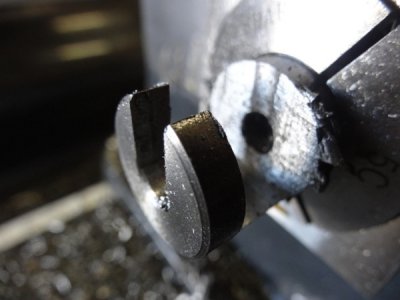
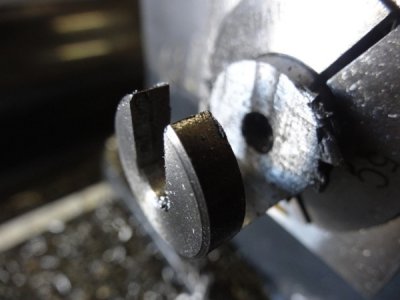
Cut across it to expose the threaded hole and then cut a slit to open the remaining hole.
10gzbpt.jpg

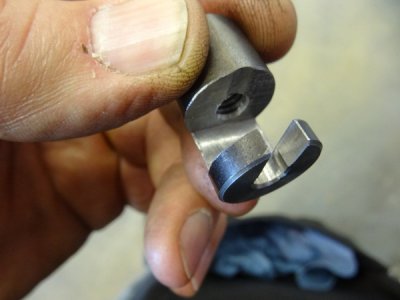
Main portion completed and deburred.
2s7dri1.jpg

Next I will just have to thread a piece with a knurled top to tighten down on the screw head. When completed the screw will be placed in the open end, tighten the knurled thumbscrew down to secure the small screw into the tool and it will give me something more substantial to hold on to when touching up a small screw on the belt/disc sander.

20ab8f4.jpg

11udj81.jpg

2m7hljk.jpg

10gzbpt.jpg

2s7dri1.jpg
 
The shed is progressing, the weather is co operating. The roof has steel on it now and started the sheeting.

View attachment 85635

Greg
Do you plan to support that center section at the front that has no joists? That pitch is a bit shallow to hold up a snow load without some added help. It will also apply a lot of spreading pressure to those walls underneath. I assume the rear section of that roof will have cantilevered rafters extending out into those two side areas?
 
Back
Top