2014 POTD Thread Archive

this is my first project post, so go easy... i'm new, ha.

my biggest complaint about my new PM-932 is that the y-axis hand wheel limits the table travel. its hits the limit switch for the power feed and i'm sure it would hit the table if that switch wasn't three.

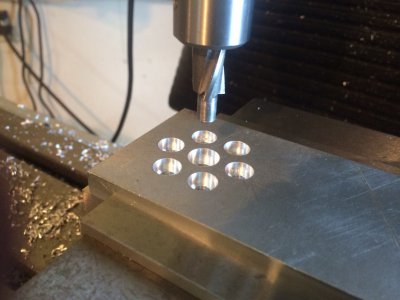
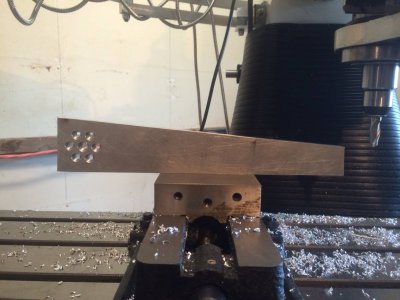
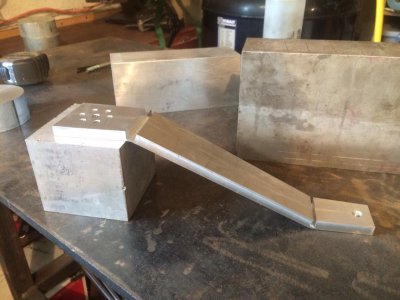
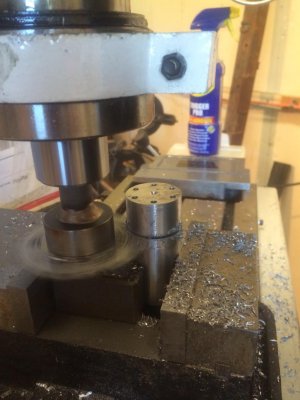
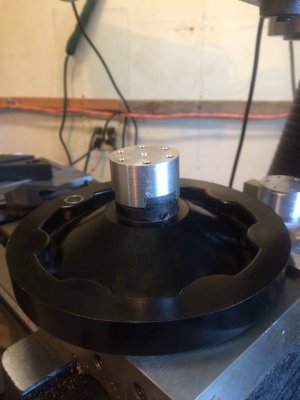
so, today i started working on a new handle. the first piece (what i did today) has to match the 3 lug interface of the lead screw. without having a dividing head or rotary table, here is what i came up with.

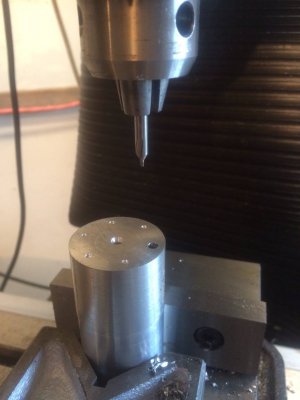
what do ya think? i drilled the six holes and simply "clocked" the piece around with pins as i milled away.
10443020_880859728609292_7970462398162068457_o.jpg

10530511_880859731942625_5051044273222284353_o.jpg

10448716_880859738609291_2274490999982853357_o.jpg

10551488_880859735275958_4251363006633717388_o.jpg

- - - Updated - - -

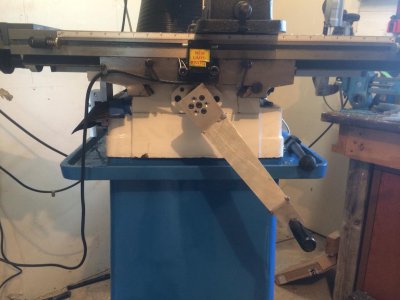
finished piece and then placed on the current hand wheel to show fitment. now i just need to make the handle part and attach it to the center piece. probably just drill the same hole pattern and bolt it together with m5 countersunk bolts. since getting my countersink set, i really like the custom touch something so simple provides.

10548160_880859928609272_4637127118826473246_o.jpg

10549245_880859935275938_3444958140100889695_o.jpg

10443020_880859728609292_7970462398162068457_o.jpg 10530511_880859731942625_5051044273222284353_o.jpg 10448716_880859738609291_2274490999982853357_o.jpg 10551488_880859735275958_4251363006633717388_o.jpg 10548160_880859928609272_4637127118826473246_o.jpg 10549245_880859935275938_3444958140100889695_o.jpg
 
Don't give us that "I'm new" stuff Springer. :lmao: You'll do just fine. That's a nice solution, nicely done. Show us the finished product when you get there. I'm sure there are some others here who will benefit from your idea.
 
One of the first tricks I learned in school was indexing via clocking on a pin. Very handy trick.
this is my first project post, so go easy... i'm new, ha.

my biggest complaint about my new PM-932 is that the y-axis hand wheel limits the table travel. its hits the limit switch for the power feed and i'm sure it would hit the table if that switch wasn't three.

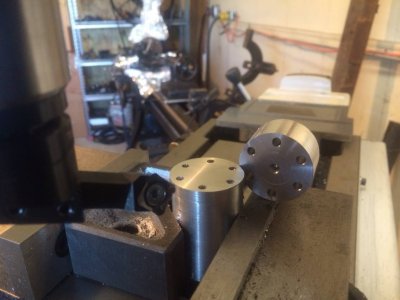
so, today i started working on a new handle. the first piece (what i did today) has to match the 3 lug interface of the lead screw. without having a dividing head or rotary table, here is what i came up with.

what do ya think? i drilled the six holes and simply "clocked" the piece around with pins as i milled away.
View attachment 80020

View attachment 80021

View attachment 80022

View attachment 80023

- - - Updated - - -

finished piece and then placed on the current hand wheel to show fitment. now i just need to make the handle part and attach it to the center piece. probably just drill the same hole pattern and bolt it together with m5 countersunk bolts. since getting my countersink set, i really like the custom touch something so simple provides.

View attachment 80024

View attachment 80025
 
[QUOTE
I made a tool post locknut.
][/QUOTE]

I put a ball thrust bearing under the locknut, it gives a lot more clamping force for torque on the nut but you have they be careful not to accidentally loosen it! Probably safer with a nut and spanner than a lever...
 
One of the first tricks I learned in school was indexing via clocking on a pin. Very handy trick.

yea, i was pretty proud of myself when i figured it out, haha. so simple, but took so long to wrap my head around. very handy indeed.
 
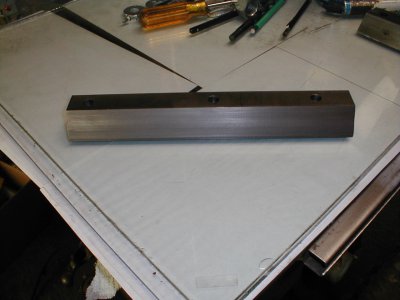
Finished milling the new gib for the knee on my Avey (still needs to be lapped and the faces prettied up on the sander). The angles and face width (the only dimensions that really matter) came out closer than I expected. The face width is exact as far as I can tell with my calipers and the angles appear to only need to be lapped smooth. Best of all, it fits! I didn't screw up and mill the angles 30 degrees off or something equally silly.

I spent more time making fixtures and gages than actually milling the part.

Photos:

gib4.jpggib5.jpg

gib4.jpg gib5.jpg
 
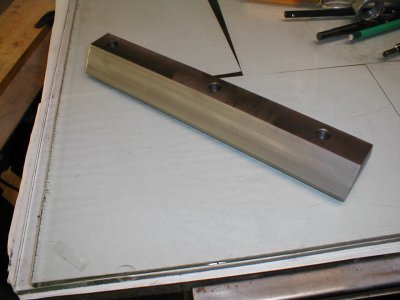
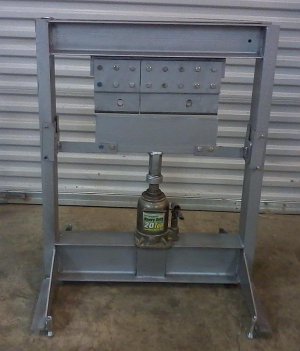
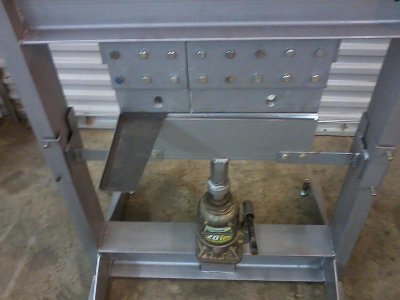
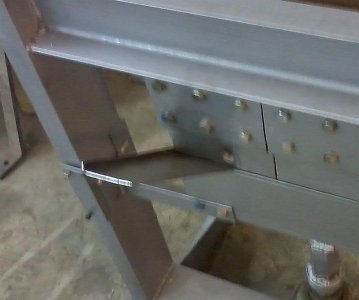
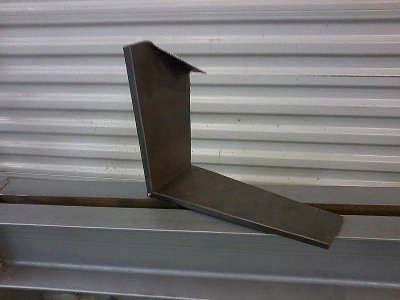
I made this press brake, the design is based on materials that I had so it looks a little strange. Width of the dies is 16 inches. I don't know how thick of material it will bend yet; 16 ga X 16" steel was very easy.

Press-Brake-1.jpg Press-Brake-2.jpg Press-Brake-3.jpg Press-Brake-4.jpg
 
Very nicely done Springer.

If you ever decide that you want to install the ball crank style of handles on your PM932, like the Bridgeport mills, let me know as I have two chrome ball crank handles that I would sell as I was going to install them on my PM932. However, after I purchased the ball crank handles and receiving them, I changed my mind and went with the PM935 knee mill instead. The chrome ball crank handles are sitting her on my bench needing a new owner.

Mike.


this is my first project post, so go easy... i'm new, ha.

my biggest complaint about my new PM-932 is that the y-axis hand wheel limits the table travel. its hits the limit switch for the power feed and i'm sure it would hit the table if that switch wasn't three.

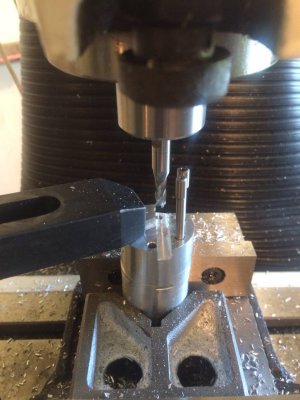
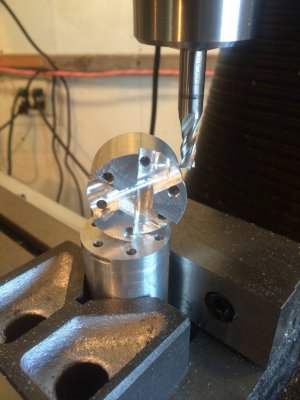
so, today i started working on a new handle. the first piece (what i did today) has to match the 3 lug interface of the lead screw. without having a dividing head or rotary table, here is what i came up with.

what do ya think? i drilled the six holes and simply "clocked" the piece around with pins as i milled away.
View attachment 80020

View attachment 80021

View attachment 80022

View attachment 80023

- - - Updated - - -

finished piece and then placed on the current hand wheel to show fitment. now i just need to make the handle part and attach it to the center piece. probably just drill the same hole pattern and bolt it together with m5 countersunk bolts. since getting my countersink set, i really like the custom touch something so simple provides.
View attachment 80024

View attachment 80025
 
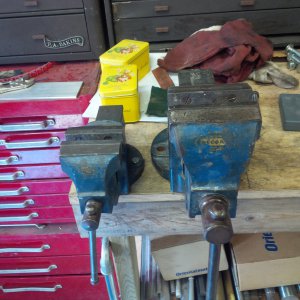
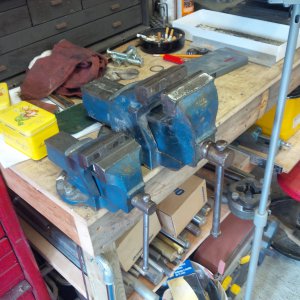
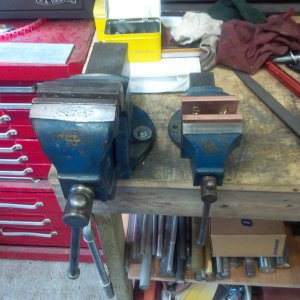
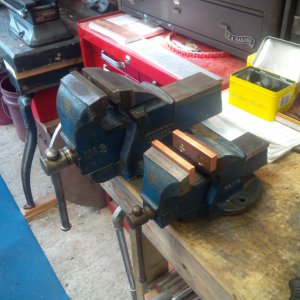
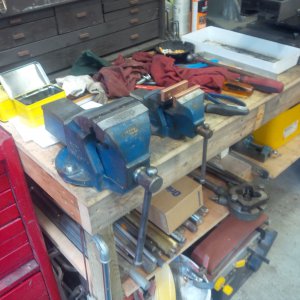
I picked up a record No 3 vise last weekend. I had a No 1 for ages so now its got a bigger brother. Both have been disassembled and cleaned up, I am not going to paint them as they look so close in character. The little guy was getting jealous so I gave him some copper jaws.

IMG_20140709_170424.jpgIMG_20140709_170417.jpgIMG_20140713_131416.jpgIMG_20140713_131423.jpgIMG_20140713_131408.jpg

IMG_20140709_170424.jpg IMG_20140709_170417.jpg IMG_20140713_131416.jpg IMG_20140713_131423.jpg IMG_20140713_131408.jpg
 
finished my replacement y-axis hand crank. not as pretty as it started out to be, but i have an impatience for "pretty" when its just for me and i want to get it done. still turned out nice and i can "pretty" it up later if i get bored.

cut, mill, mill, center drill, drill, drill, counterbore, mill, mill, drill, counterbore, mill, mill, bend, bend, weld, weld, attach, done.

10448456_881522075209724_5031717973529042568_o.jpg

10490092_881522071876391_8931726961202295479_o.jpg

10531371_881522078543057_6344227542889110075_o.jpg

10547914_881522081876390_2829324590429291915_o.jpg

10448456_881522075209724_5031717973529042568_o.jpg 10490092_881522071876391_8931726961202295479_o.jpg 10531371_881522078543057_6344227542889110075_o.jpg 10547914_881522081876390_2829324590429291915_o.jpg
 
Back
Top