- Joined
- Dec 14, 2013
- Messages
- 167
In between cleaning and painting the larger parts I’ve been screwing around with some of the smaller stuff. The Logan nameplate had most of the paint off and you could hardly make out any of the printing. I cleaned it up the best I could and picked up a bottle of black and a bottle of red Testor’s model paint and painted the top and bottom parts of the nameplate red and the middle black. Since the writing is raised I just painted over everything. Then I wet sanded the paint off the raised sections and it seemed to come out pretty nice.
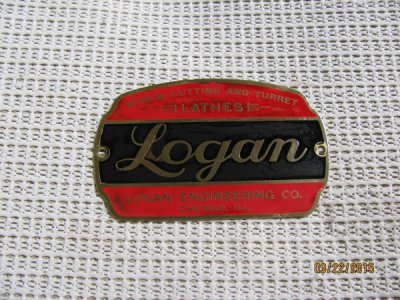
Unfortunately, when I sprayed a little clear on the plate it seemed to lift some of the color. I’m letting it dry completely to see if wet sanding will clean it back up.
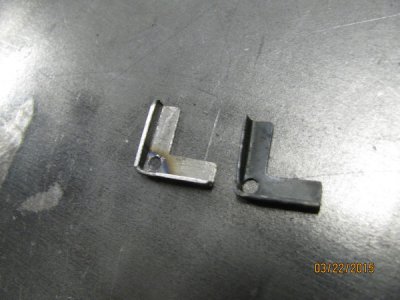
Also, I was missing a way wiper on the carriage and didn’t want to buy a whole set to replace one wiper. It’s a principle thing I’m sure most of you will understand. Anyway, I measured the other wiper I had and made a pattern to cut some sheet metal. After cutting I bent the sides and TIG welded the corner. Cheater lenses come in very handy for old eyes here. I spent more time on this than one would imagine. The one on the left is the one I made and the one on the right was the original. Small victories…………….
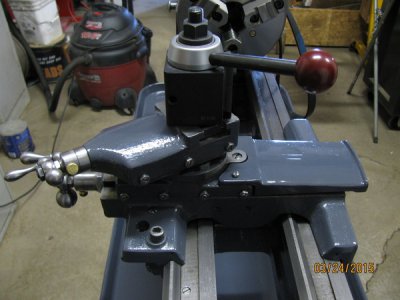
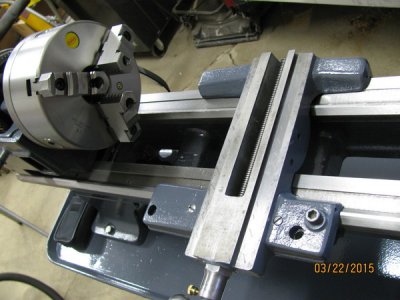
I was able to install the saddle after completely disassembling, cleaning and painting. The rear gib has three bolts that install through the gib and into the bottom of the saddle. The front gib has two screws that install through the top of the saddle, through two spacers and into the gib. If I completely tighten any of these bolts or screws I can lock the gib up on the bed. I was thinking it might be better to work with some shim stock to get it right completely tightened but I’m not sure it would be worth the time and effort. I tightened each bolt and screw separately until the saddle locked up then backed off until it moved. I’d appreciate any opinions on using shim stock on this.
That's it for now.
Mike B.

Unfortunately, when I sprayed a little clear on the plate it seemed to lift some of the color. I’m letting it dry completely to see if wet sanding will clean it back up.
Also, I was missing a way wiper on the carriage and didn’t want to buy a whole set to replace one wiper. It’s a principle thing I’m sure most of you will understand. Anyway, I measured the other wiper I had and made a pattern to cut some sheet metal. After cutting I bent the sides and TIG welded the corner. Cheater lenses come in very handy for old eyes here. I spent more time on this than one would imagine. The one on the left is the one I made and the one on the right was the original. Small victories…………….

I was able to install the saddle after completely disassembling, cleaning and painting. The rear gib has three bolts that install through the gib and into the bottom of the saddle. The front gib has two screws that install through the top of the saddle, through two spacers and into the gib. If I completely tighten any of these bolts or screws I can lock the gib up on the bed. I was thinking it might be better to work with some shim stock to get it right completely tightened but I’m not sure it would be worth the time and effort. I tightened each bolt and screw separately until the saddle locked up then backed off until it moved. I’d appreciate any opinions on using shim stock on this.

That's it for now.
Mike B.


