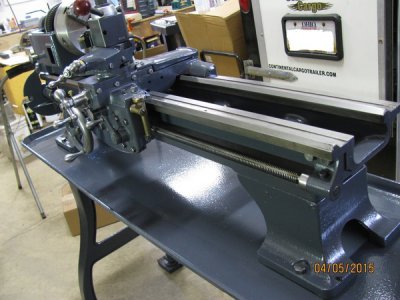
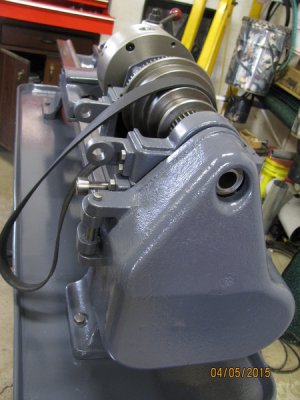
Mbfrontier's Logan 200 Rehab

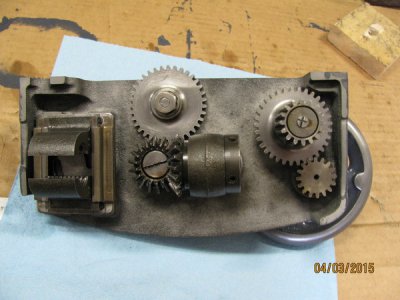
After cleaning, painting, and lubricating the apron parts, I assembled them in the reverse order of taking them apart.
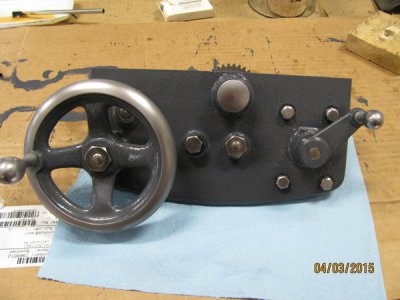
IMG_1006_zpssaykirnj.jpg
IMG_1007_zps04grgdoy.jpg


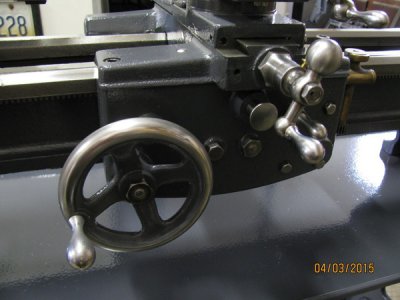
I assembled the apron to the carriage with the two allen head bolts.
IMG_1008_zps92iuimio.jpg

The threading dial was attached to the apron with the single mounting screw. It should be taken apart, cleaned, and oiled but I decided to oil it for now. It seems to hang up a little when you spin it by hand. Nothing terrible and I know it works. I'm not sure how it comes apart but it looks like the shaft may be peened over at the dial. I am concerned that I would screw it up if I try to take it apart.

That's it for now.
 
Looks Factory, Mike;

Gotta get me one of those threading dials. One of the many things missing from mine. Easy enough to tweak on it anytime you feel like it. Bigger picture stuff takes precedence now. Priorities.

Reporting Live from Brockville, Ontario.
 
Great job Mike!
I have the same machine and just finished a complete strip down, cleaning and re-assembly. New spindle bearings and a serpentine belt have been the only upgrades so far. I kept the original "patina," not sure I have the patience for a strip and repaint!

Steve
 
Thanks, Steve and Redlineman.

I haven't been looking for a threading dial but I'm sure you'll be able to find one. I don't know about the price.

Stripping and painting sure does slow things down. With the cold weather it takes a few days for the paint to dry before I can start to assemble parts. My building is heated but I only run the heater while I am out there working.

I decided to take the plunge because the lathe had several coats of paint on areas that were easy to get to with the lathe assembled and looked poorly done. I would have preferred to retain the original patina if it looked decent. The main thing is if the machine runs well and is accurate regardless of how good it looks.

I still have the lead screw, tail stock, and drive box assemblies to clean, paint and assemble. I'm hoping to have my project done soon barring any surprises.
 
I just snagged a dial yesterday for $45, which I thought was reasonable. Hopefully it is as decent as it looks in the pics. Perhaps the worst case is it might need new bushings.

The drive box is arguably the fussiest part of the early models like ours. Then, perhaps that is just an impression based on the fact that I assumed it would be a no brainer. It took some time to realize that the countershaft bearing assemblies need light adjustment of the set screws to remain free turning. It suddenly occurs to me that this might explain some of the extreme wear that some of them show. I by no means set them hard, and still had to back them off to a surprising degree to free them up. Another thing that occurred to me much later is that the propensity for the bracket LA-353 to be broken shows that it is all too common for the set screws to be over tightened. Mine had been broken and welded at some point. I could think of no other way this might be broken until it occurred to me that it was likely related to this light adjustment.

Just food for thought.
 
Beautiful job you're doing! Many of your topics mirror the ones I had to address in my Logan 820 restoration, right down to making two replacements for missing way wiper covers. (I soldered or brazed mine.)
 
Thanks, gjmontll.

Redlineman, sounds like a good score on the threading dial. If it is similar to mine I'd be interested in how you get it apart.

Before I started the teardown I addressed the countershaft by replacing the shaft and oilite bearings. I adjusted my forks by lightly tightening the screws to take out the play between the bearing caps and the adjustment screws and then tightened the lock nuts while holding the screw position with a wrench. Early on before I replaced the countershaft and bushings I tried tightening the adjustment screws and by luck noticed that there was drag on the countershaft when I spun it by hand. I was not aware that people were breaking their forks until recently but it makes sense. Fortunately, I can see no break anywhere on mine.
 
Taking a cue from the parts diagram, it appears both ends of thread dial shaft LA-323 are knurled, making the dial and gear a press fit. I would imagine that any removal of either would probably require peining, staking, or thread locker to hold them in place again.

-----------------------------------------------------------------------
Reporting Live from Brockville, Ontario.
 
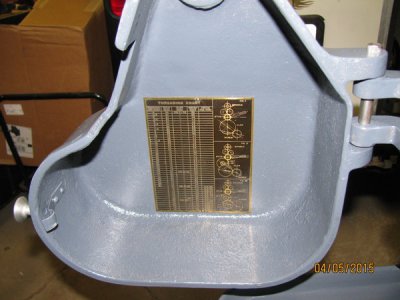
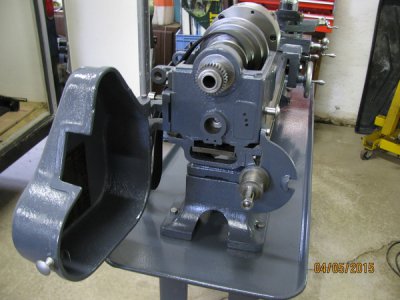
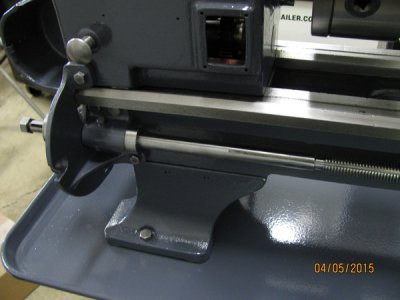
Today I assembled the lead screw assembly and gear case covers.
IMG_1013_zpsr16w0mm2.jpg
IMG_1014_zps1lzyxckv.jpg
IMG_1015_zpspefkgvd5.jpg

IMG_1016_zpstgo5ufef.jpg
IMG_1018_zpscdnpym0r.jpg


Before I called it a day in the shop I disassembled the tail stock which I'll be cleaning and painting. Disassembly was simple and straight forward.

That's it for now.
 
Last edited:
Redlineman, I think you're right on disassembling the threading dial. Since mine spins I oiled it up and called it good for now. I'll be watching your posts to see if you take it apart. If your threading dial arrives and spins smooth, I'd leave it alone.
 
Back
Top